1981 Coleman Model 201 Restoration
On Arrival:
I was just prowling around Gumtree seeing what was out there to be ha when I came across a job lot of 10 old Kerosene Lamps. The were going for a reasonable price ($120 for all ten) so I figured, "Why not?" So a quick trip down to Albion Rail, aboutan hour or so South of Sydney, and I was driving home with a load of lamps.
Trouble is, I didn't know a lot about kero lamps - but hey, why let that stop me.
I had a good look at all of thelamps and as mentioned earlier- decided to have a go at this Coleman first.
Here are some photos of it when I first got it - poor forlorn looking little thing.
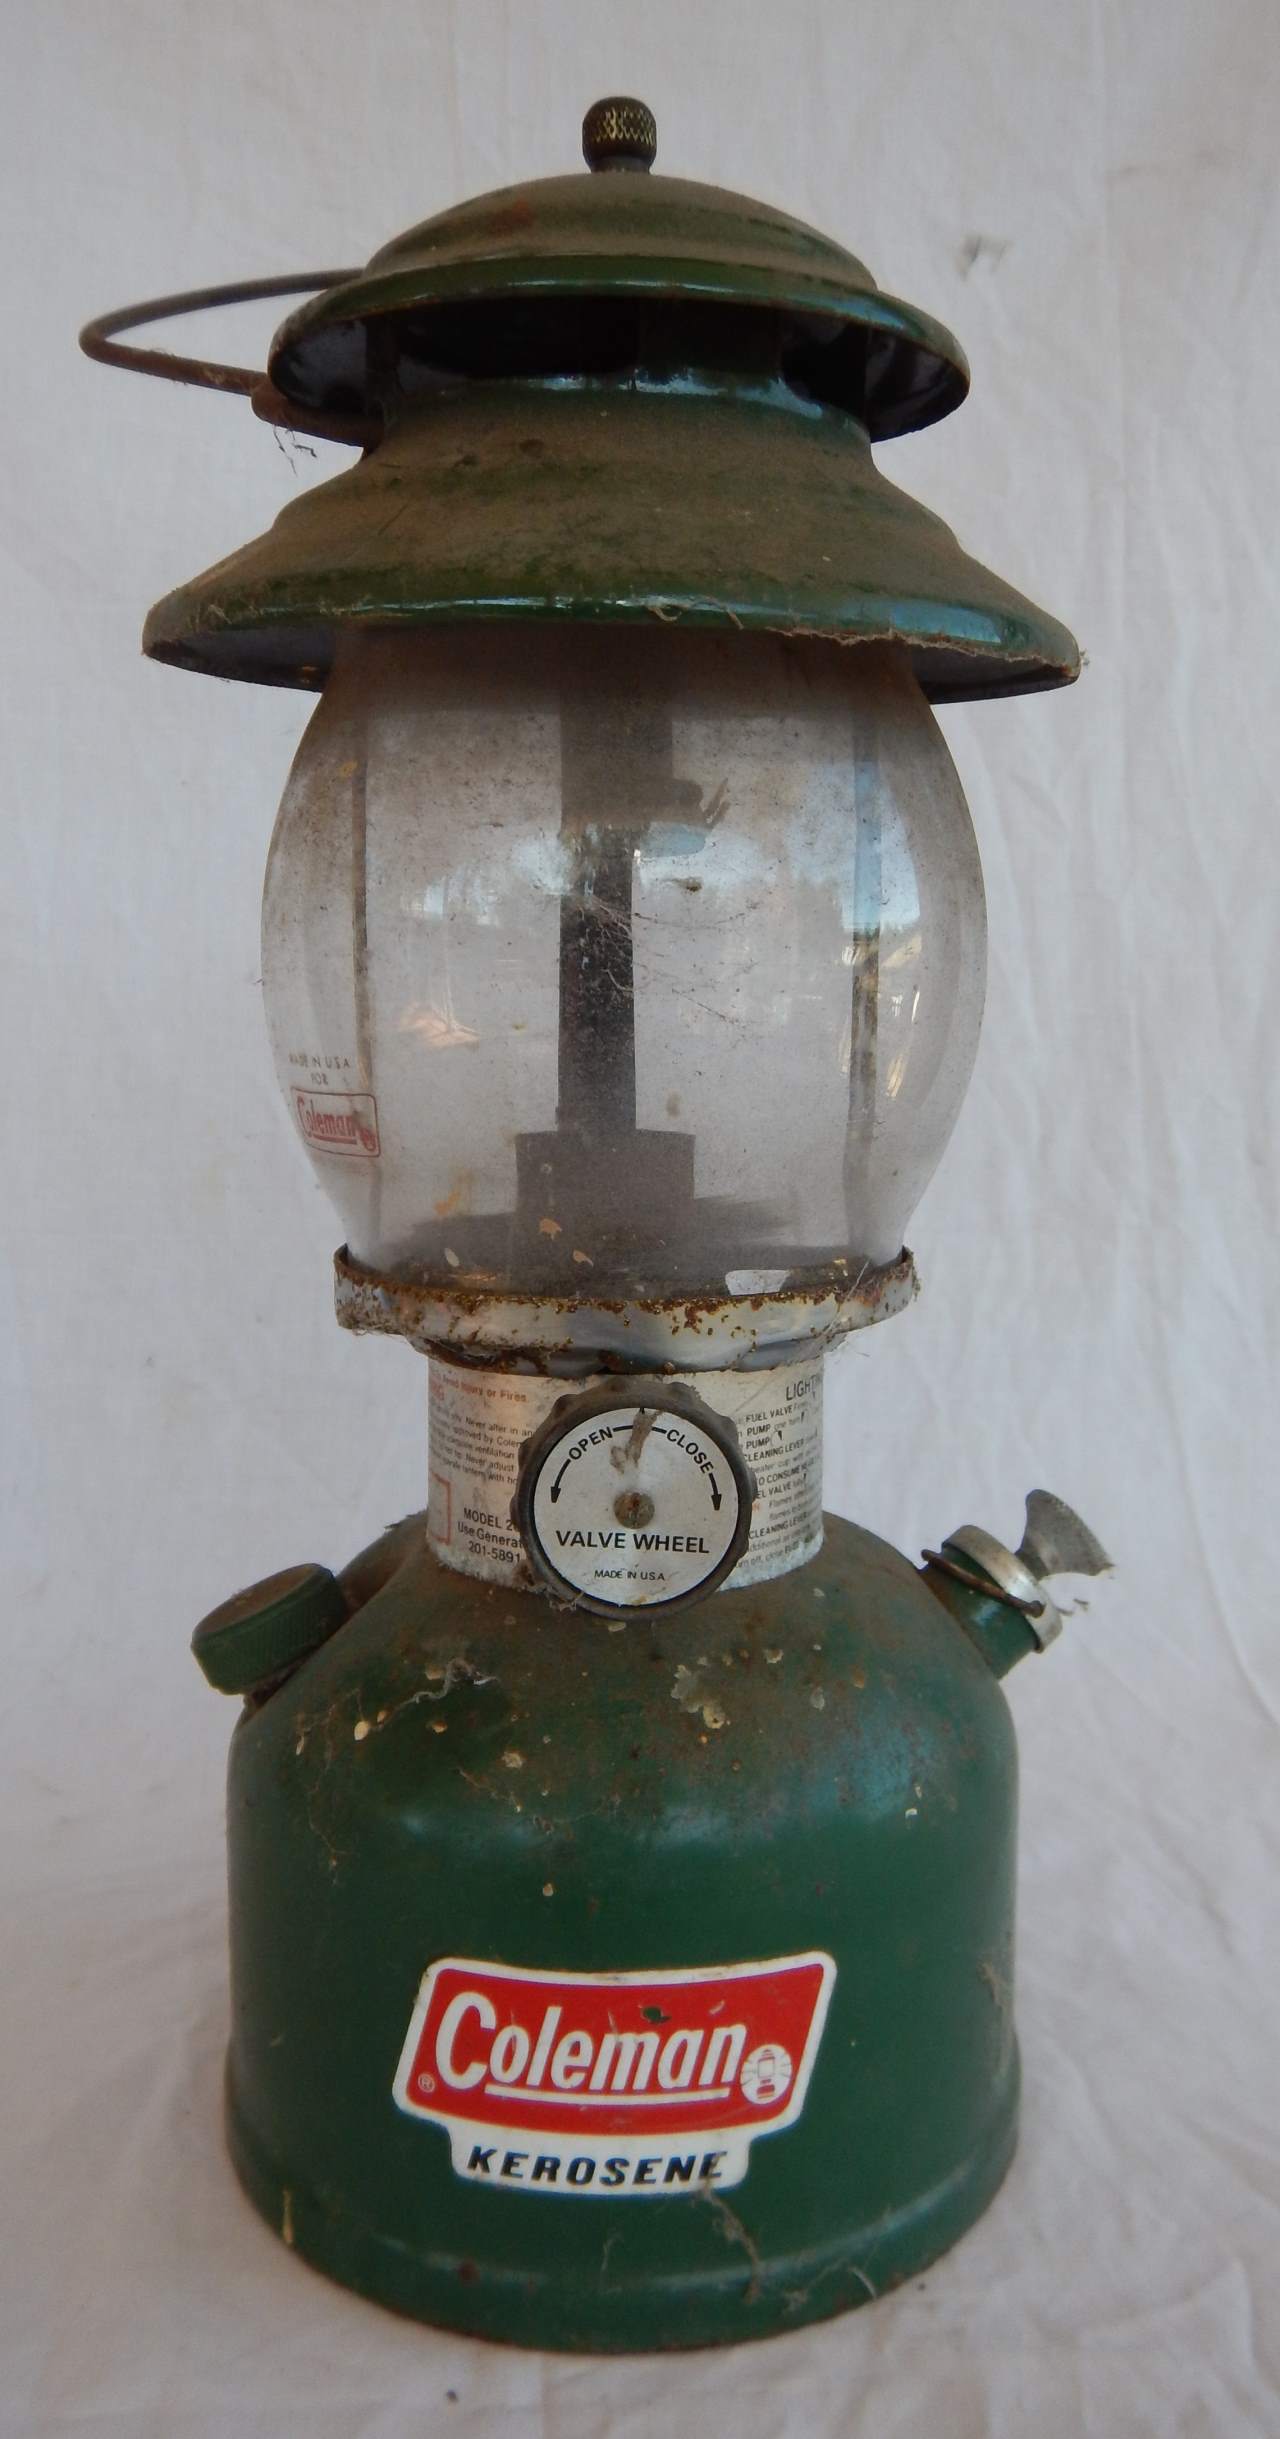
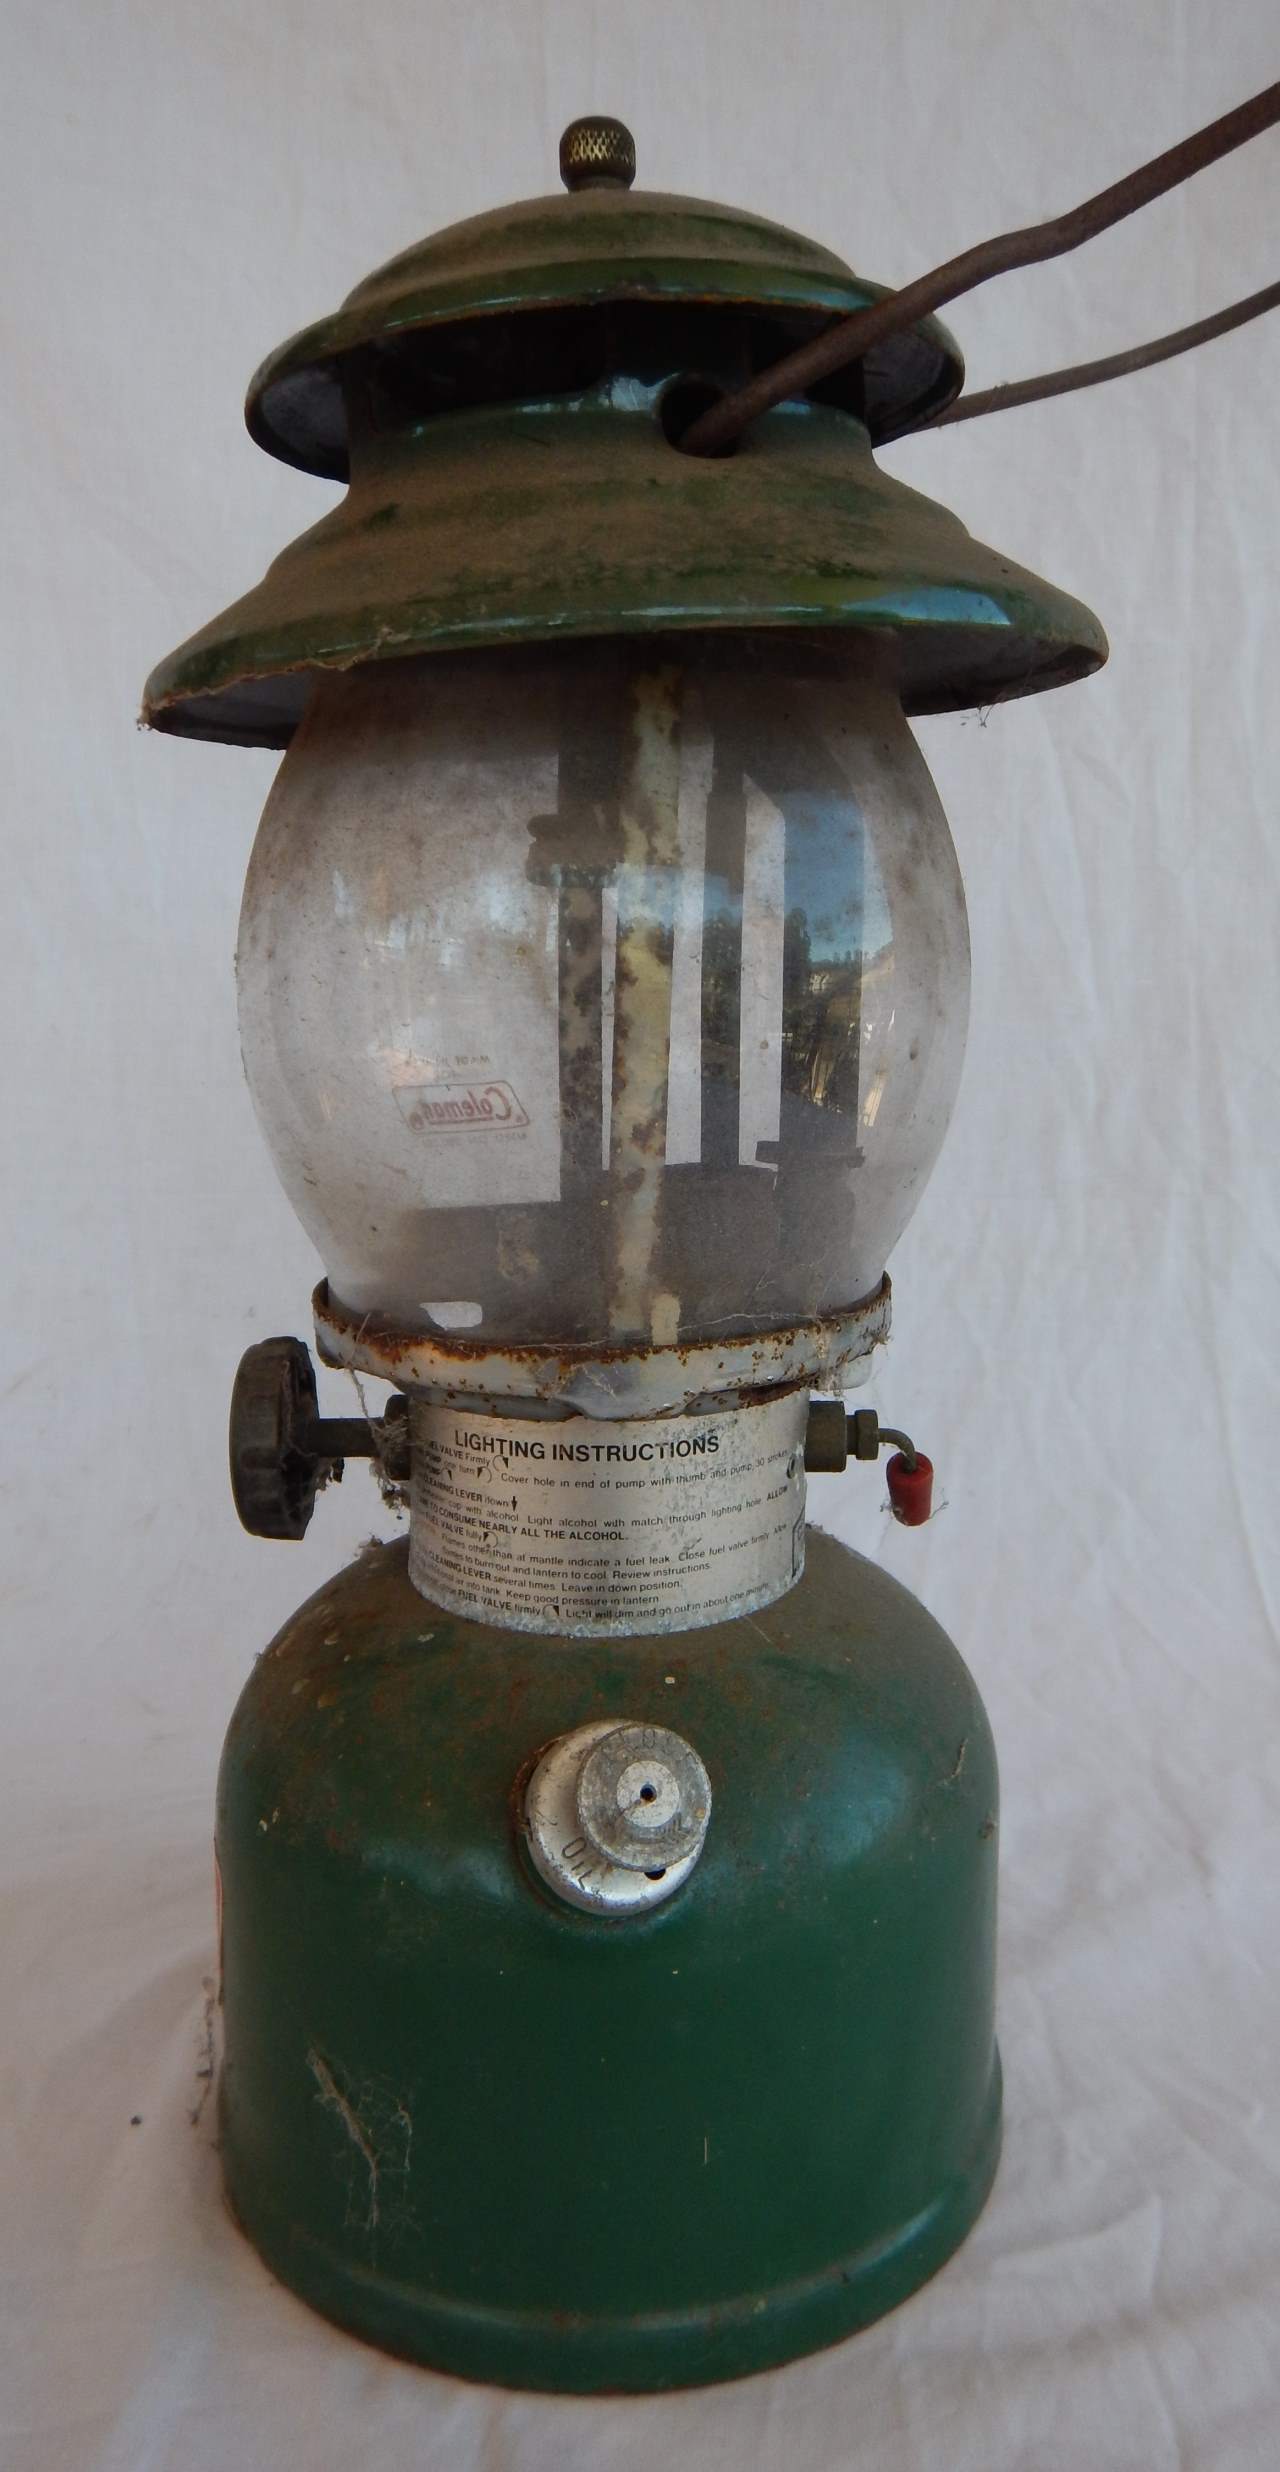
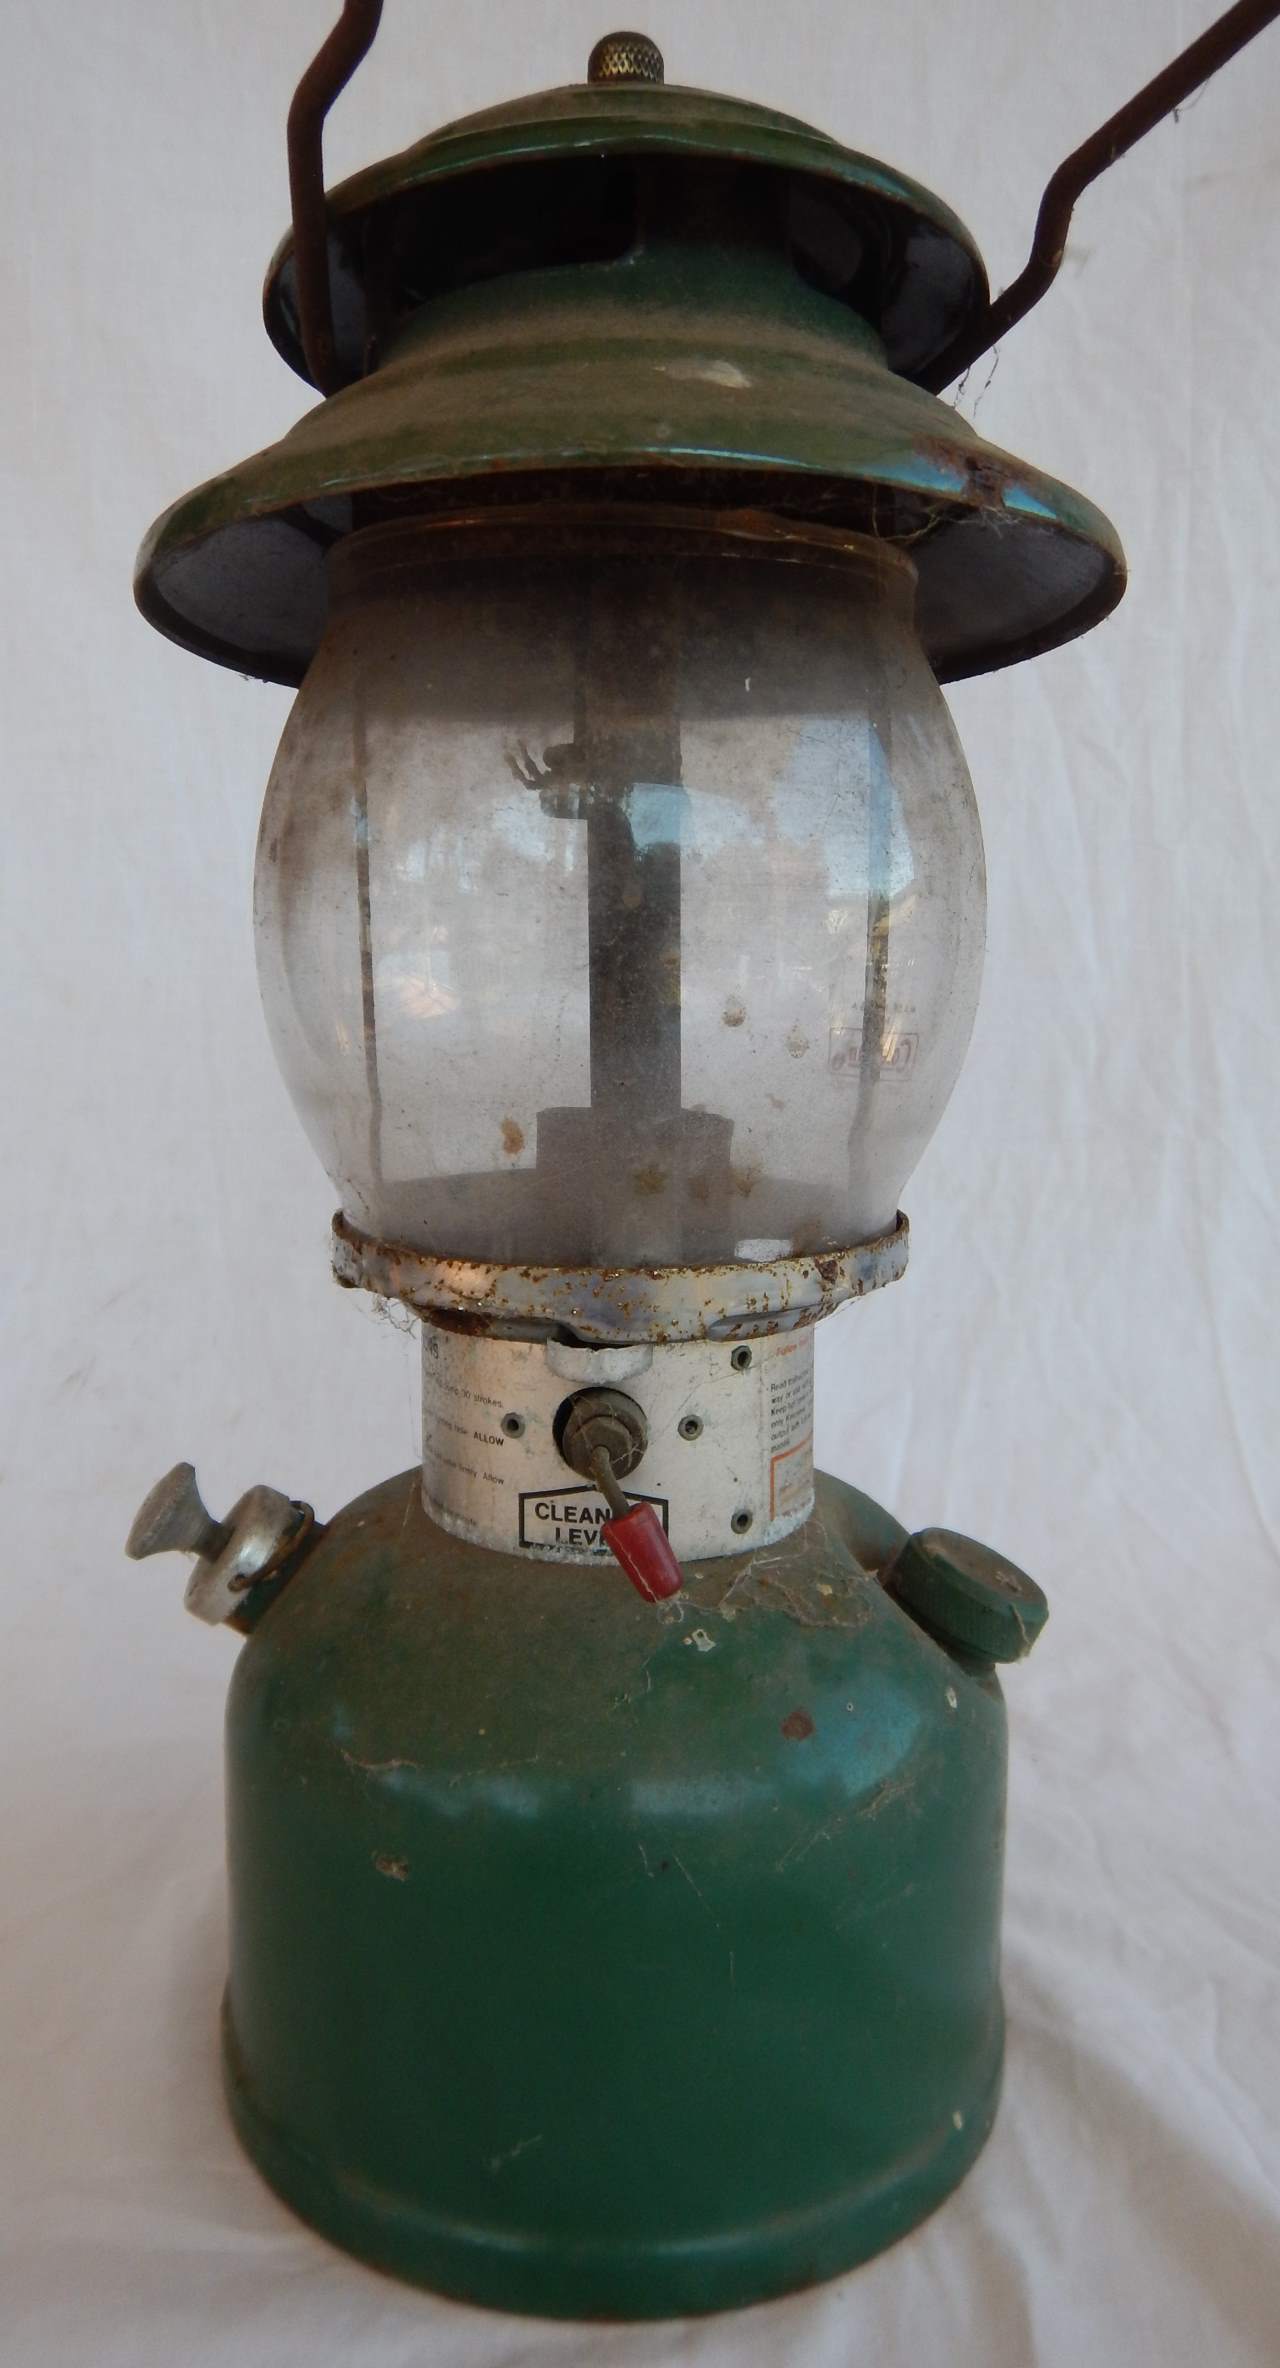
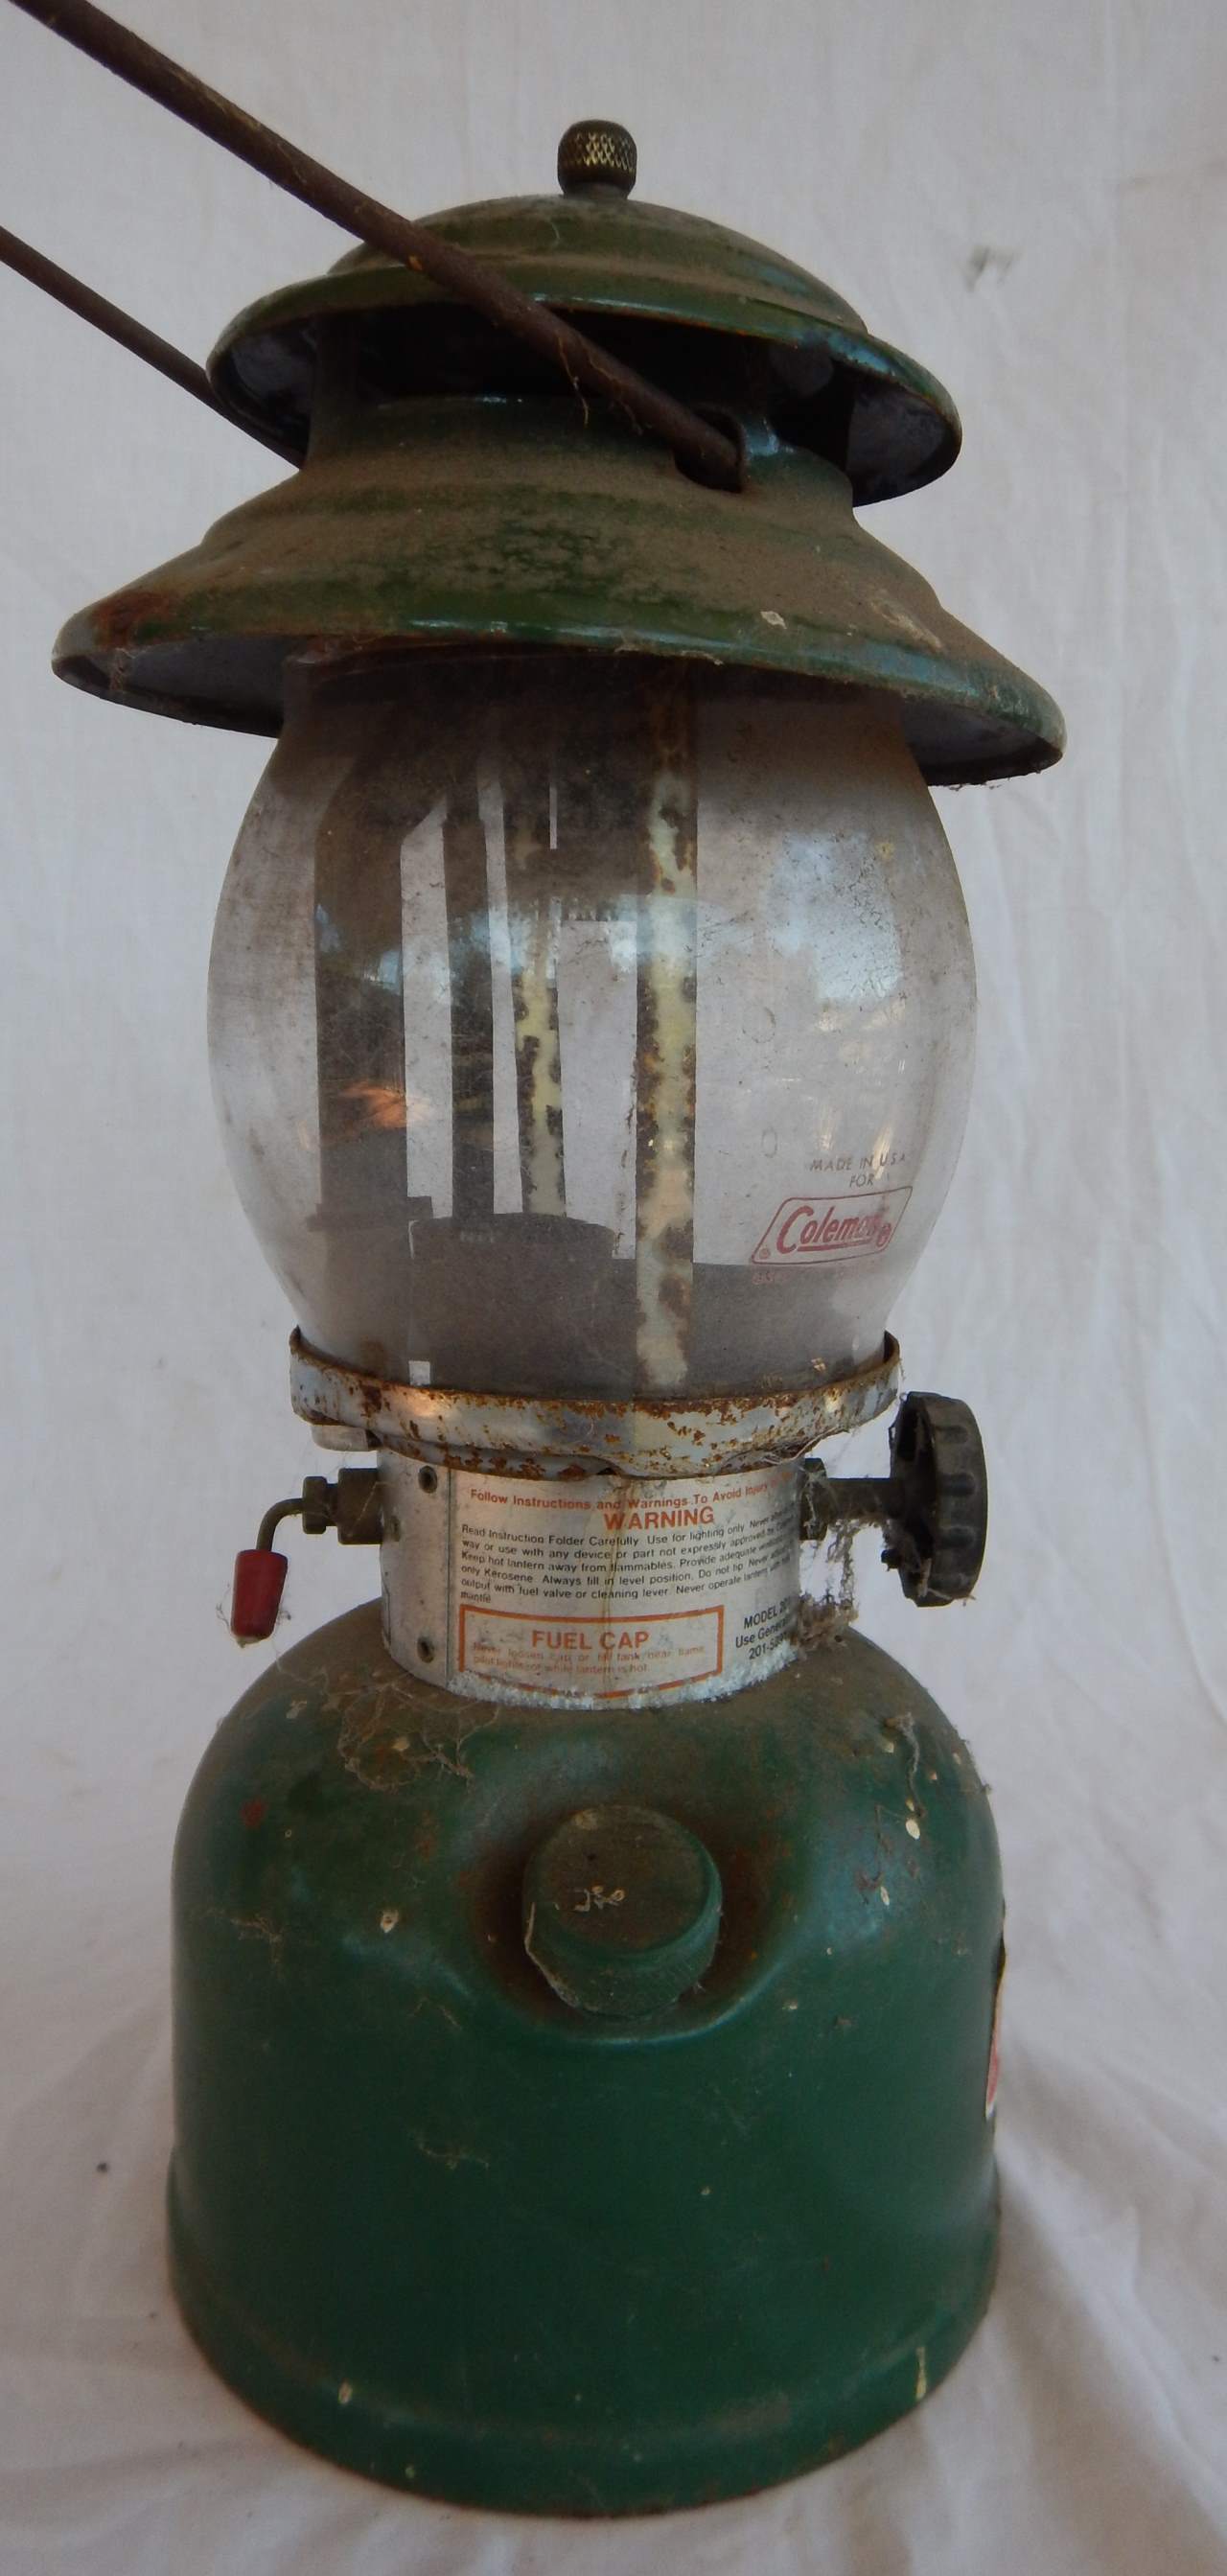
Time to give this little fella some TLC.
Preparation:
So,where do we start??
I'm afirm believer in doing a fair bir of background research before getting stuck in - it prevents a lot of stupid (and sometimes expensive) errors. Don't ask me how I know. So I wanted to do a bit of due diligence, so to speak.
So I did a bit of research and came across some parts diagrams and a great Web Site.
The guys at Classic Pressure Lamps are a great bunch of blokes, always willing to offer advice. Not your usual bunch of smart arse's you find on the Web. If you are into Pressure Lamps, you really should head on over and introduce yourself - you'll be glad you did. And thereare links to great PartsSuppliers as well.
Anyway - searched around and alos got hold of a few bits and pieces that might be of interest to anyone restoring one of these Coleman 201 Lamps. Head overto the Resources sectionto see what's there.
And now having the background info I needed, time to get stuck in.
Restoration:
First things first - give it abit of a clean.
Nothing too dramatic at this stage - just really blow off all the dust aht has accumulated over who knows how many years.
Will doing that, make note of anything that might be broken or missing - I was pretty lucky, everything was there and in good shape (one of the reasons I chose this lamp to do first).
Once cleaned up - time for disassembly. There are not too many parts in these things, and they are not too difficult to disassemble - but of course the arch enemy of any restorer, RUST - is always waiting to make life difficult.
First thing I noticed was the stamp on the base: records Manufacturer, Place and Year of Manufacture.
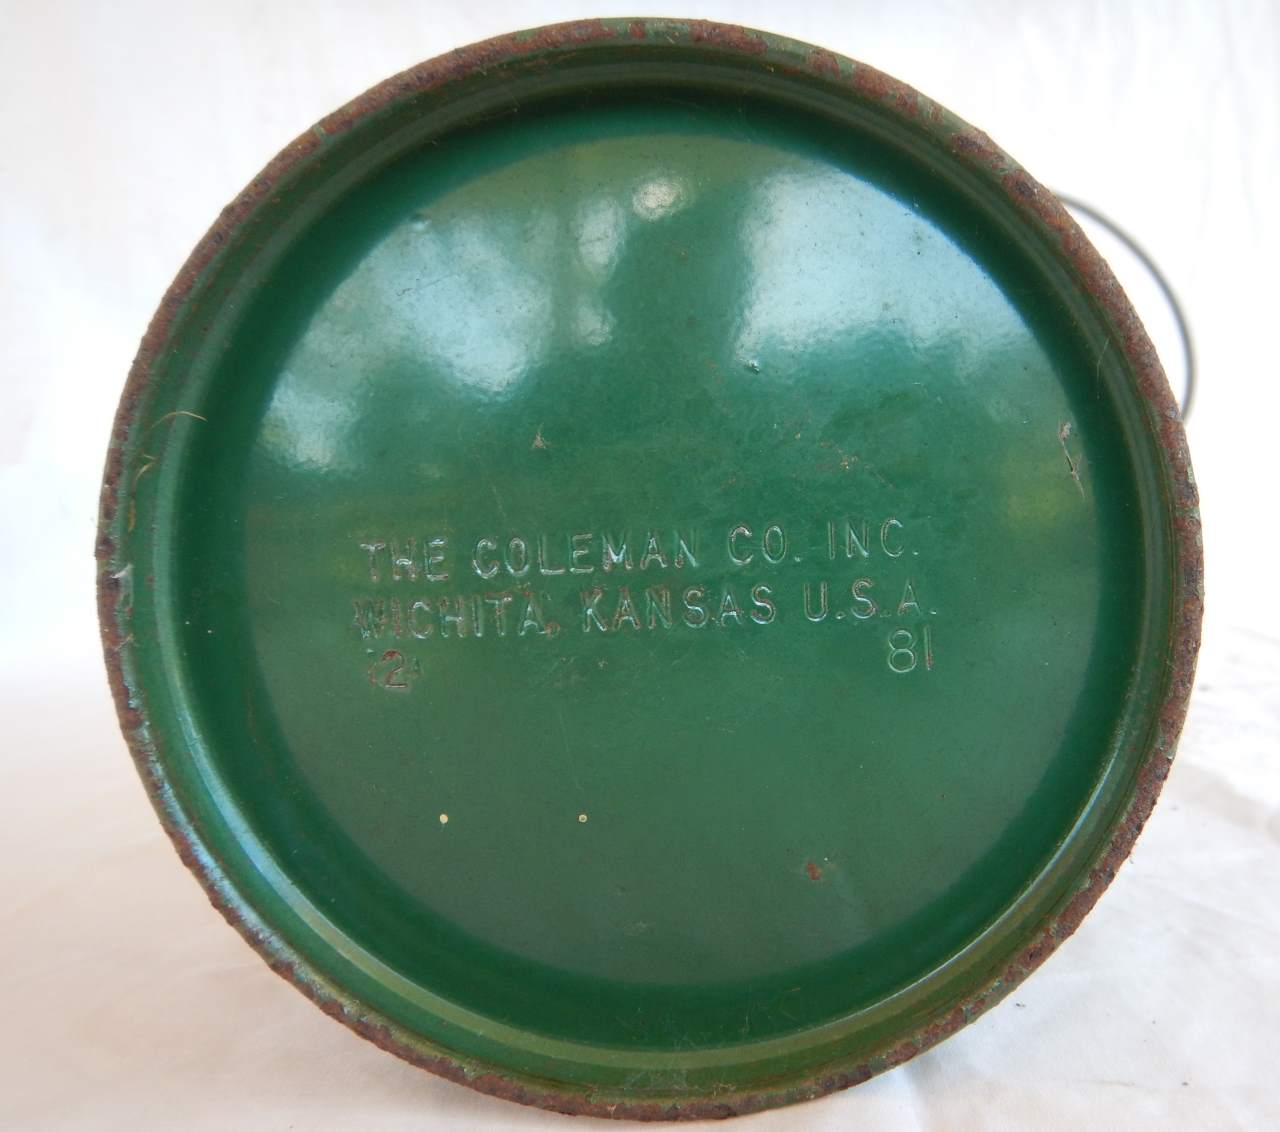
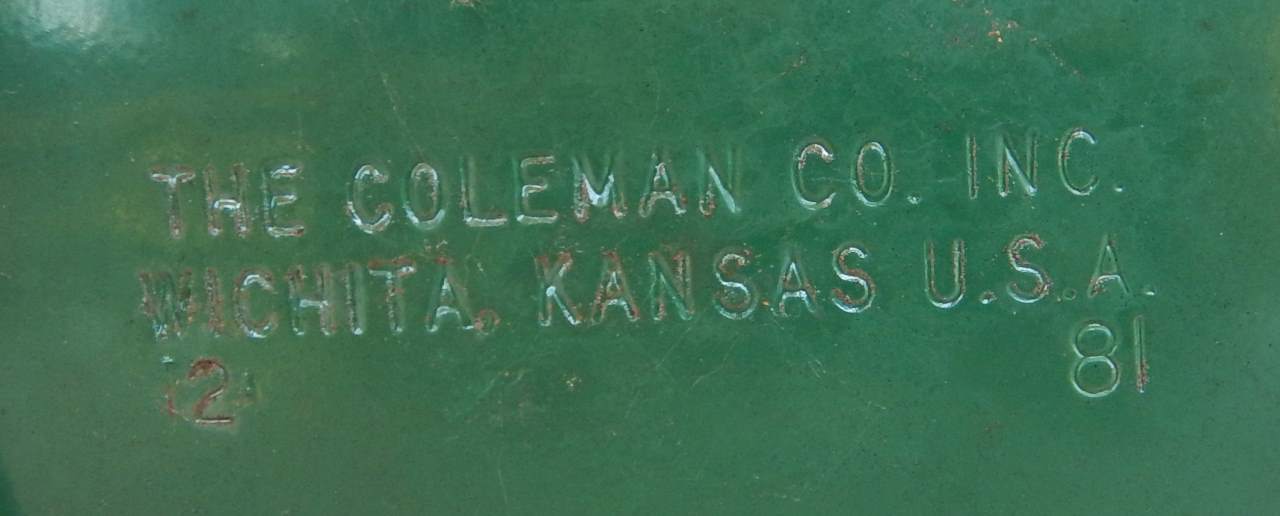
You can also see how good the fuel font base looks
Next thing was to remove the handle, the top shield (the Ventilator) and glass (careful!!). Things weren't looking so clean now - but at least the top isn't pressurised and containing flamable liquid.
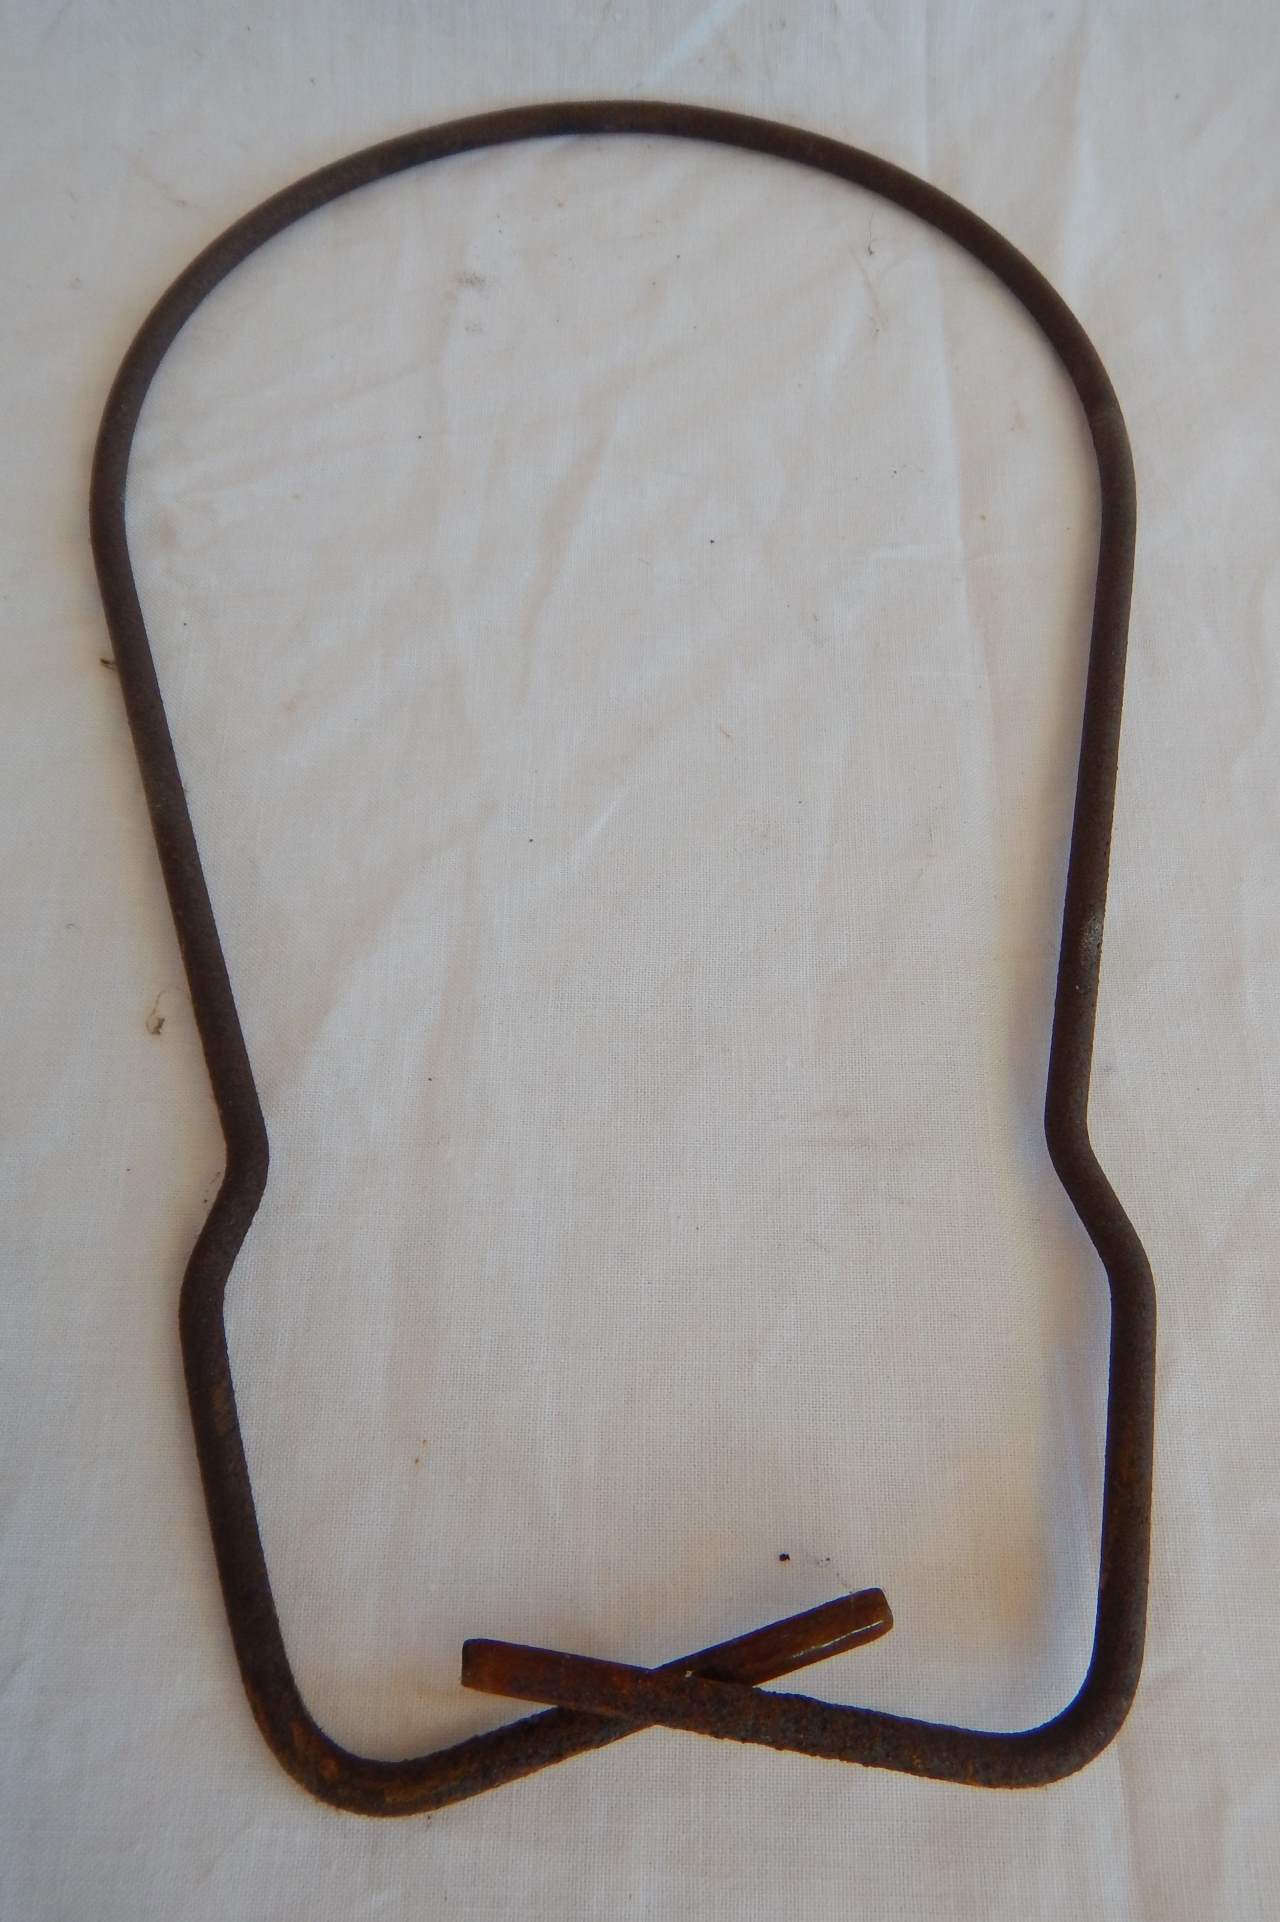
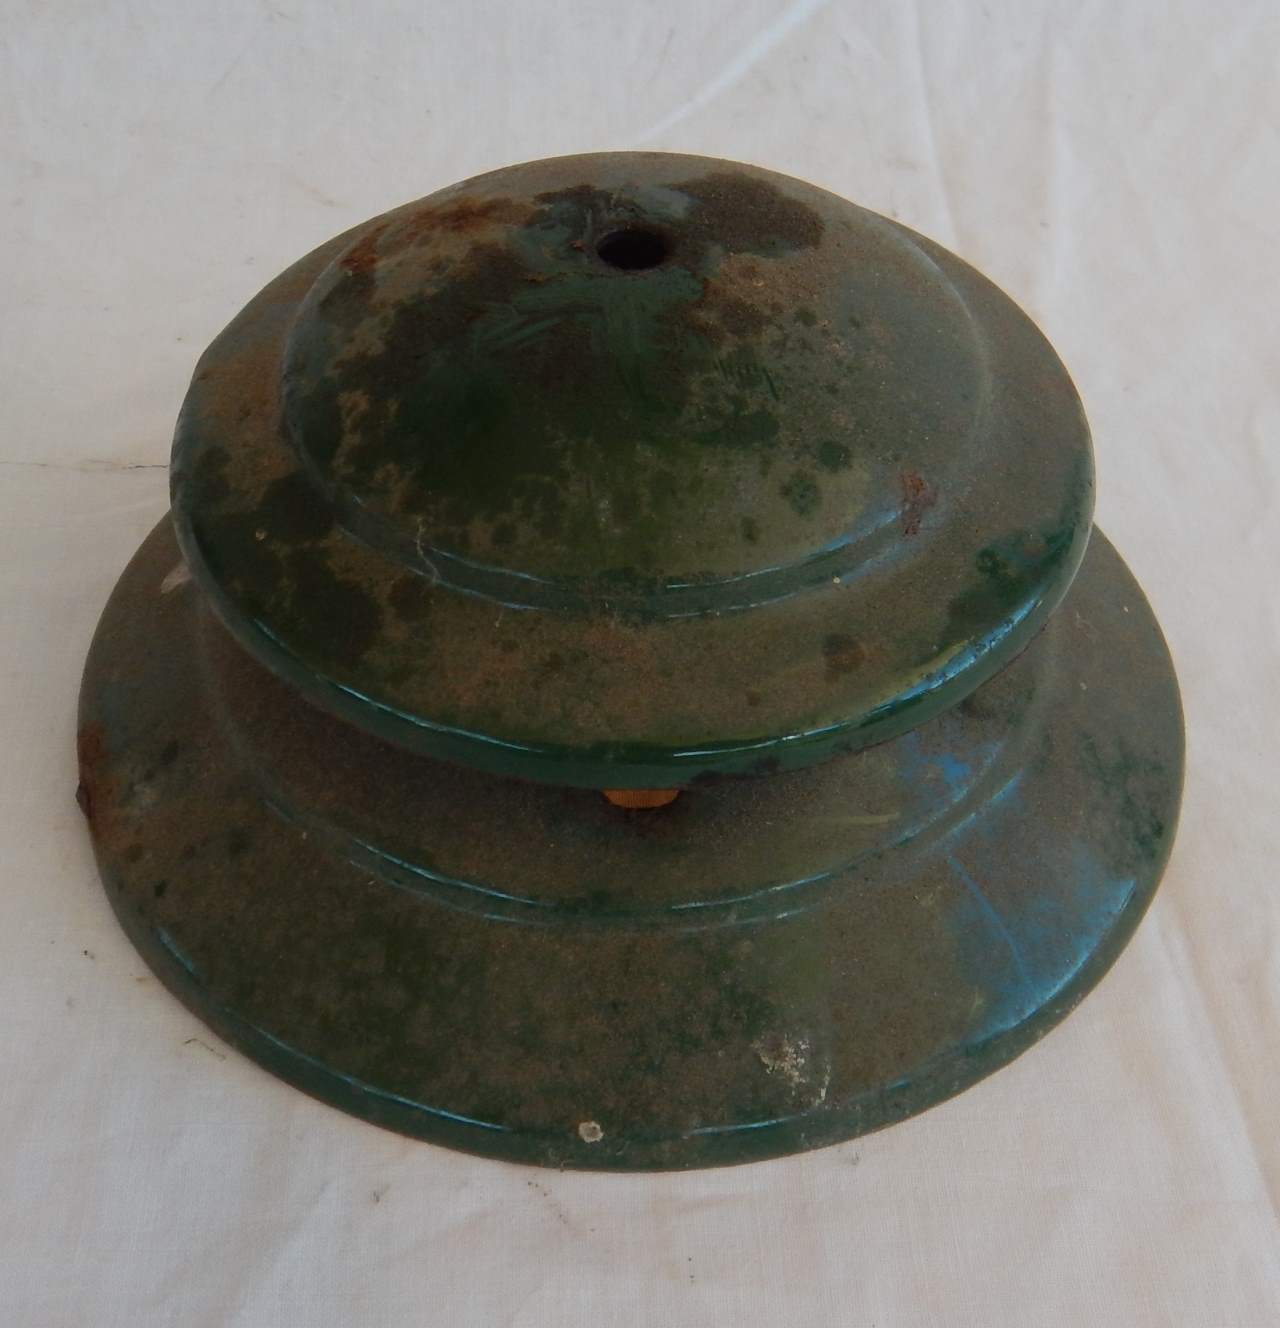
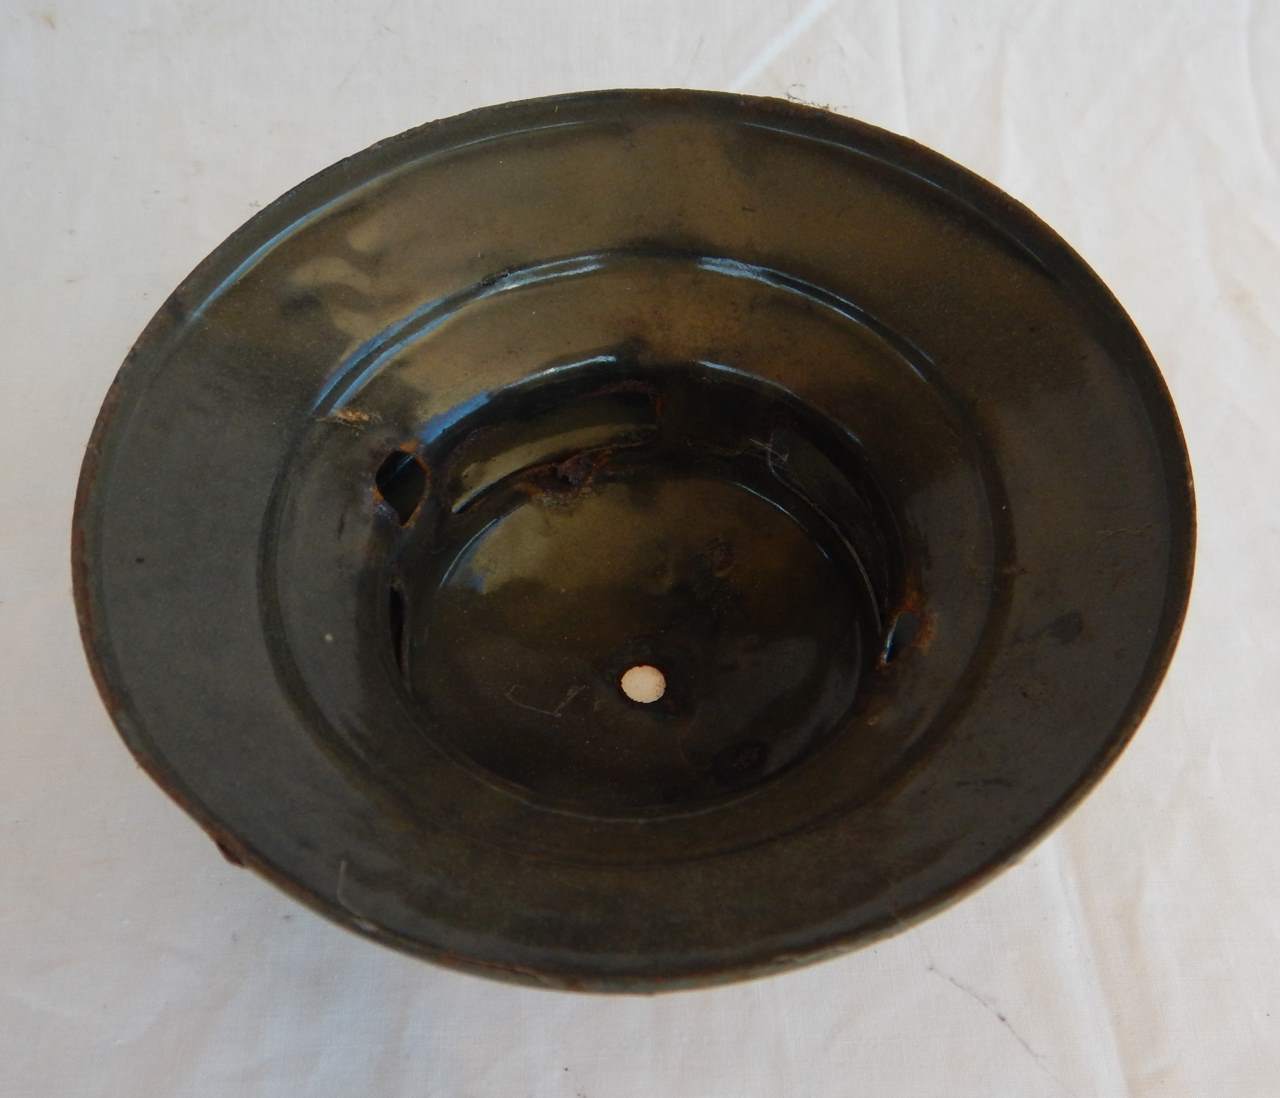

Cleaned them up- the globe got a very gentle treatment with plain old dish washing detergent and hot water and came up really nice.
The ventilator and handlewere harder as they had quite a bit of rust. The handle was wire brushed as well as I could and then soaked in a Citric Acid solution overnight to get rid of the rust. It came up quite well.
The Ventilator was a bit of a problem - it has an enamelled finish to withstand the heat of the flame below - and the enamel had chipped and the metal below rusted, so I couldn't see any way to repair that short of stripping the whole thing back to bare metal and then getting it re-enamelled - but I wasn't really prepared to do that. I jsut gave it a really good clean in soap and water to getthe muck off, then wire brushed the rusty bits and soaked it in Citric Acid solution overnight - it came up OK at best, but a lot better than it was.
Get the cage off - which was probably the worst bit of all - lots of surface rust - enough to ruin the chrome finish - butagain - I'm not going to get it rechromed.
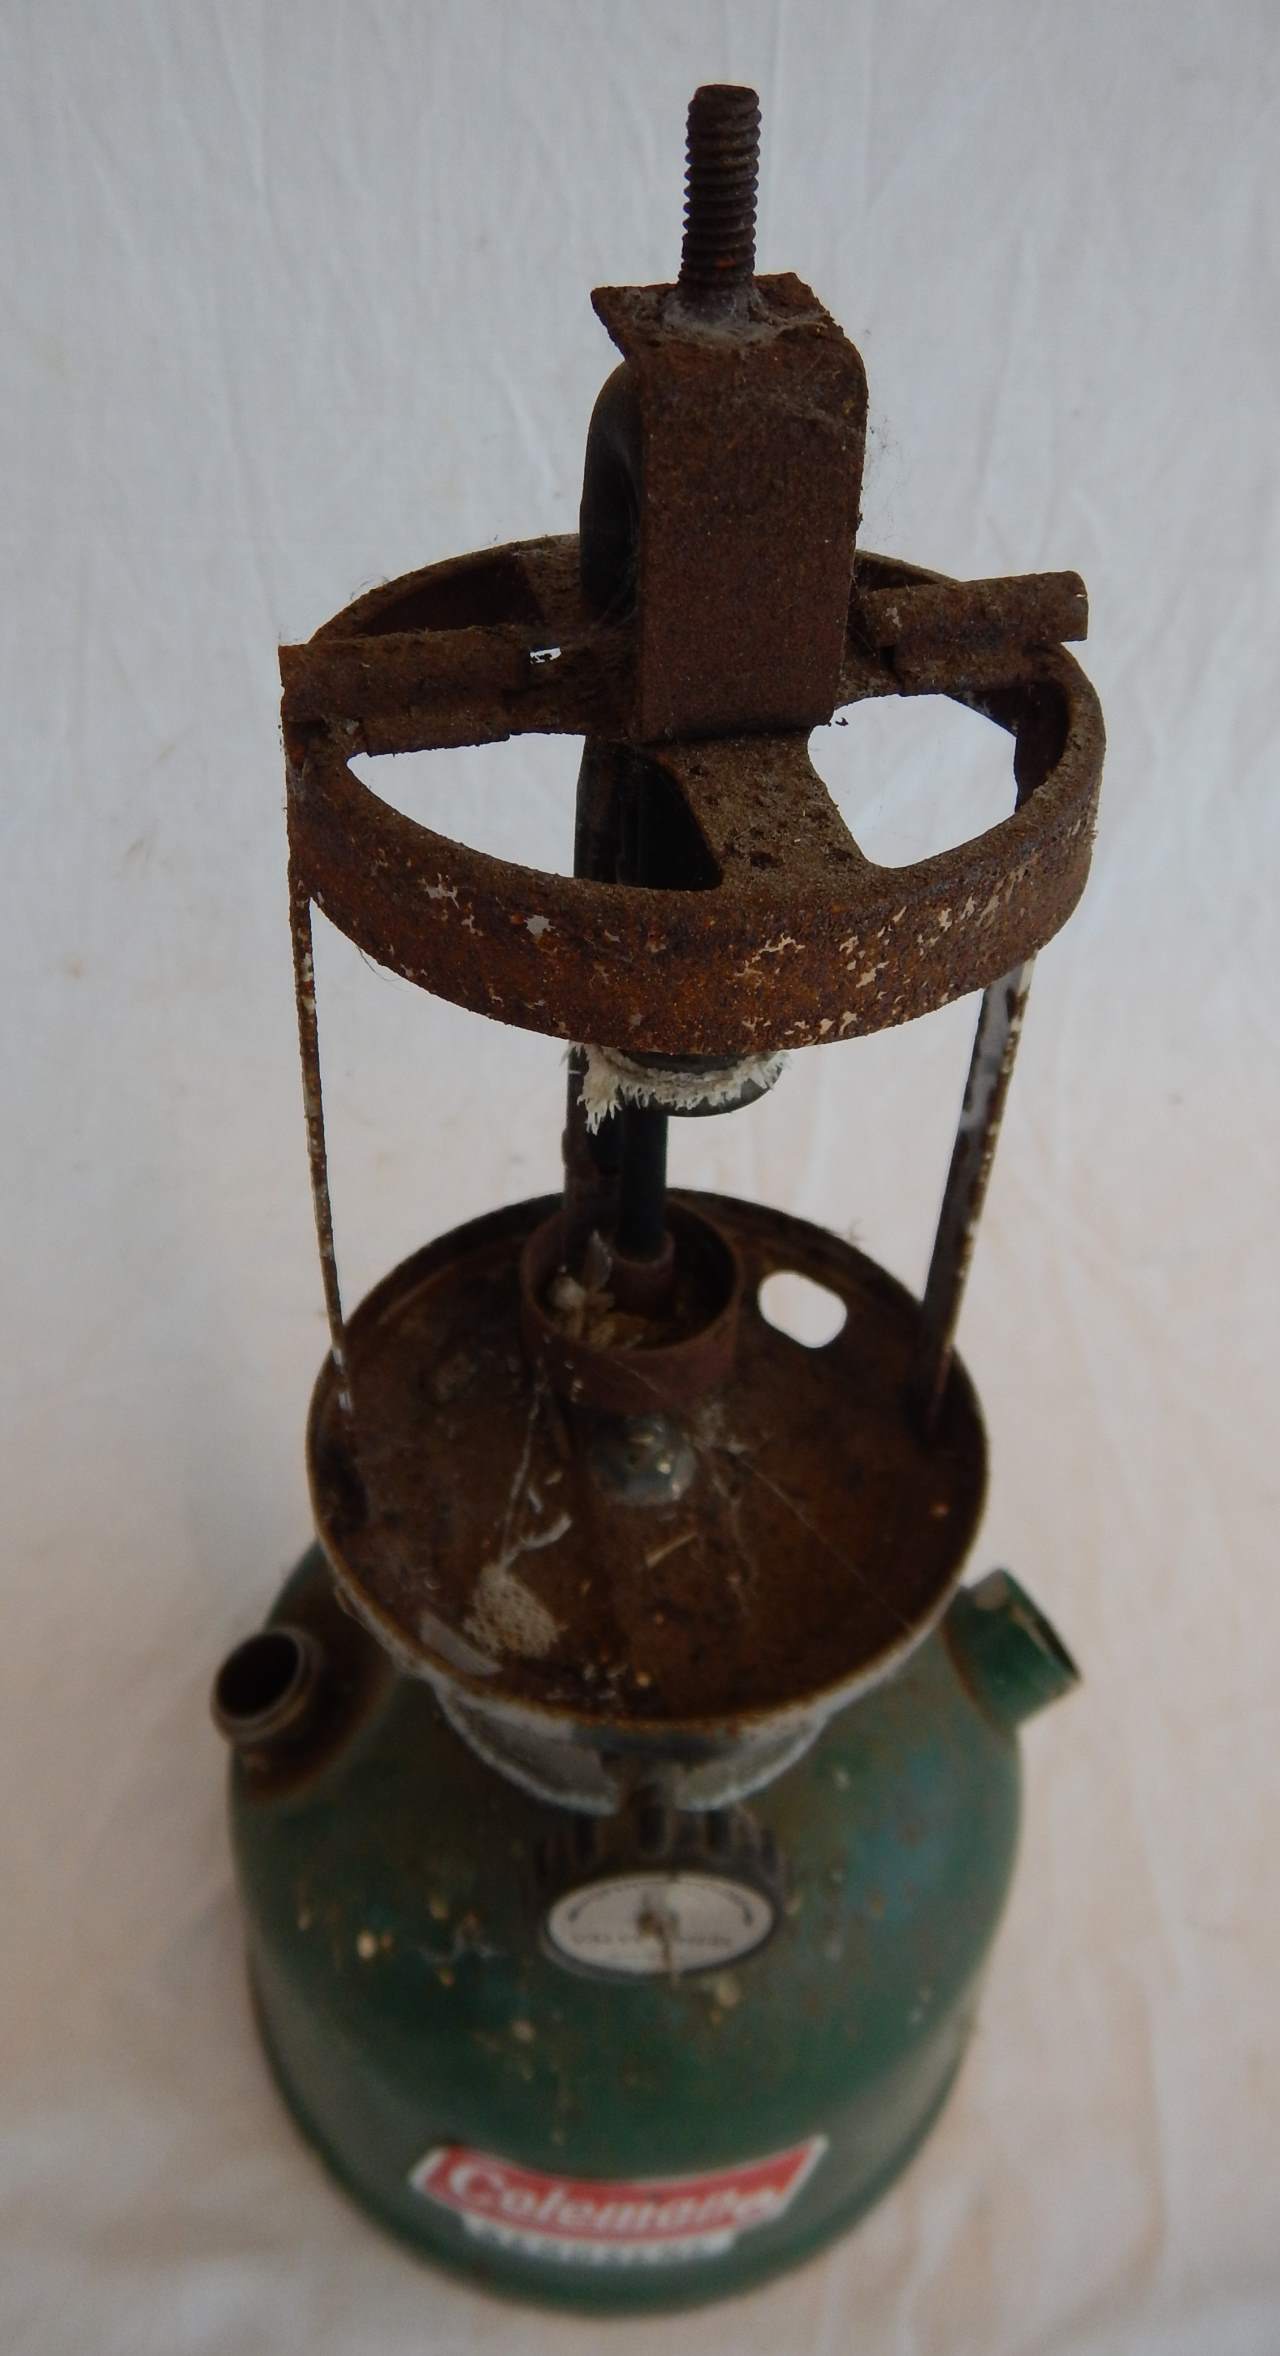
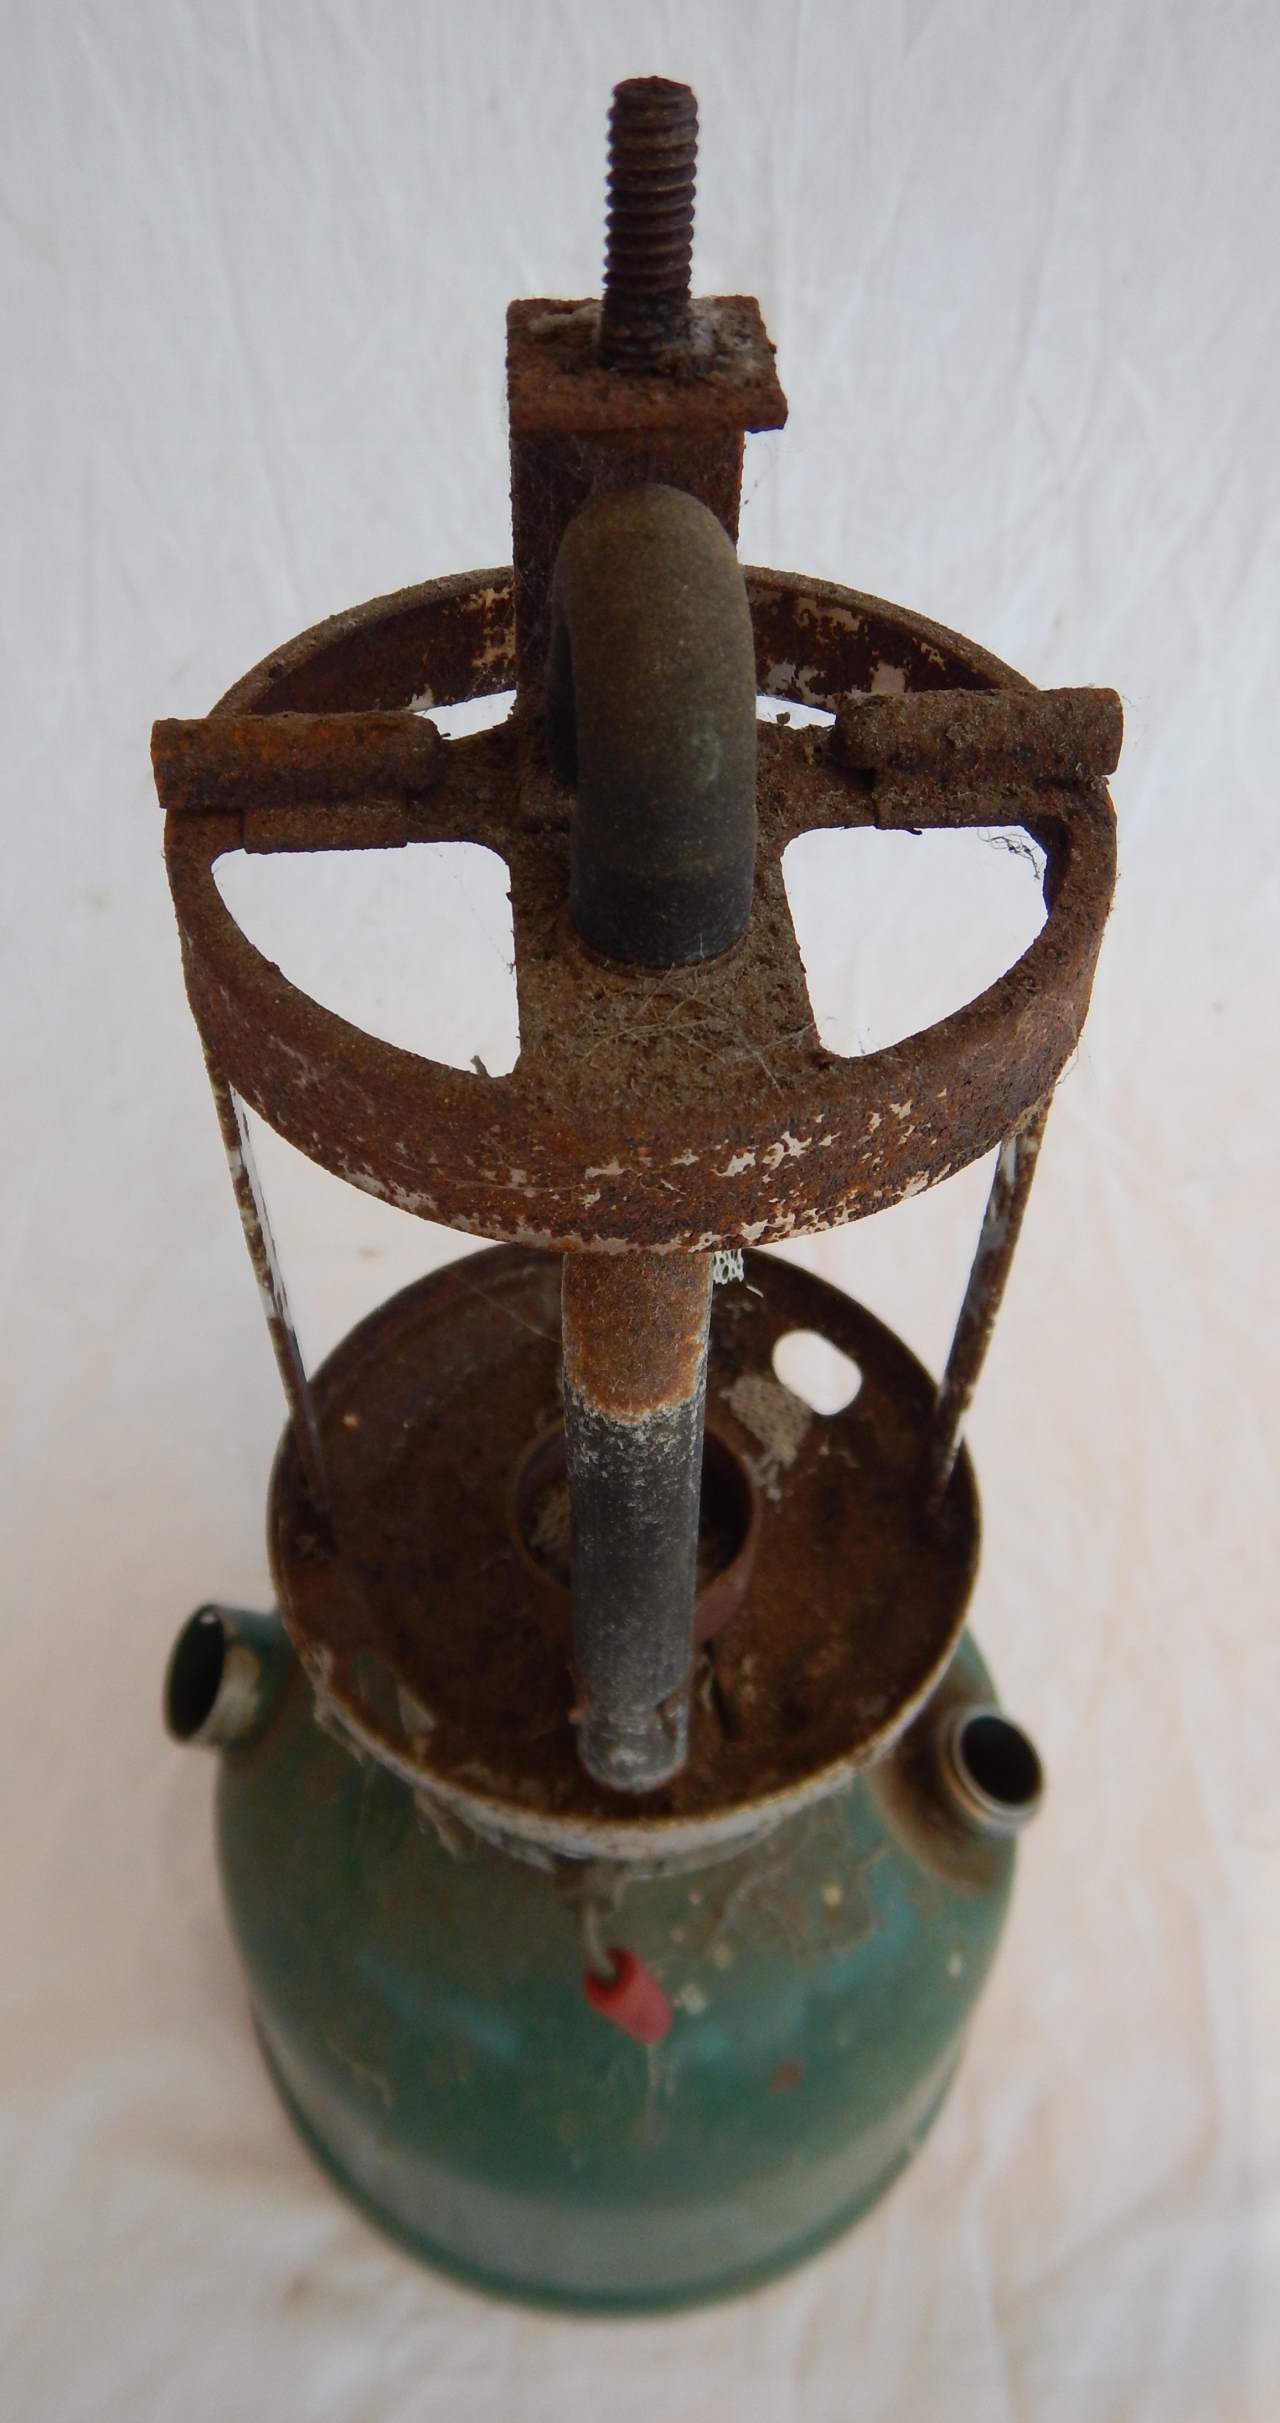
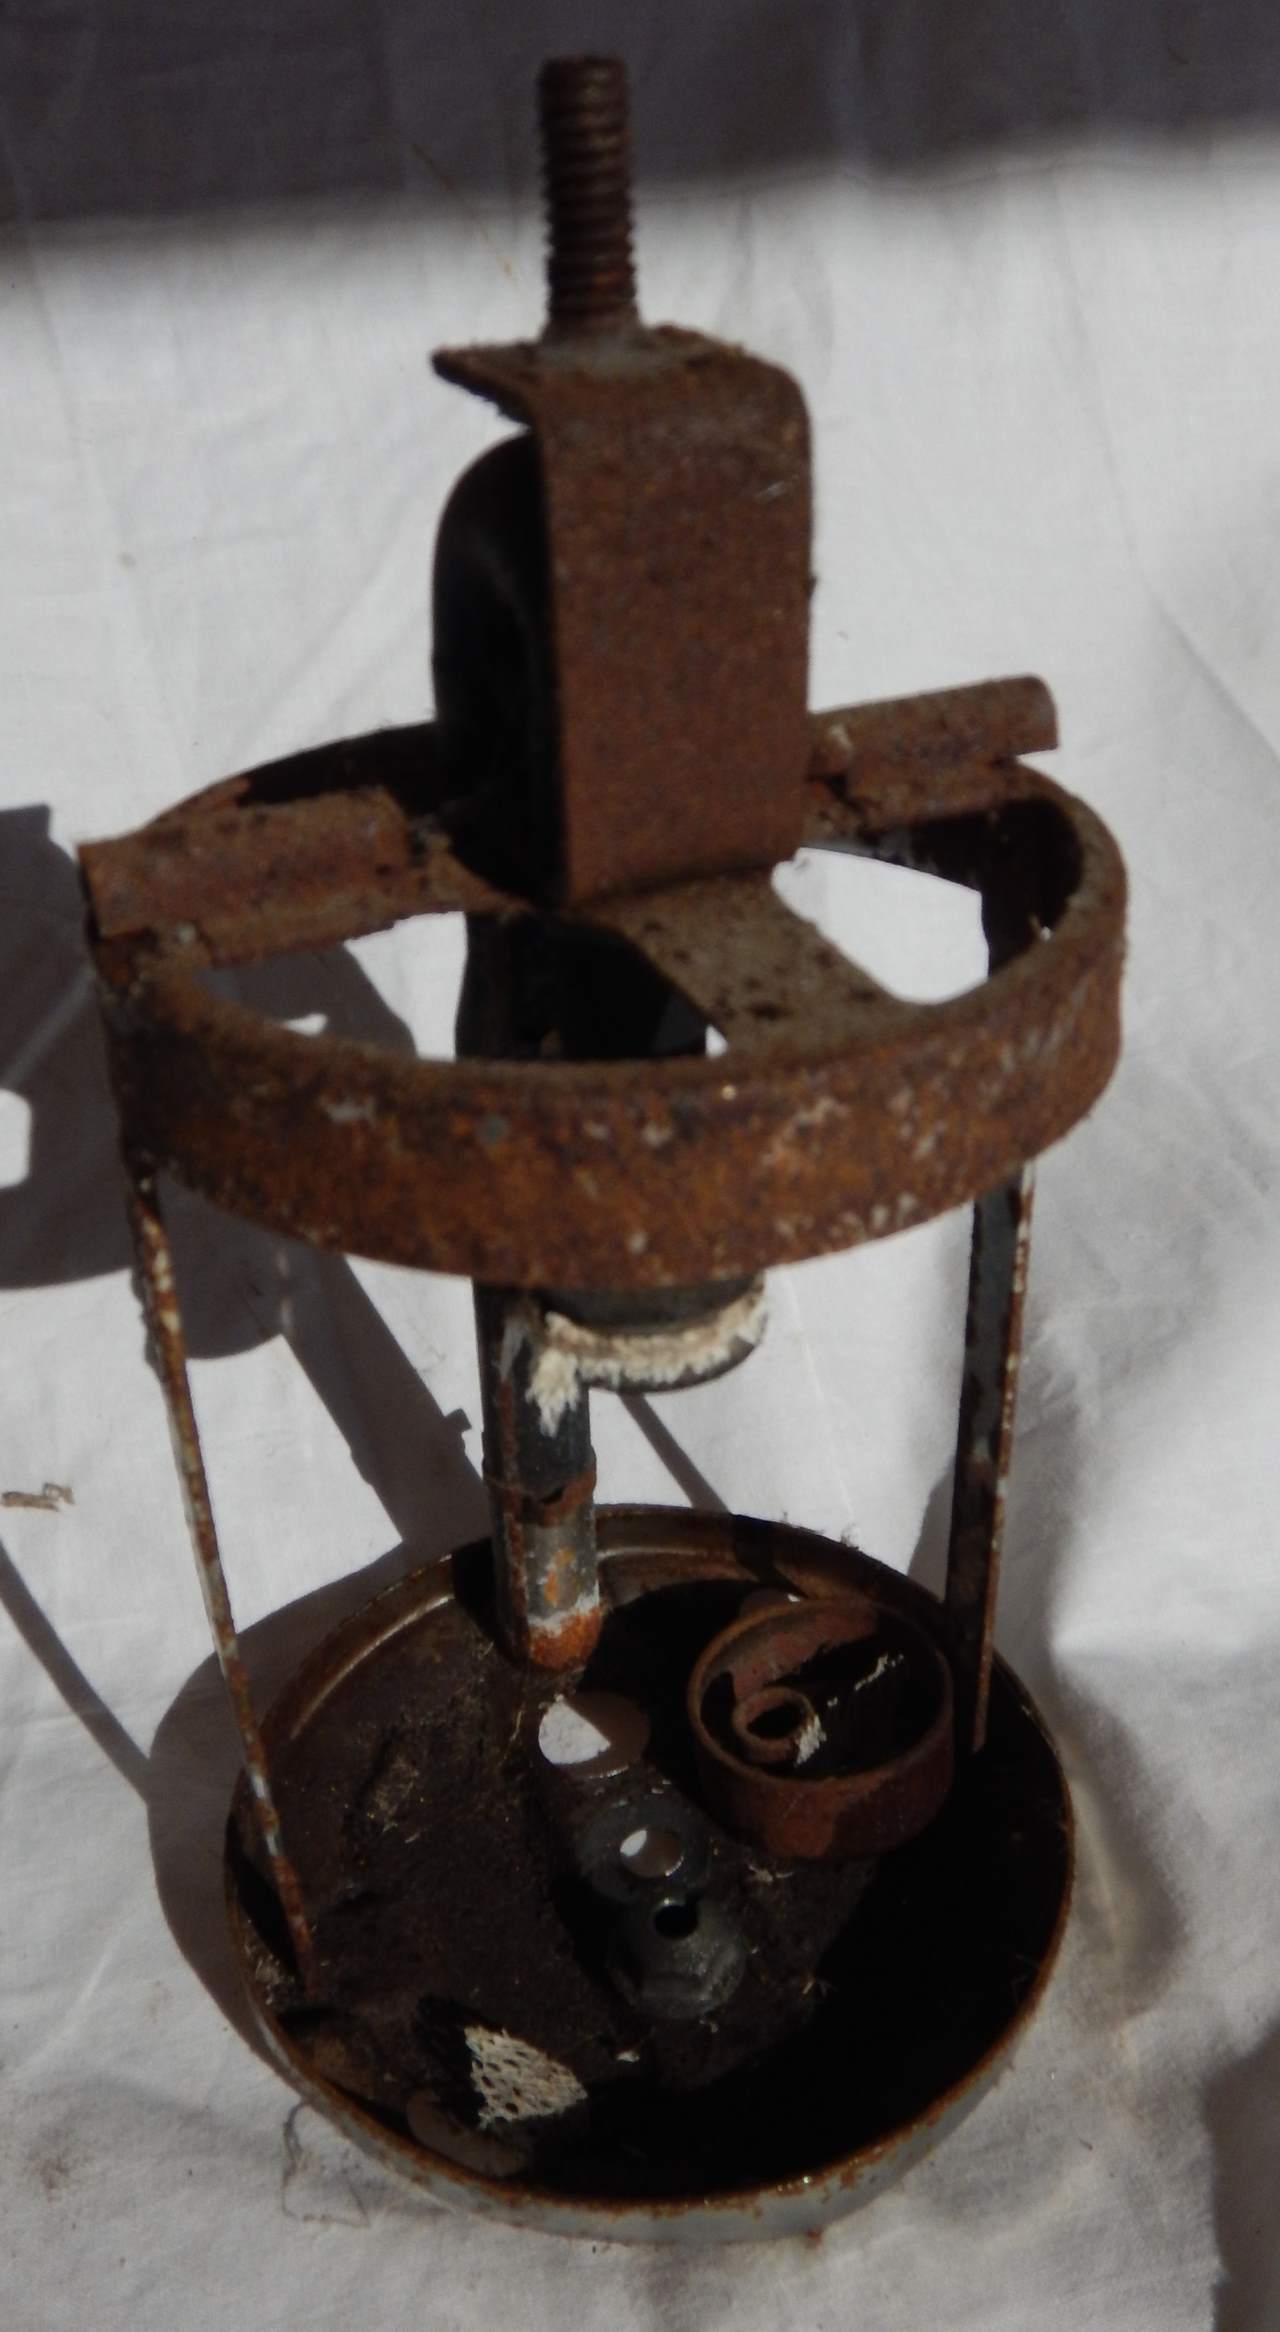
Once again, this part got a good scrubbing with a wire brush (attached to my Dremmel) and then a good soak in Citric Acid Solution. And once again, it came up reasonably well - nothing near as good as the original crhome finish though. I may revisit this one day and try priming it and then painting it with VHT Aluminium Heat Proof Paint. I've used it on other things and with good prep and a bit of care it looks really nice.
Which left me with this - spiders included.
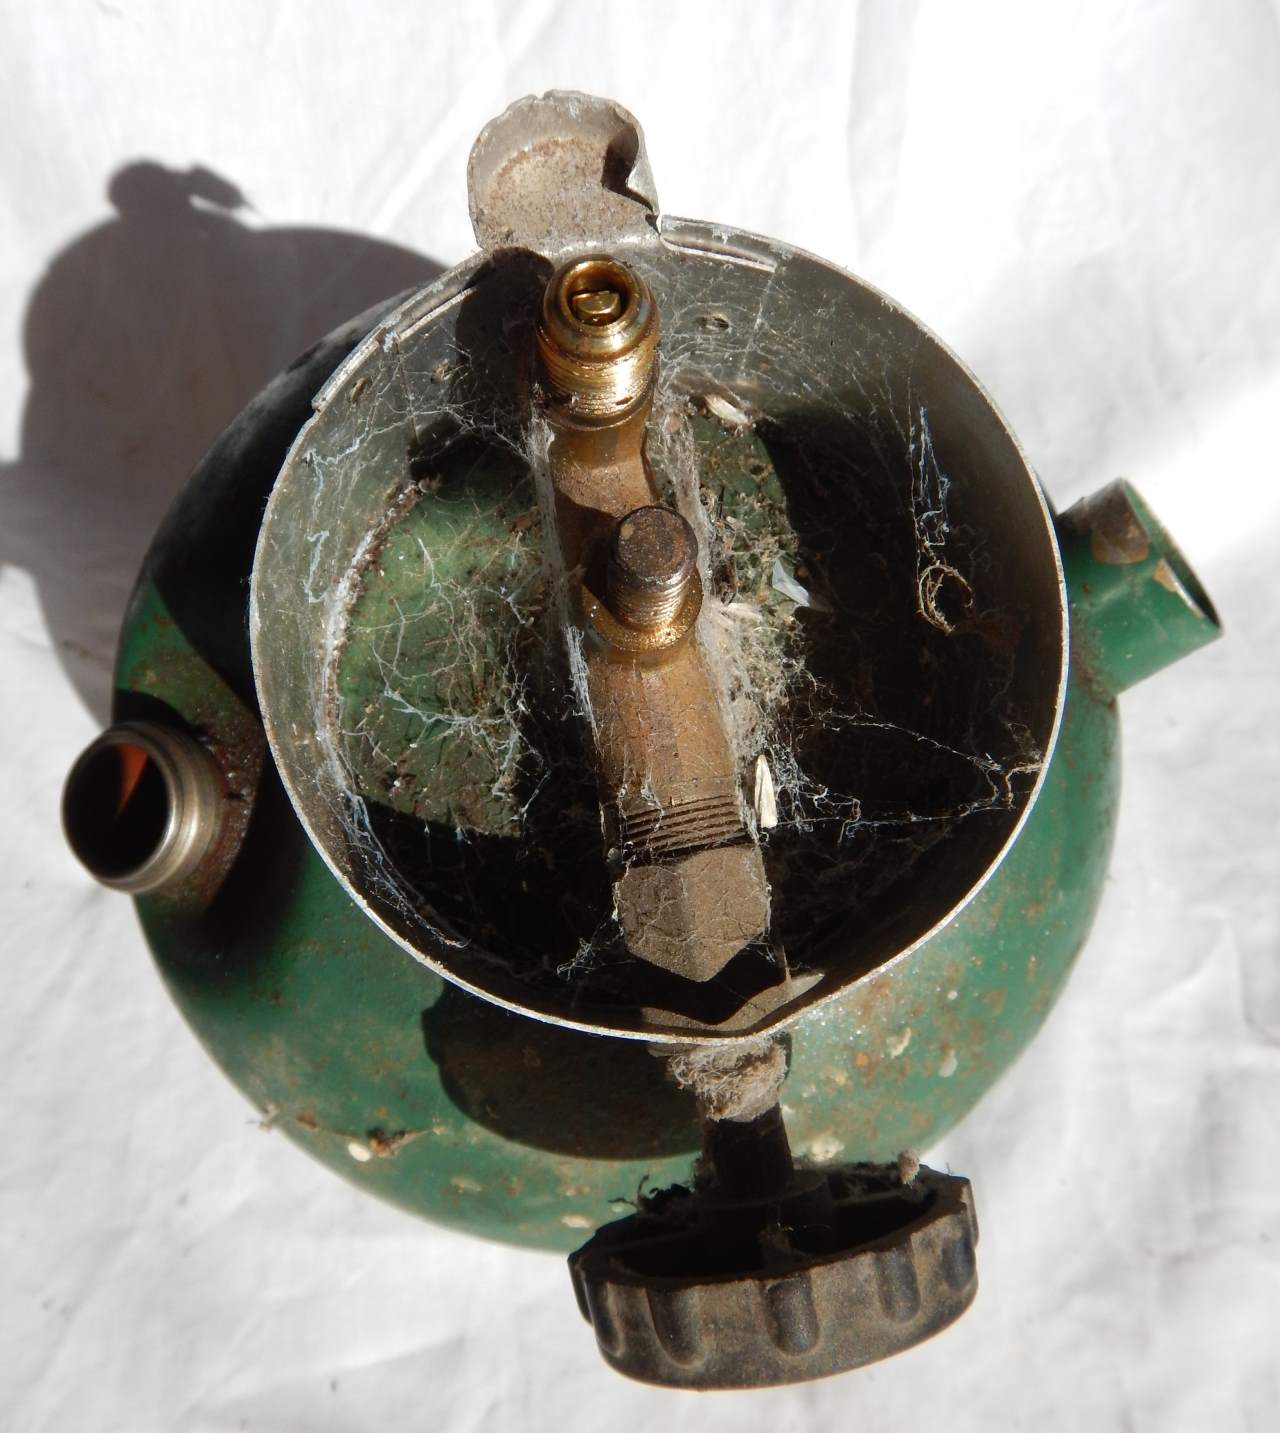
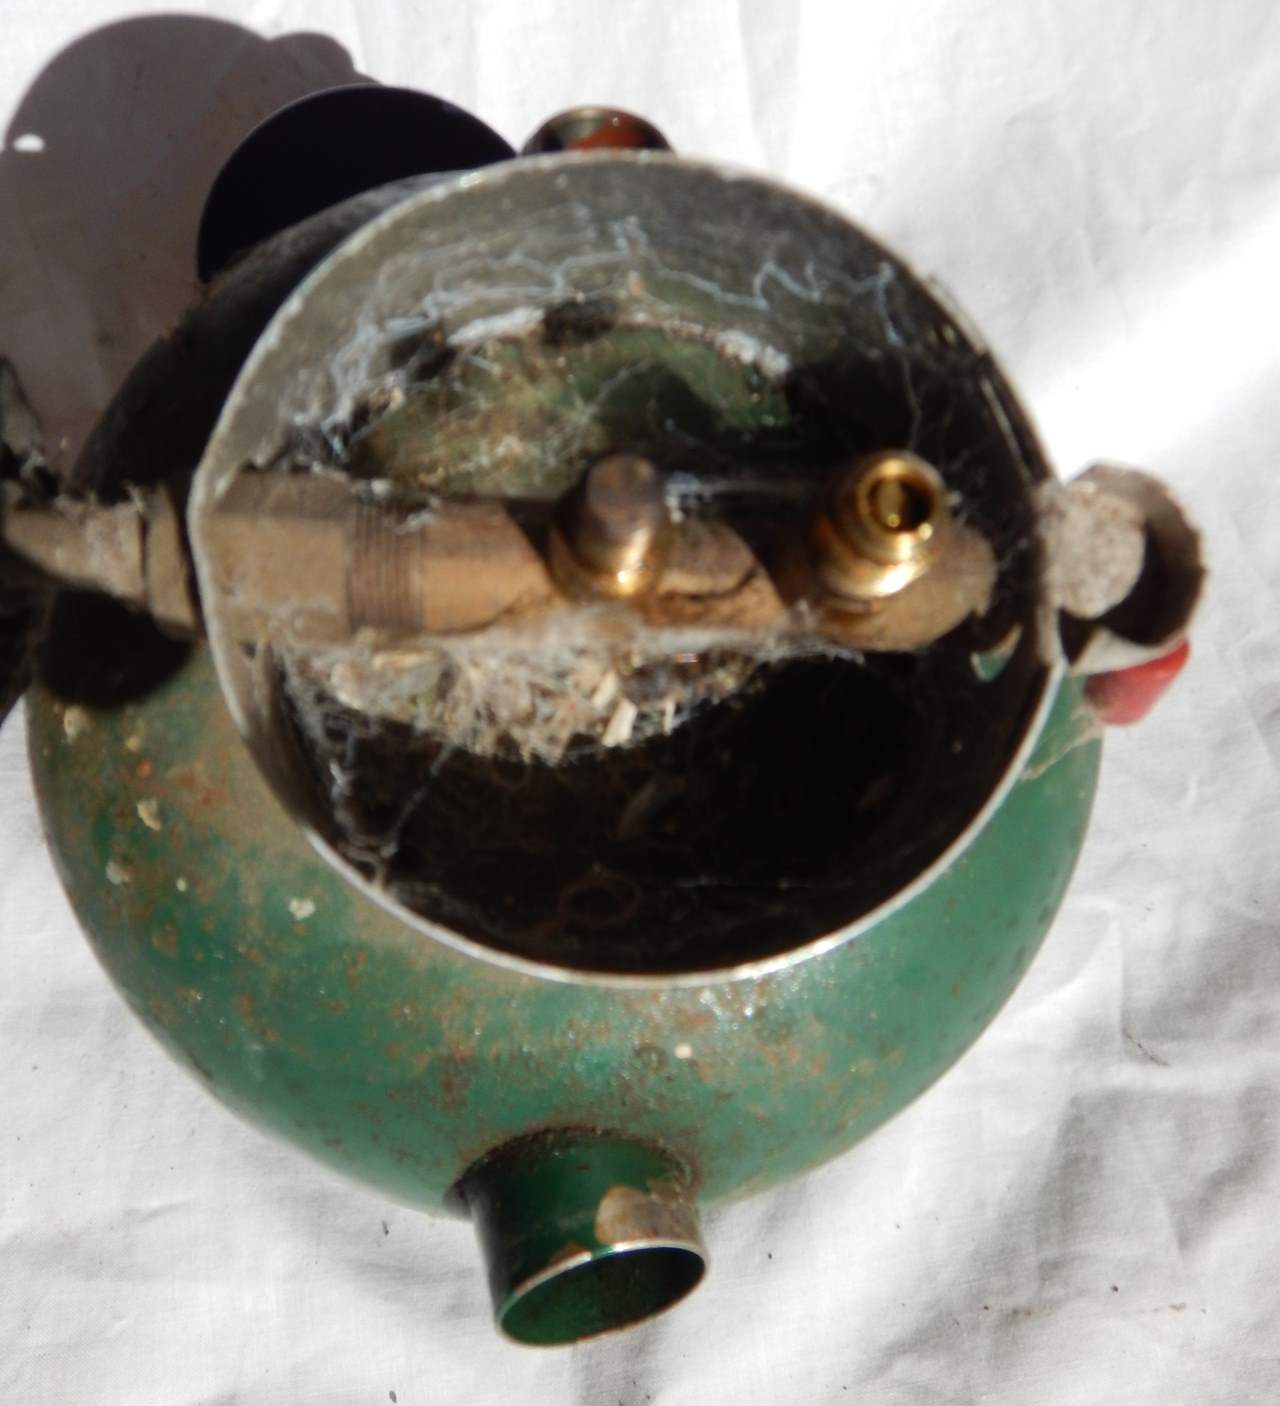
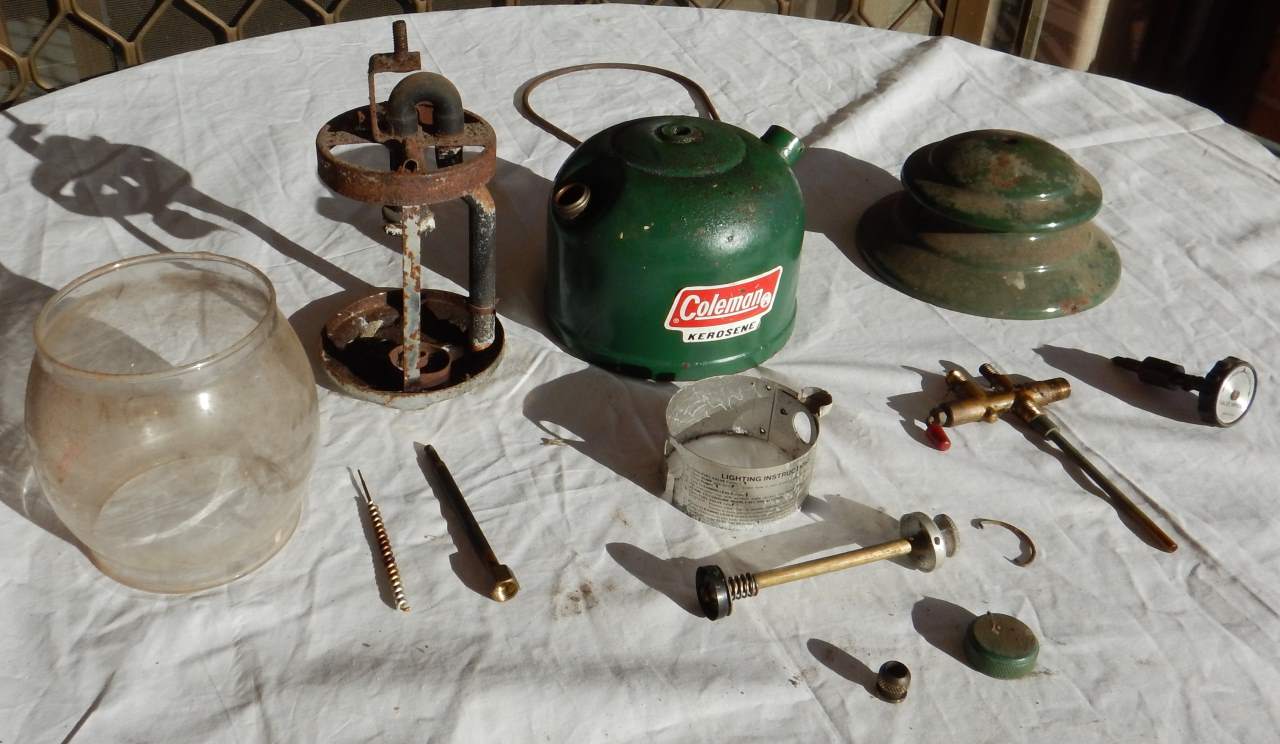
Blew it all out with high pressure air and then disassembled further and washed in hot soapy water - and ended up with this - whih is pretty much the entire lamp completely disassembled.
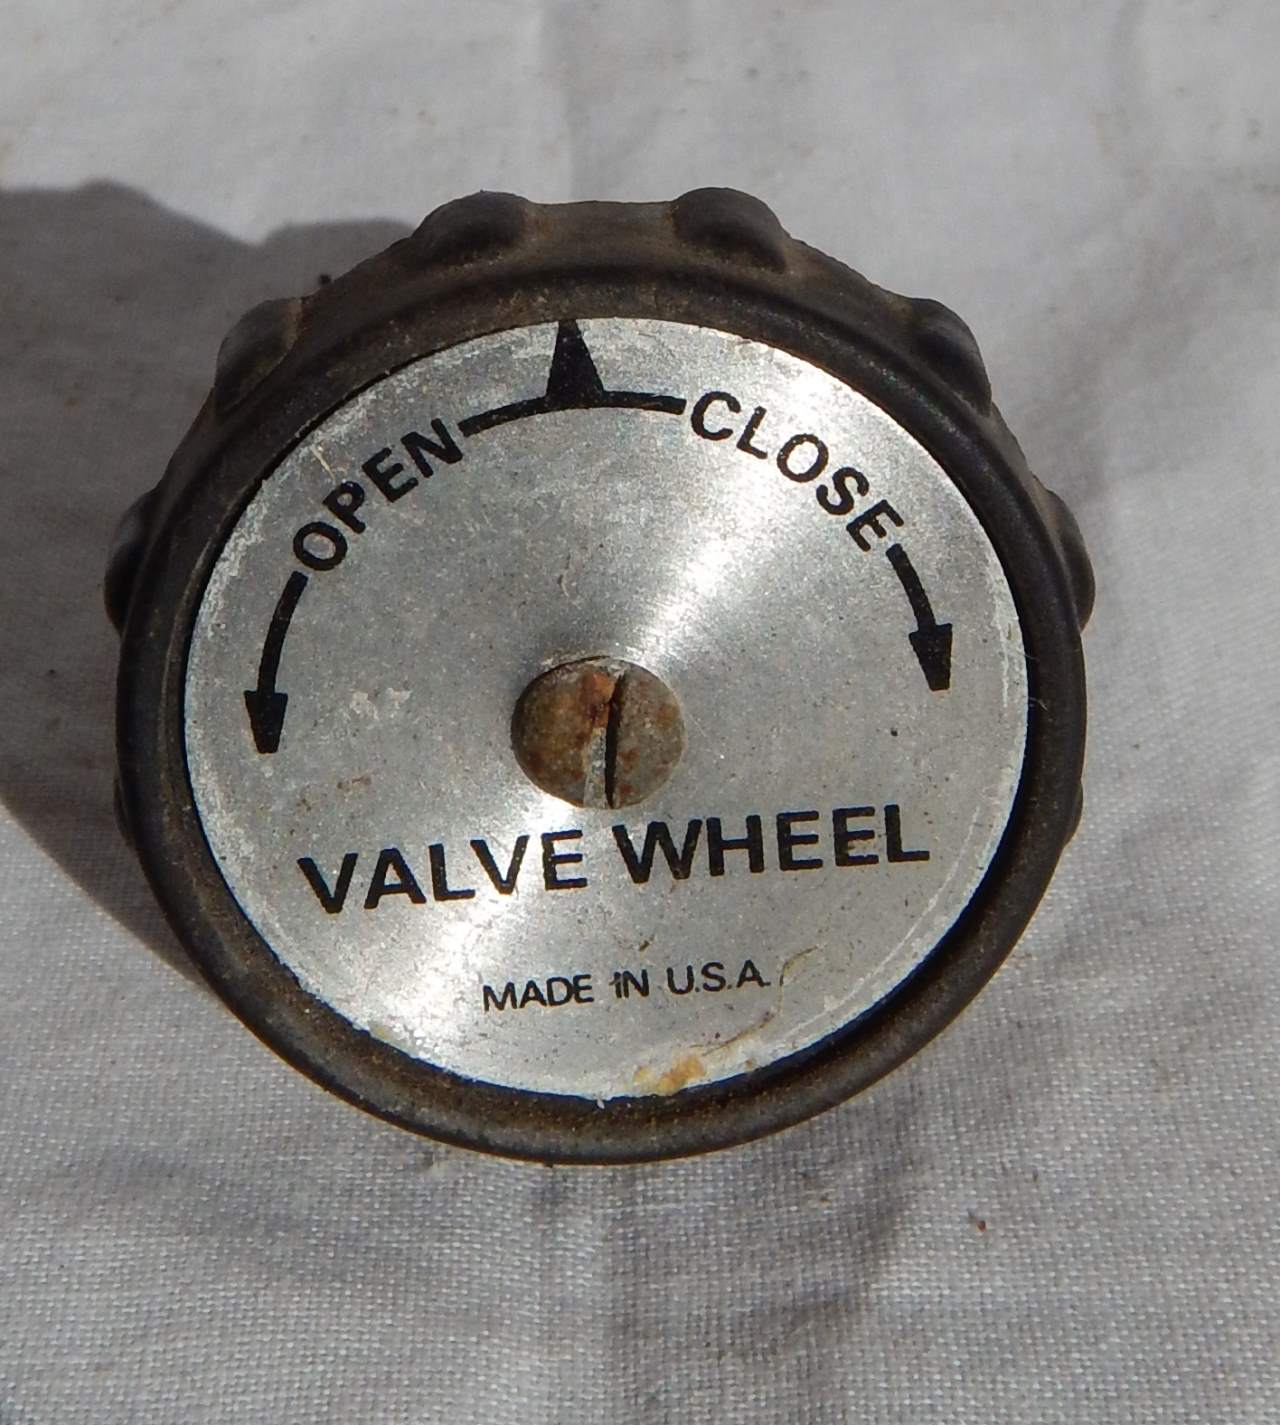
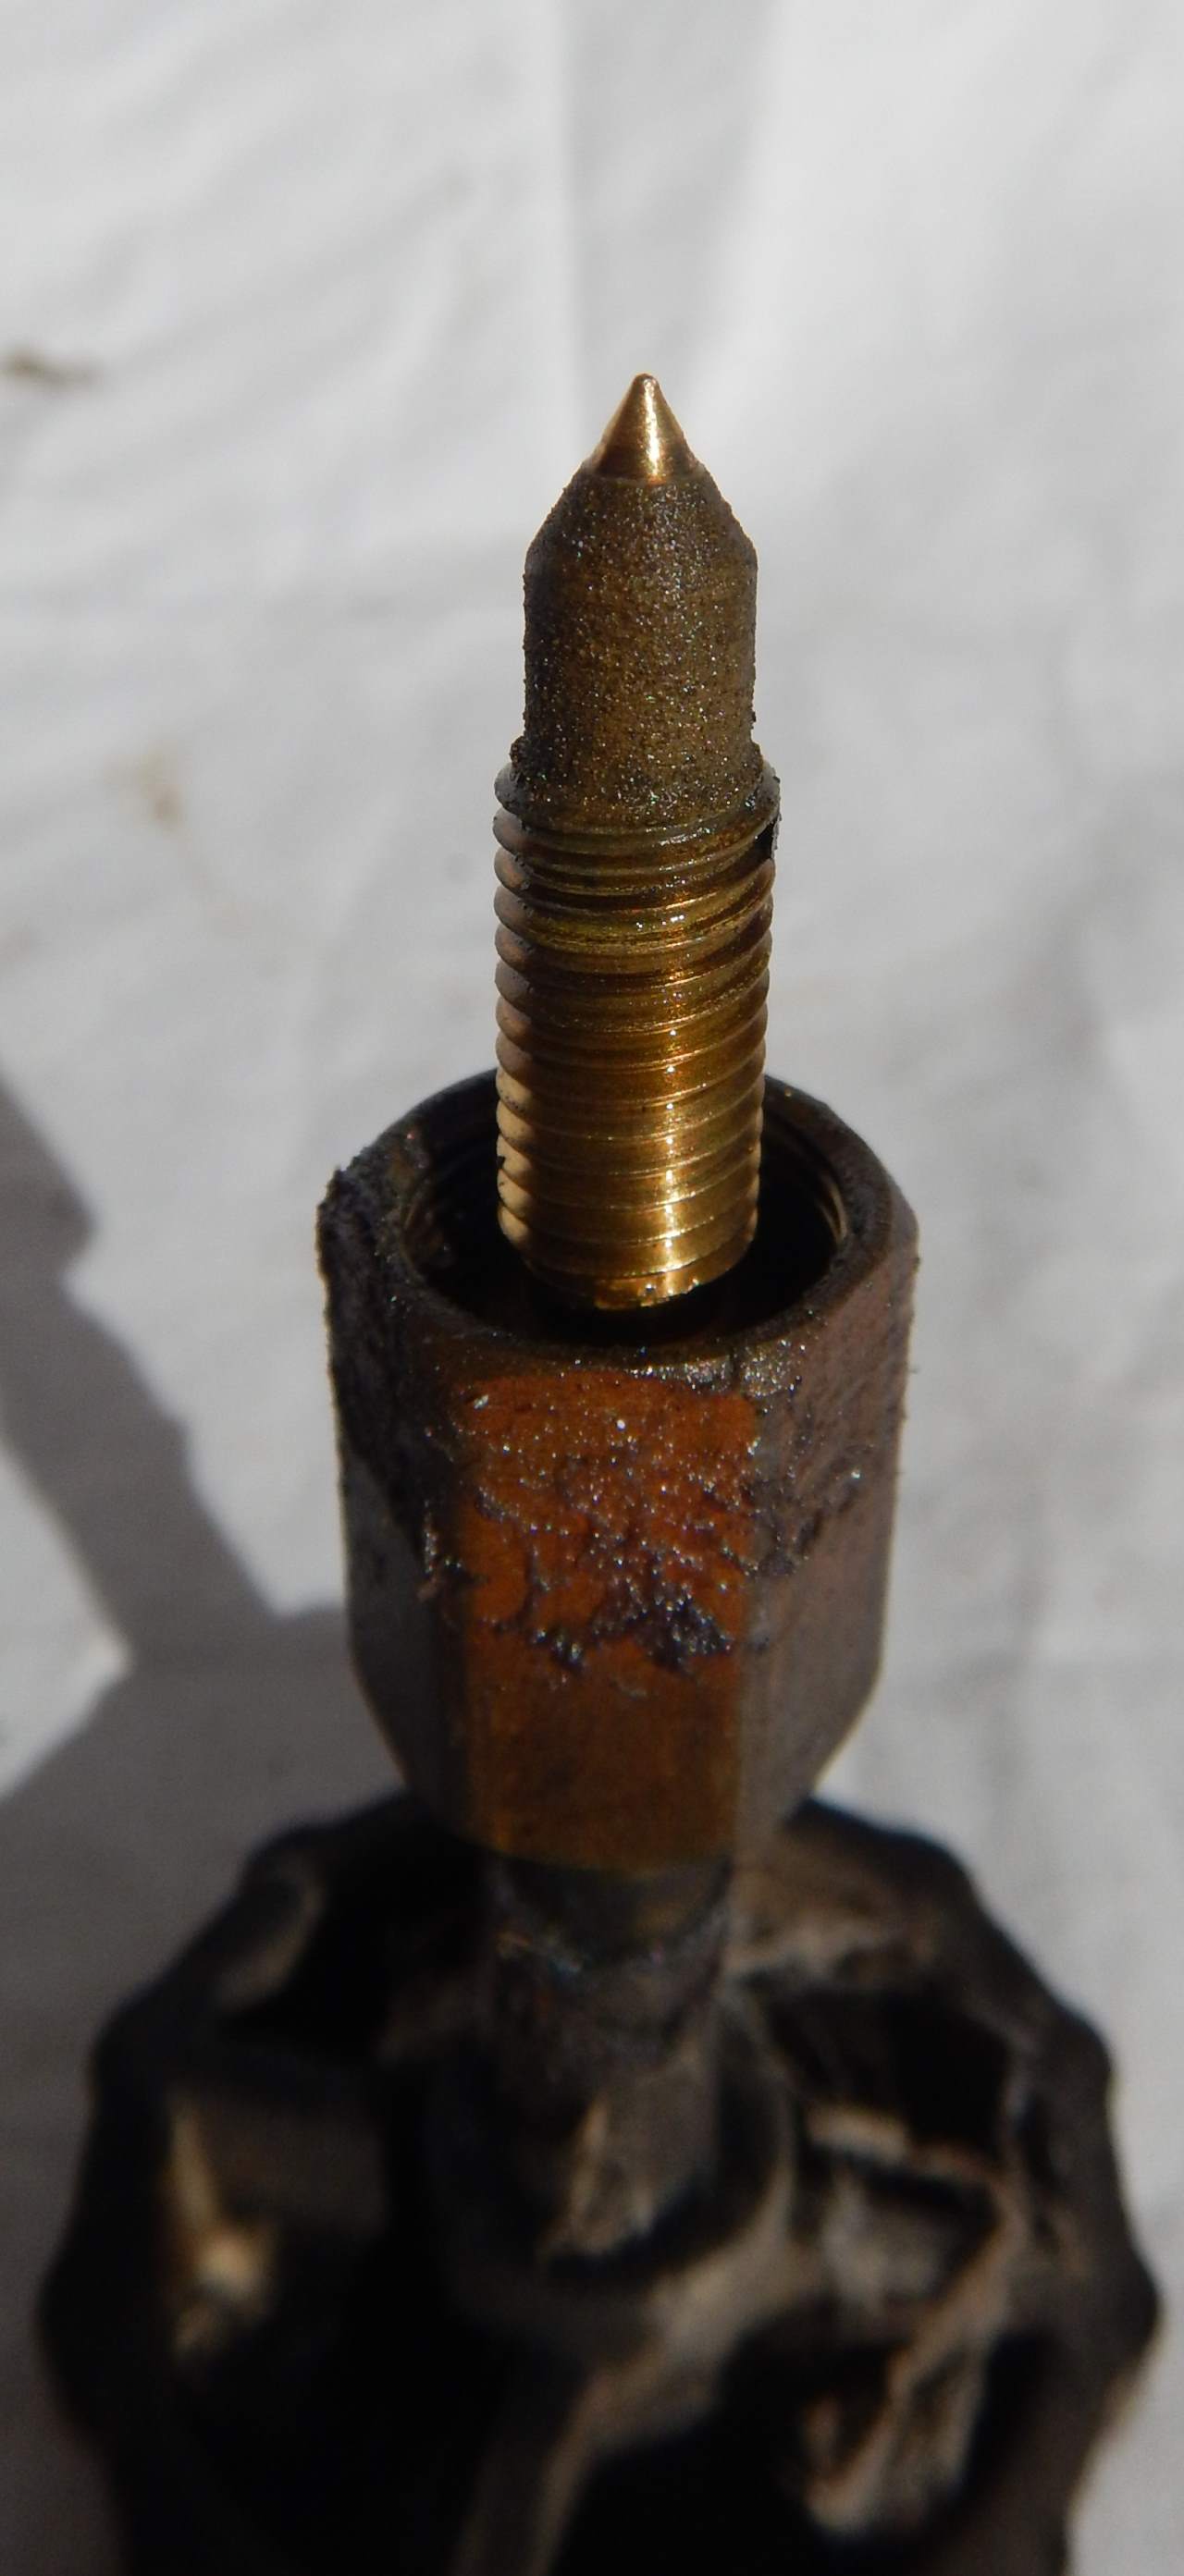
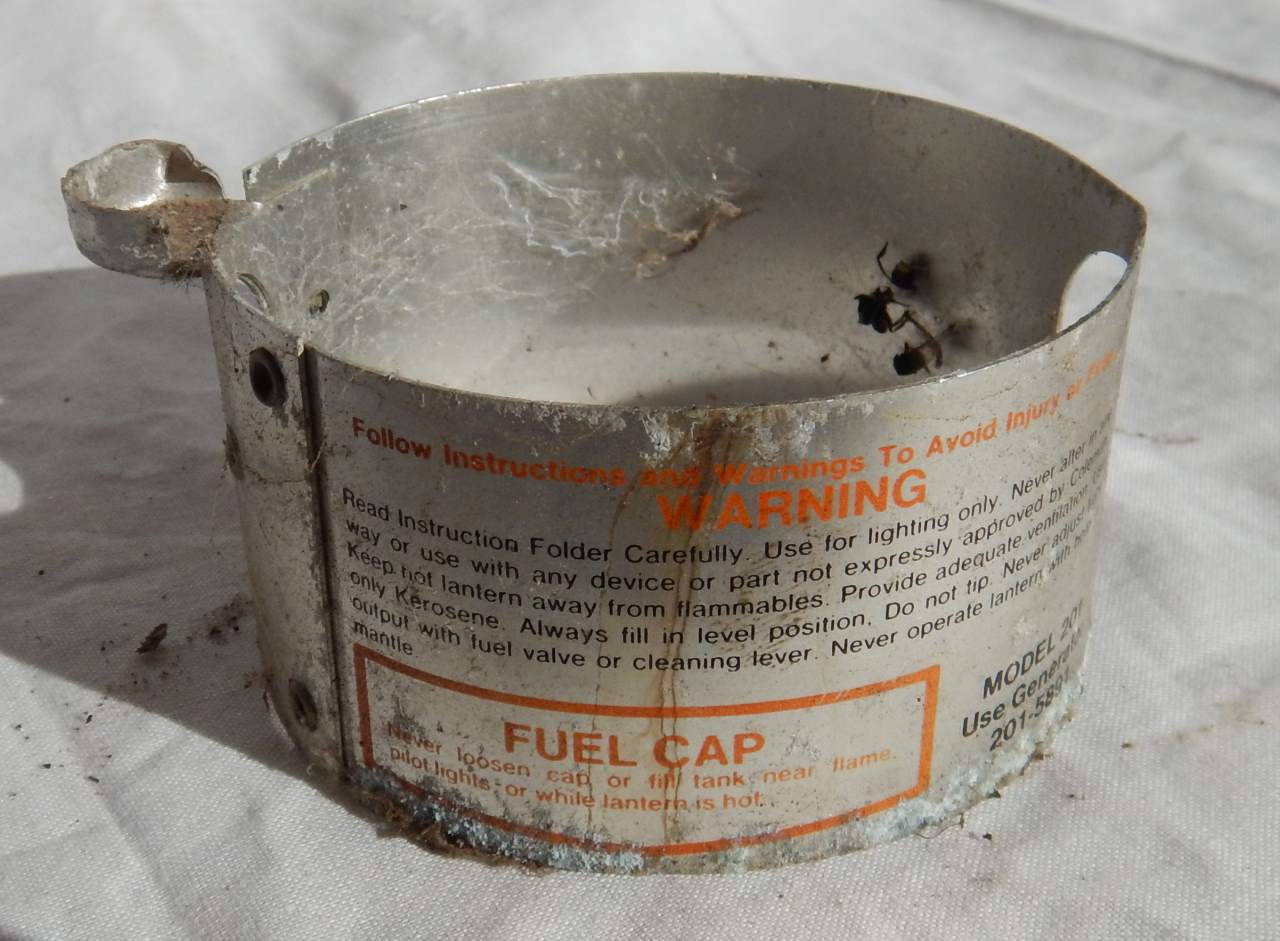
Once again, I waz lucky and all the parts cleaned up reasonably well - and looked serviceable.
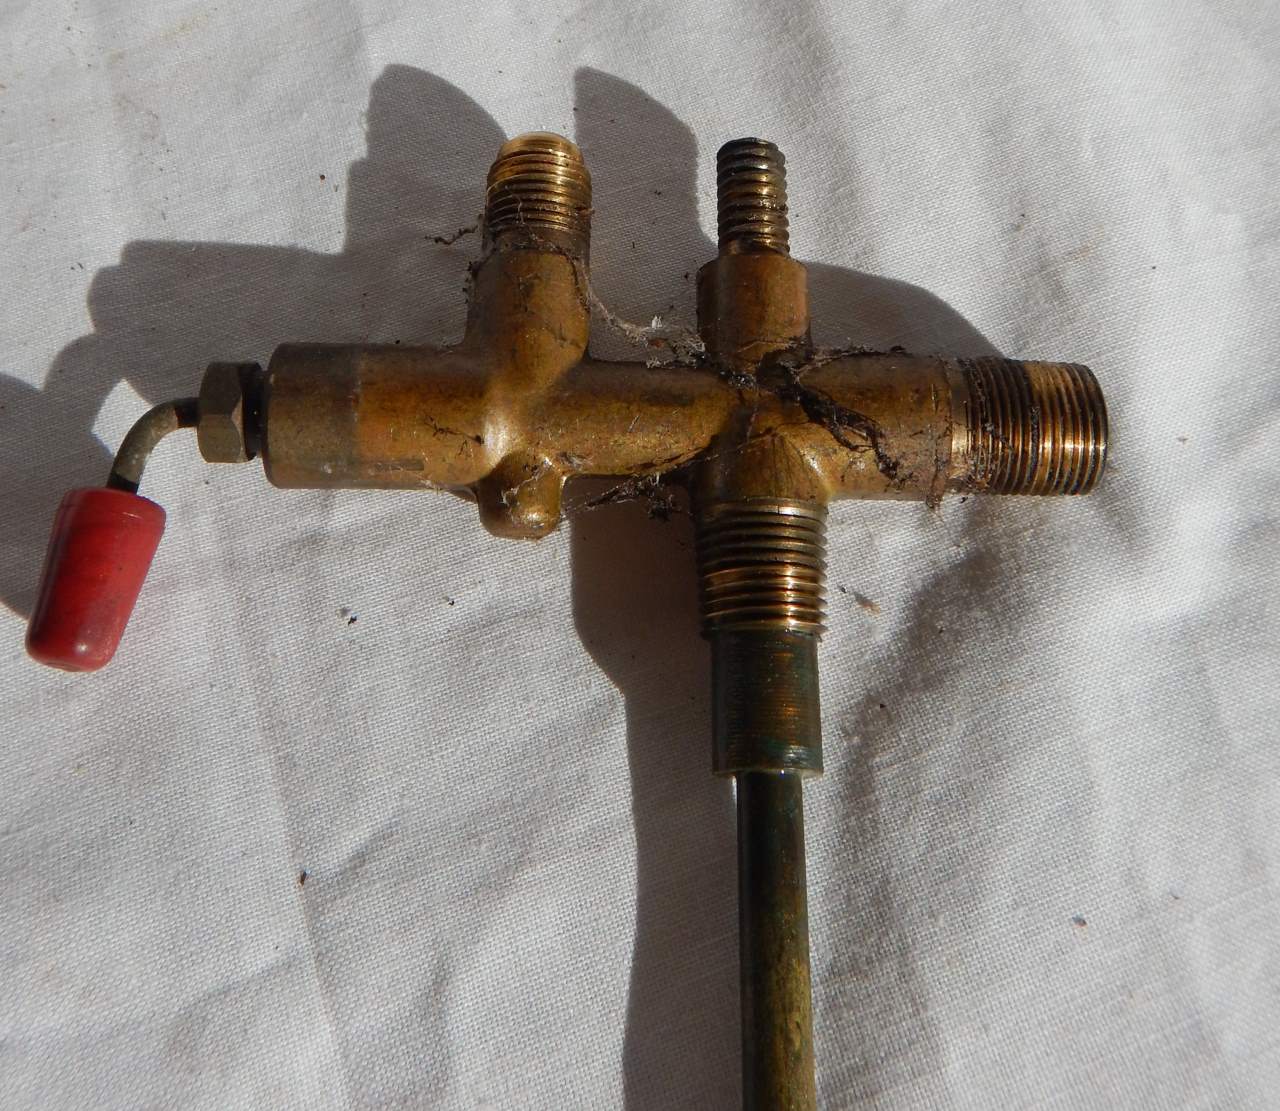
Finally, the Generator was disassembled.


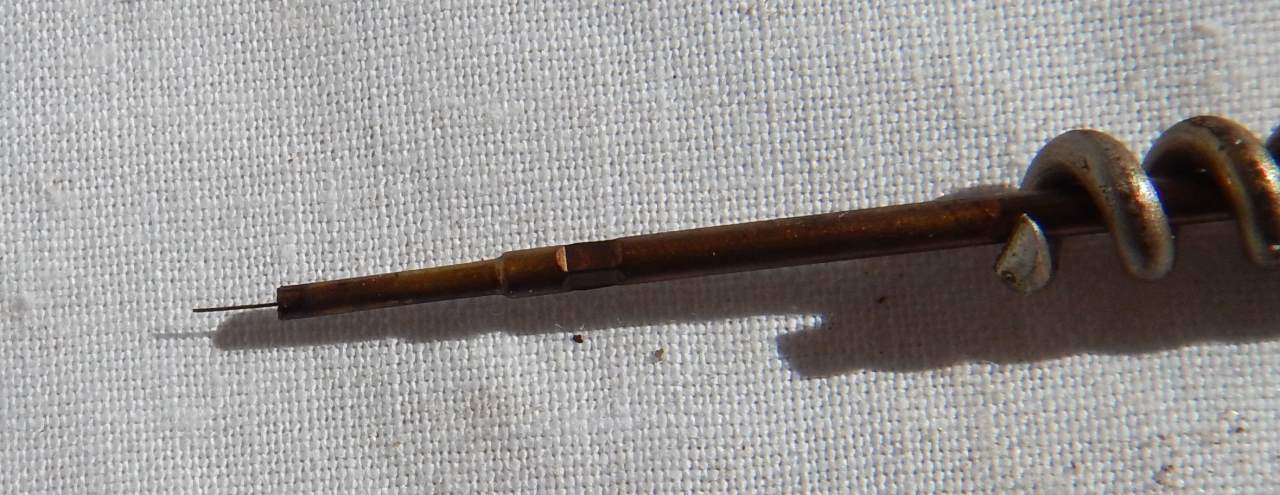
As you can imagine, the Generator (the part that makes theflame I guess) really cops a hard life, lots of heat, no maintenance and just general neglect, so it looks quite beat up. They very often clog up, and dont allow Kerosene to flow up to the flame and thus the light produced is not as good as it could be. So I pulled it apart, removed the insides and gave everything a good scrub, and washed them all in Metho and then cleaned them for 15 minutes in my UltraSonic Cleaner. One of the most important bits is the tip, if it is blocked, then game over, no light. You will see the little "pricker" that is used to keep the tip unblocked. After it's UltraSonic cleaning everything looked good, and at this stage the lamp was totally stripped. (This photo was taken before the pieces were cleaned)
So put it all back together - fill it with Kero and hope I don't burn down the house.
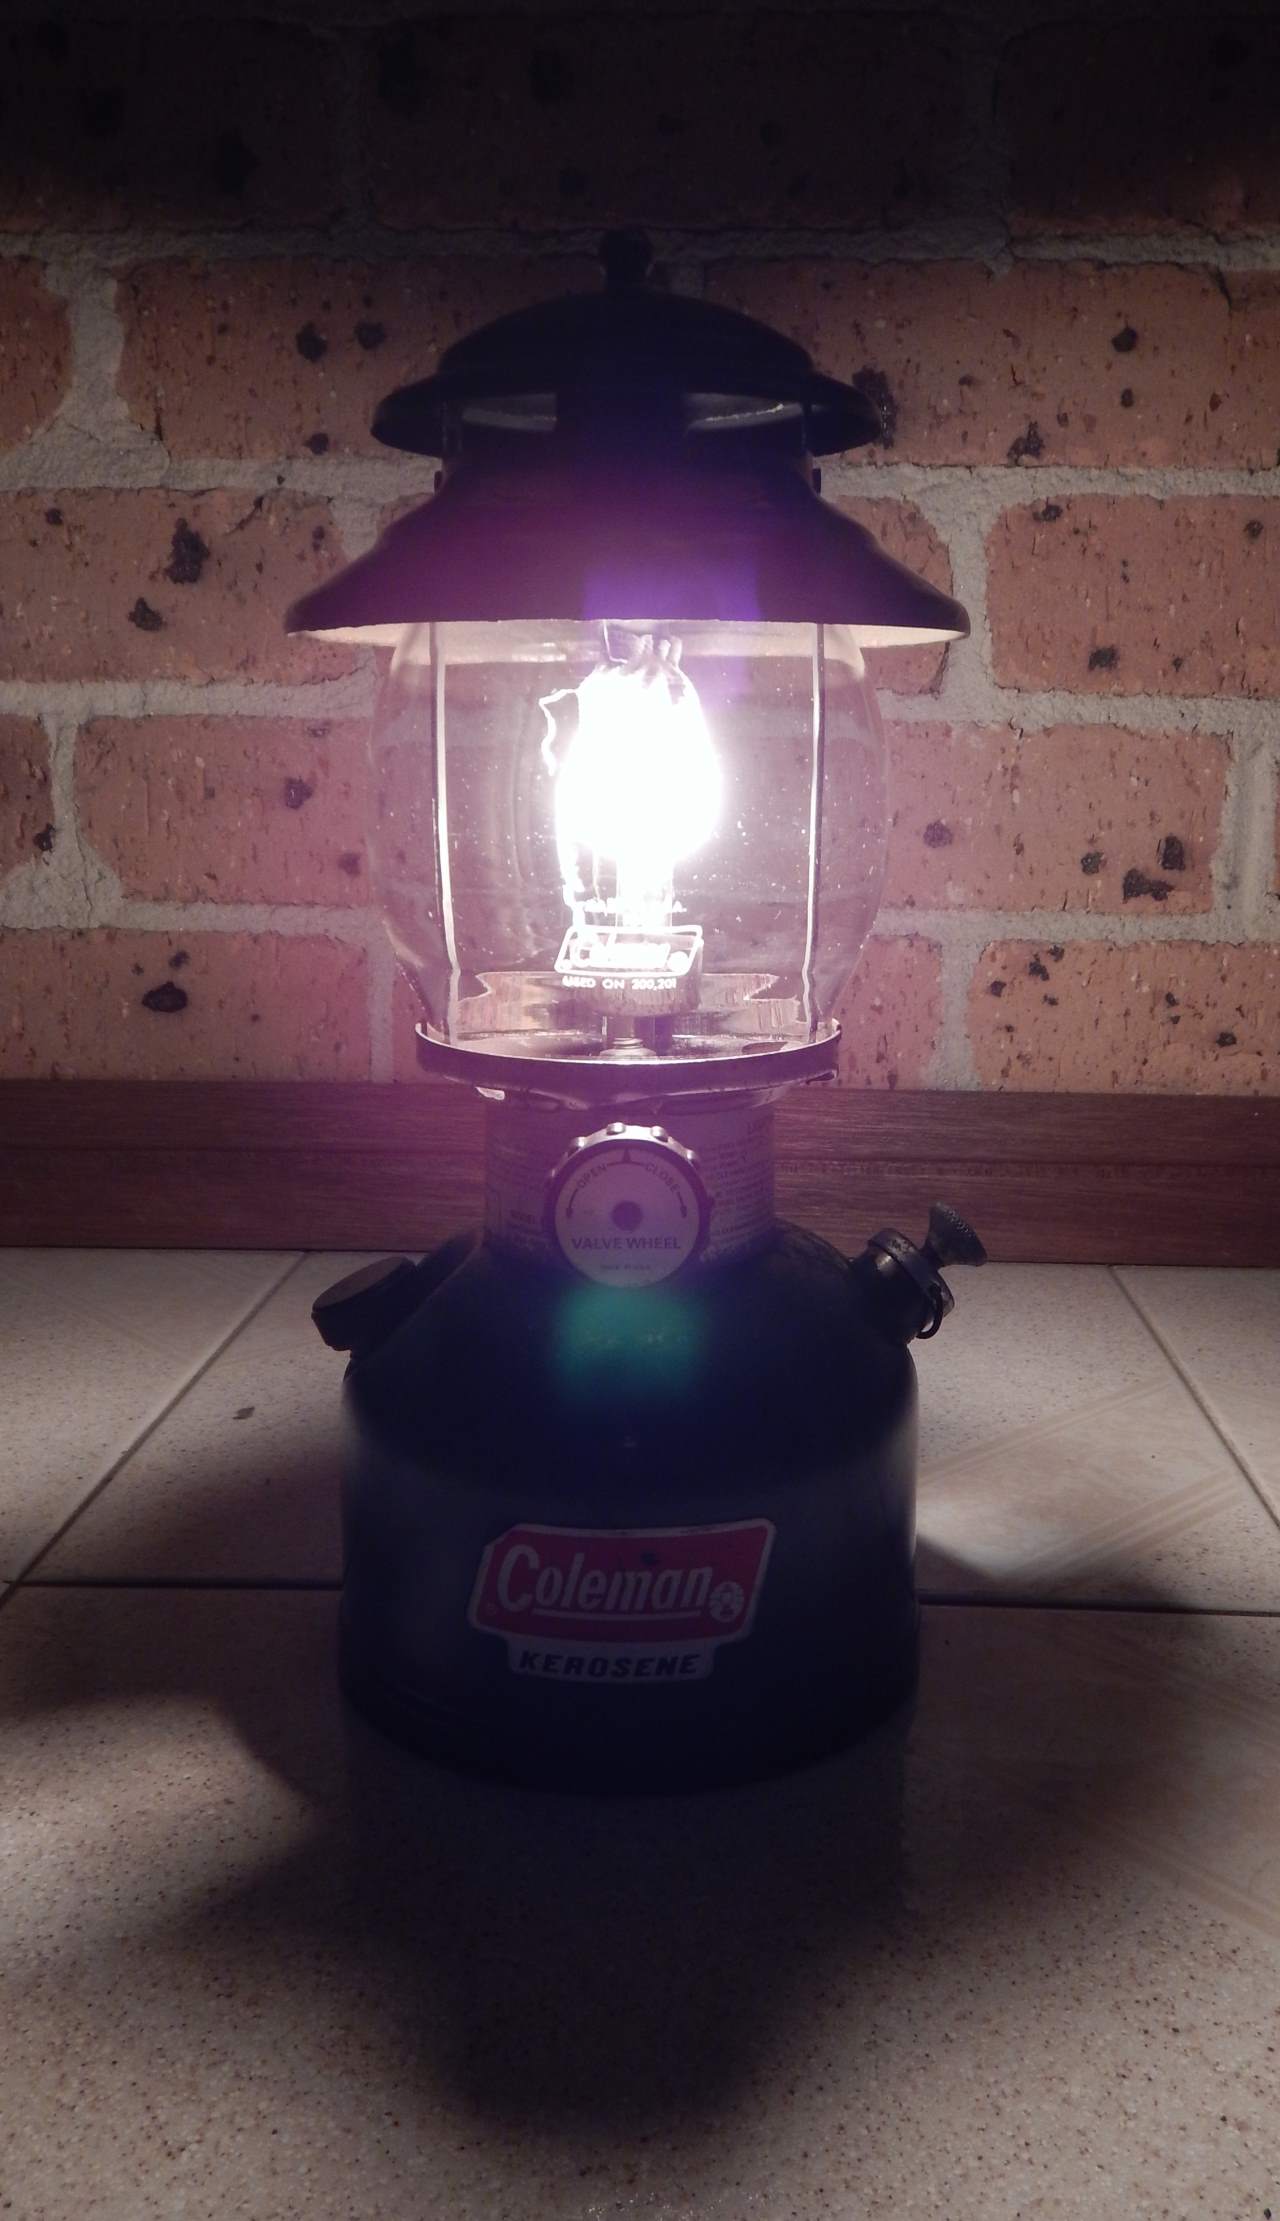
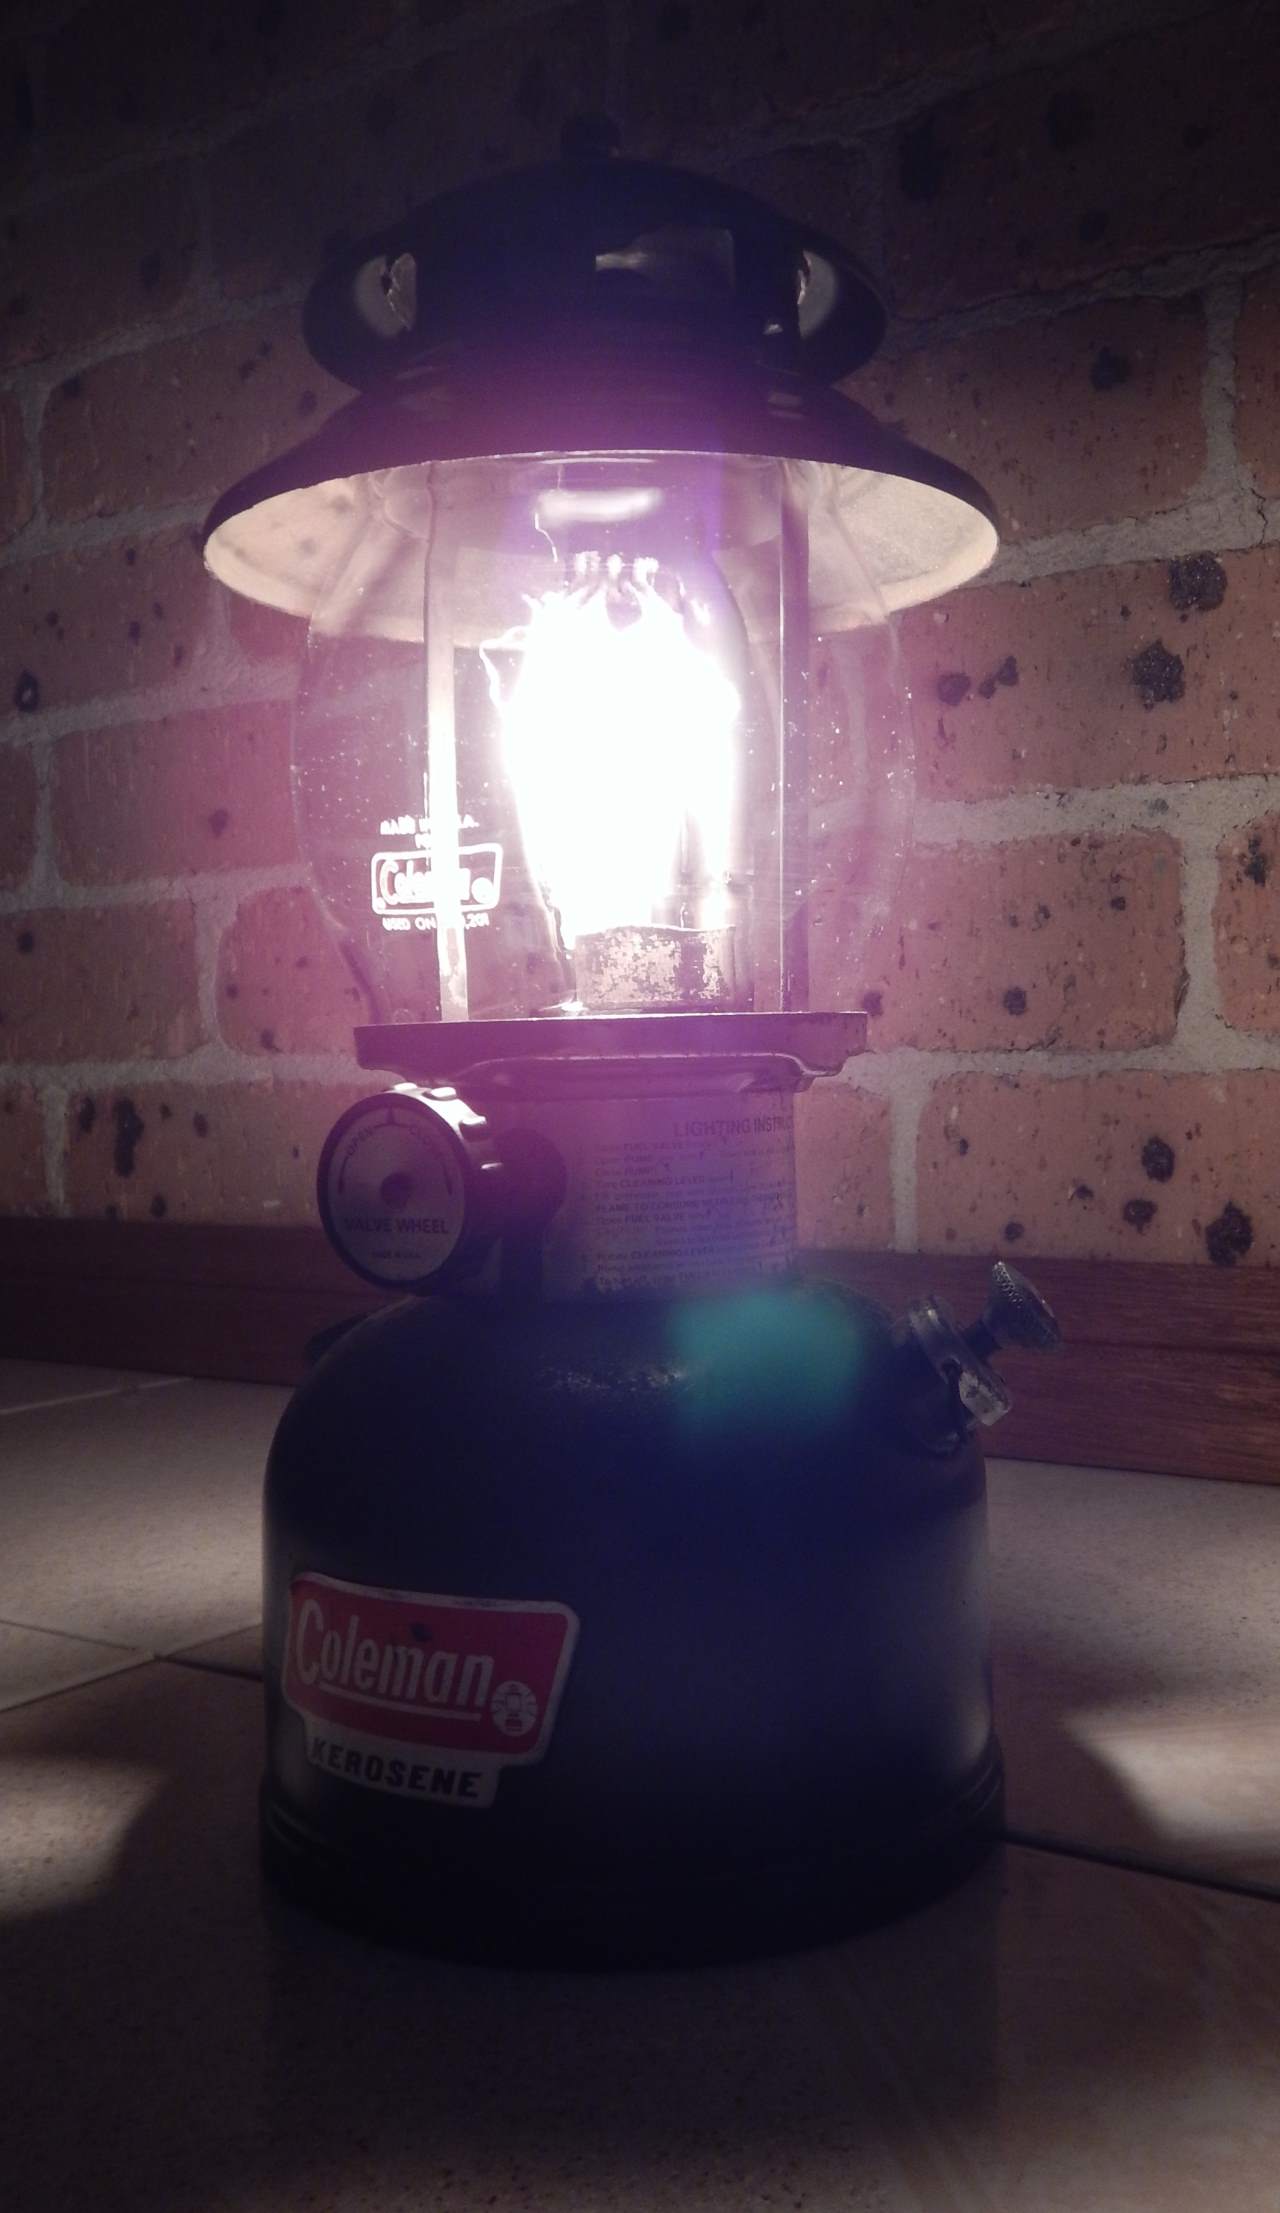
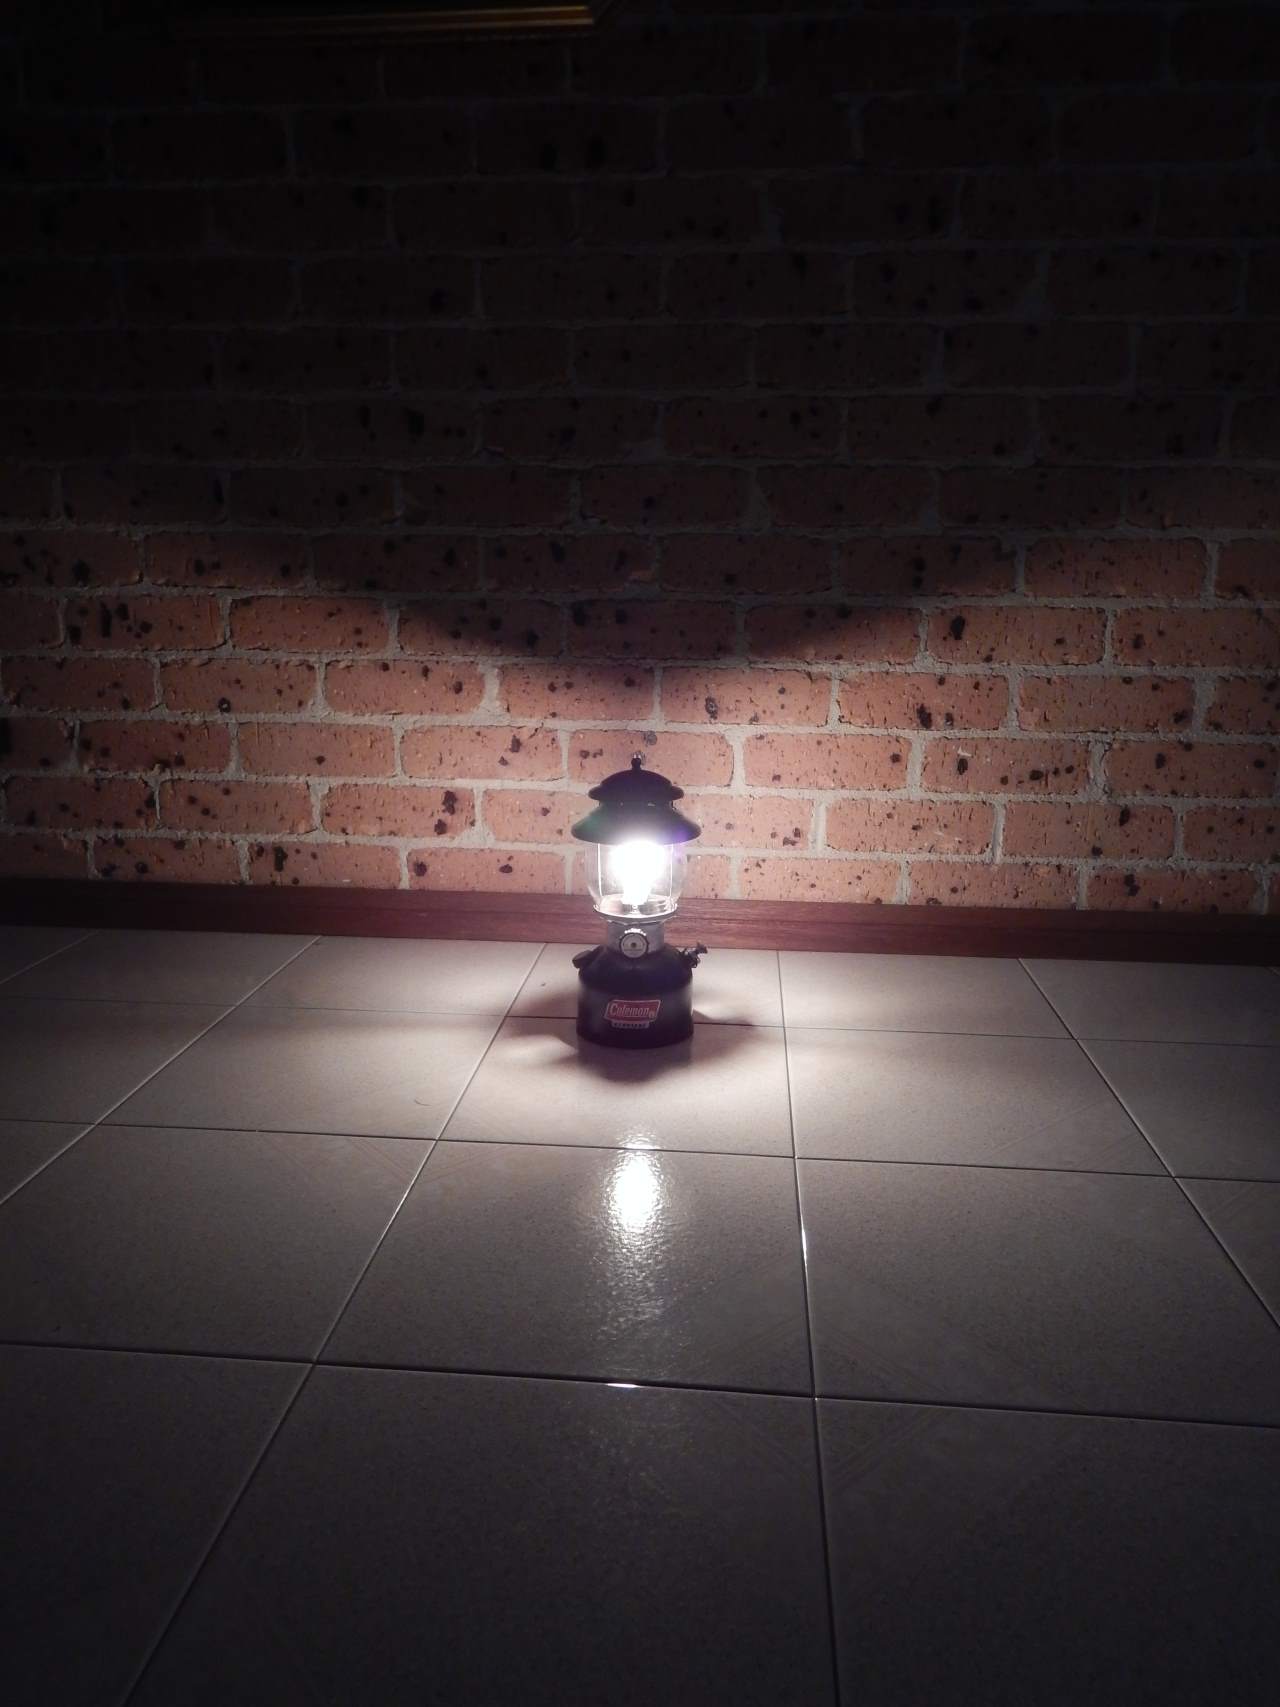
Here's the obligatory Before and After Shot.

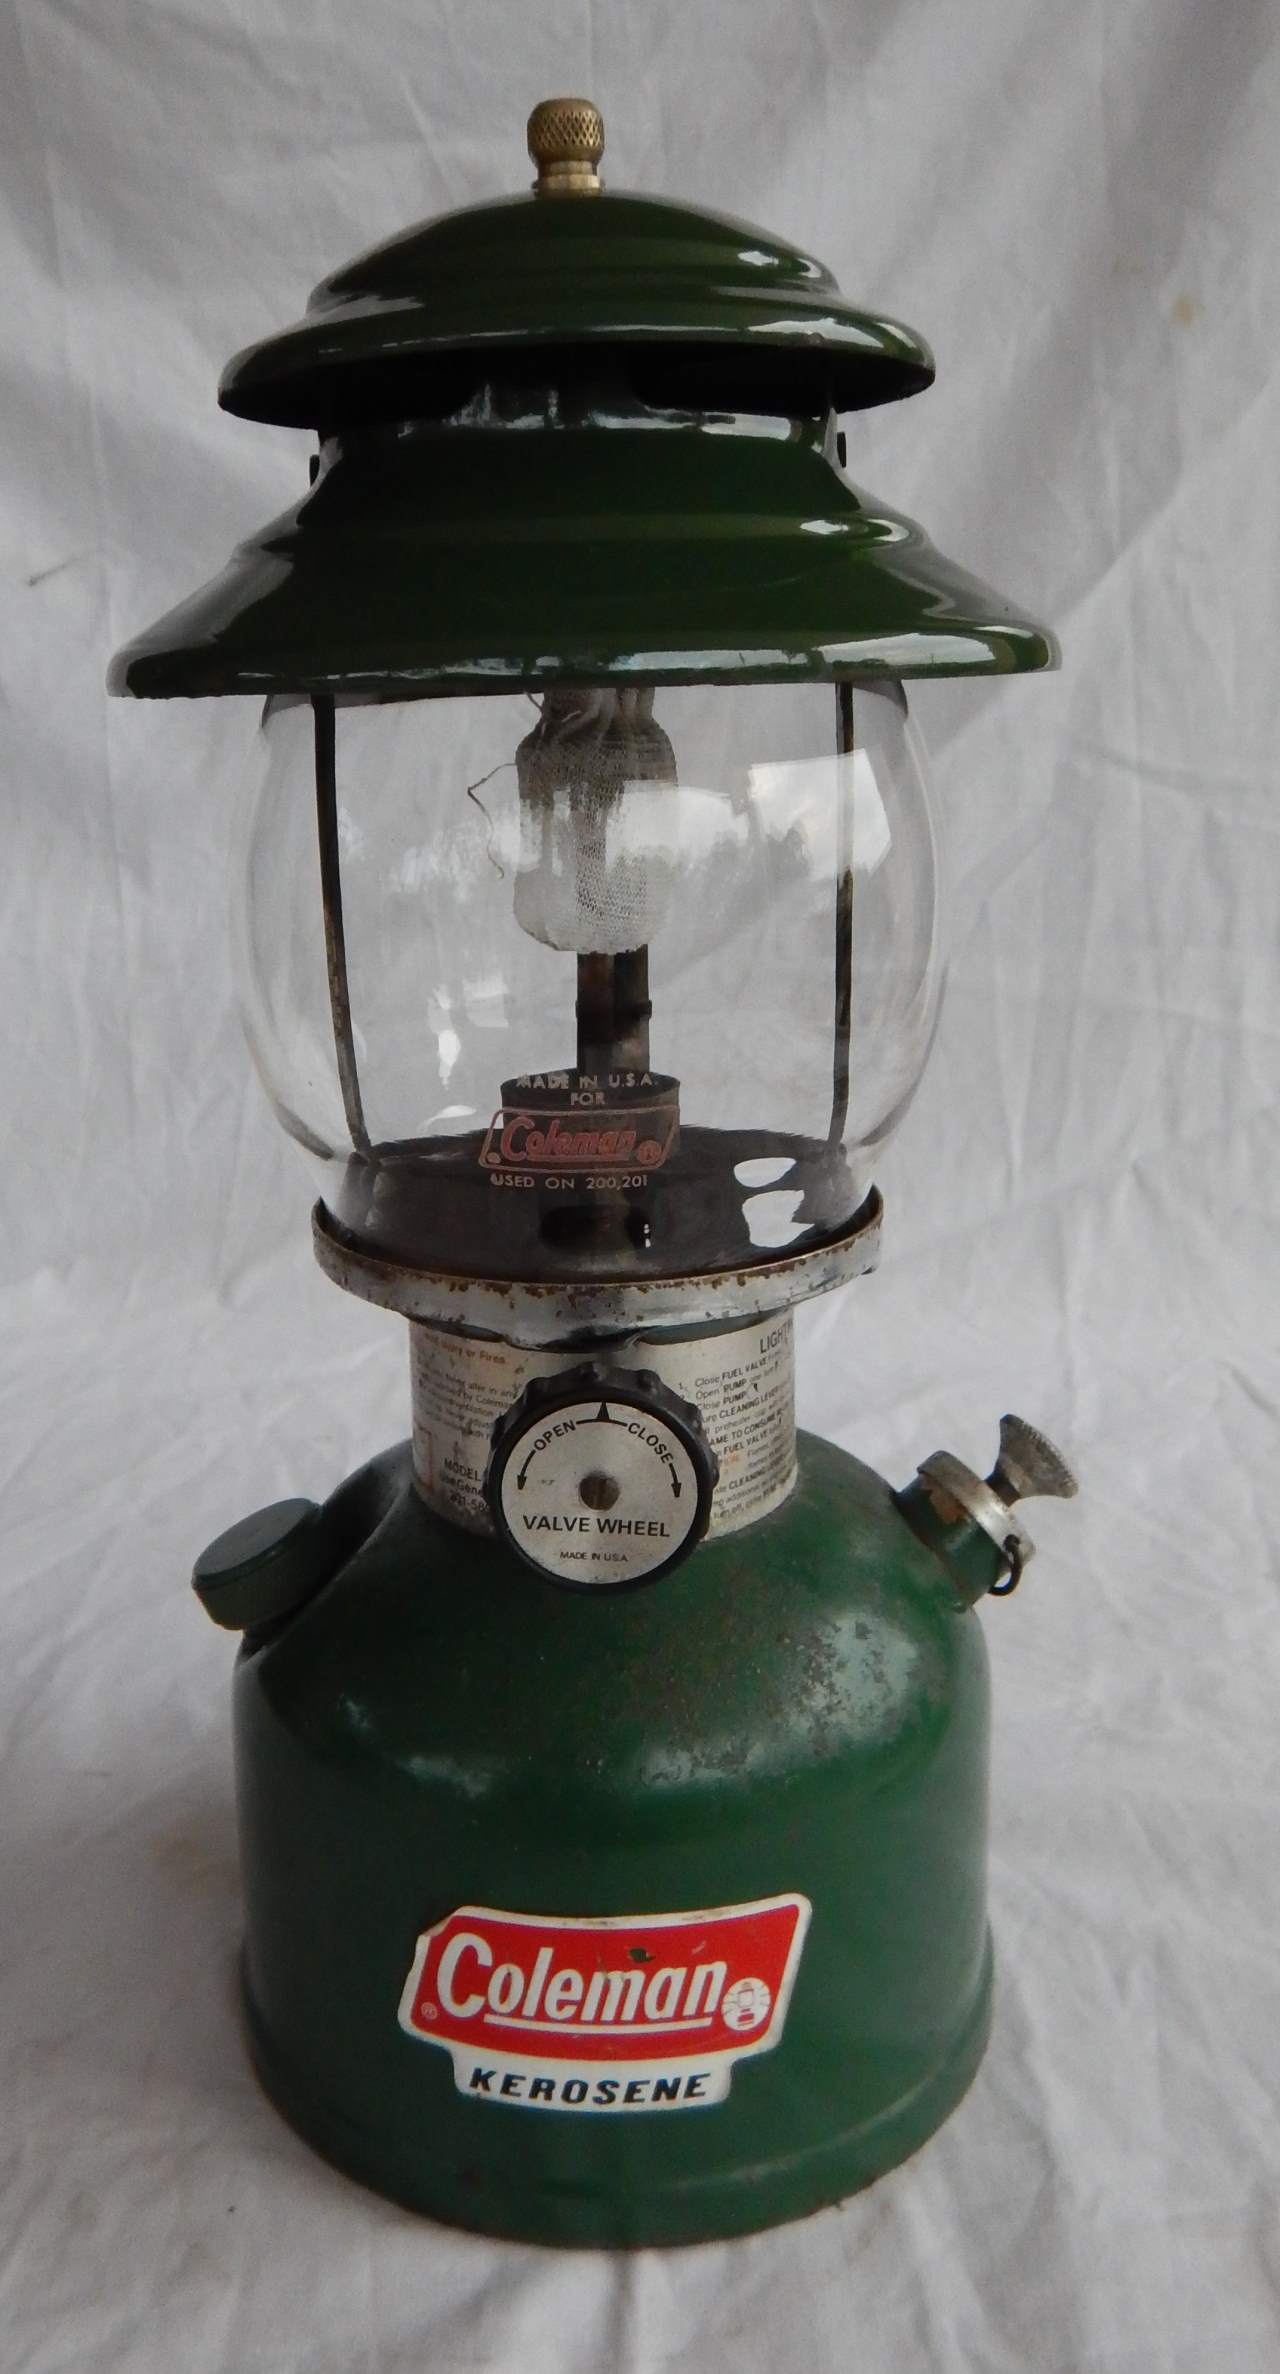
Yeah - I know its not the best restoration ever undertaken, but I'm happy with it - after all it was my first attempt - and the big thing is a I saved an old lamp that wasn't working and destined for land fill and restored it back - well - if not to its former glory - back to a very tidy looking and fully functional bit of kit that will give good service for many years to come - not bad for something manufactured 40 years ago....
And now.......the Money Shot :)
