Mike's Crystal Radio Construction
Mike's kit is a really well made and well presented kit. It is ideal as a first kit for kids, as it involves not soldering!!
That's right, this entire kit goes together with no soldering. It uses a clever combination of nuts and botls and clips etc
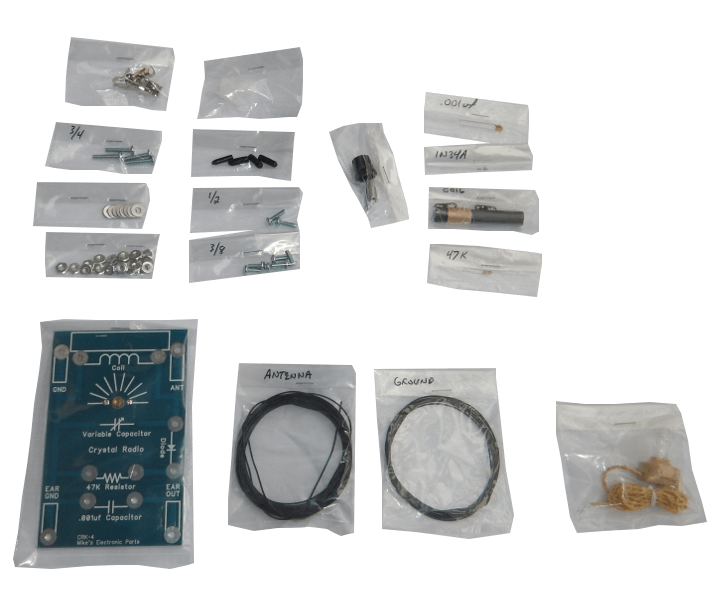
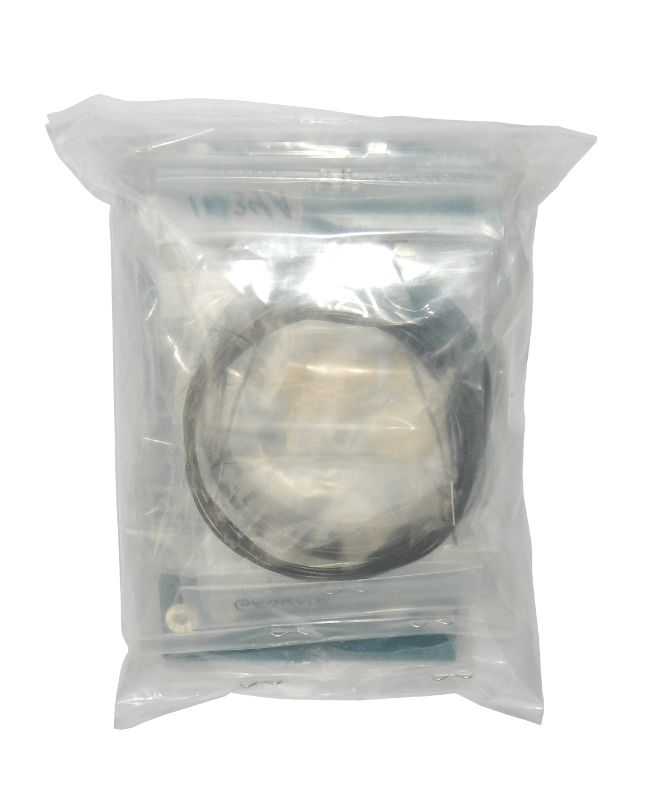
First things first - unpacking the kit is a breeze - as every group of components is grouped up in their own little platic bag - so checking off all the components against the parts list is easy.

Once you've convinced yourself that all the parts are there, you get get down to putting this thing together - and the first thing that strikes you is just how high a quality the provided Circuit Board is. Take a look in the Instructions and you'll see what I mean, but it really does look better in real life than in the picures.

1: Assemble the Legs: (5 minutes) This step also attached the Fahrenstock clips to the board - for each of the four legs, take a screw - place it through a Fahrenstock clip, then trough the board and attach it securly with a nut. Then cover it with once of the soft (provided) plastic leg covers - do that for each of the four legs and you're done.
2: Aseemble the Coil Screws: (3 minutes) Again - just put the small bolts through the holes and screw on the nuts
3: Assemble the Posts: (10 minutes) Again - put the screws through the clearly marked holes and put the nuts on.
4: Assemble the Coil: (10 min) This one is just a little more fiddly, but still very doable for kids - just put the Coil into the Coil clamps - put the screws through the holes and apply the nuts to fix the coil to the circuit board.
5: Insert 47k Resistor: (2 min) Place the resister between the two marked posts (that you inserted earlier) and clamp it in with a nut on each of the two posts.
6: Insert .001uF Capacitor: (2 min) Placed in exactly the same manner as above for the 47k Resistor.
7: Insert 1N34A Diode: (2 min) Placed in exactly the same manner as above for the 47k Resistor.
8: Insert Tuning Capacitor/Knob: (5 minutes) Atach the knob shaft to the tuning capacitor with a single screw, then simple process of placing the tuning capacitor shaft through the hole on the circuit board. You need to orient the tuning capacitor to ensure the movement limits of the capacitor align with the markings on the circuit board, then secure it - the put on the know, again making sure that the markings on the know align with the markings on the circuit board. - this very simple process is well described in the Instructions supplied with the Kit.
9: Attach the Earphone: (1 minute) Attach the bare wires of the earpice to the Farenstock Clips marked EAR
And that's it - you're done - try to get yourself a good Eart and a good antenna location and you're ready to start listening
Mine starting working first go - and I am no electronics genius. I think this kit is well within the capabilities of kids over about 8 or so with a bit of supervision.
All in all, this was a great kit and I had fund doing it. Mike was eay to deal with and his prices were OK as well.
So stop sitting there wasting time on the Web - order the kit and start building.