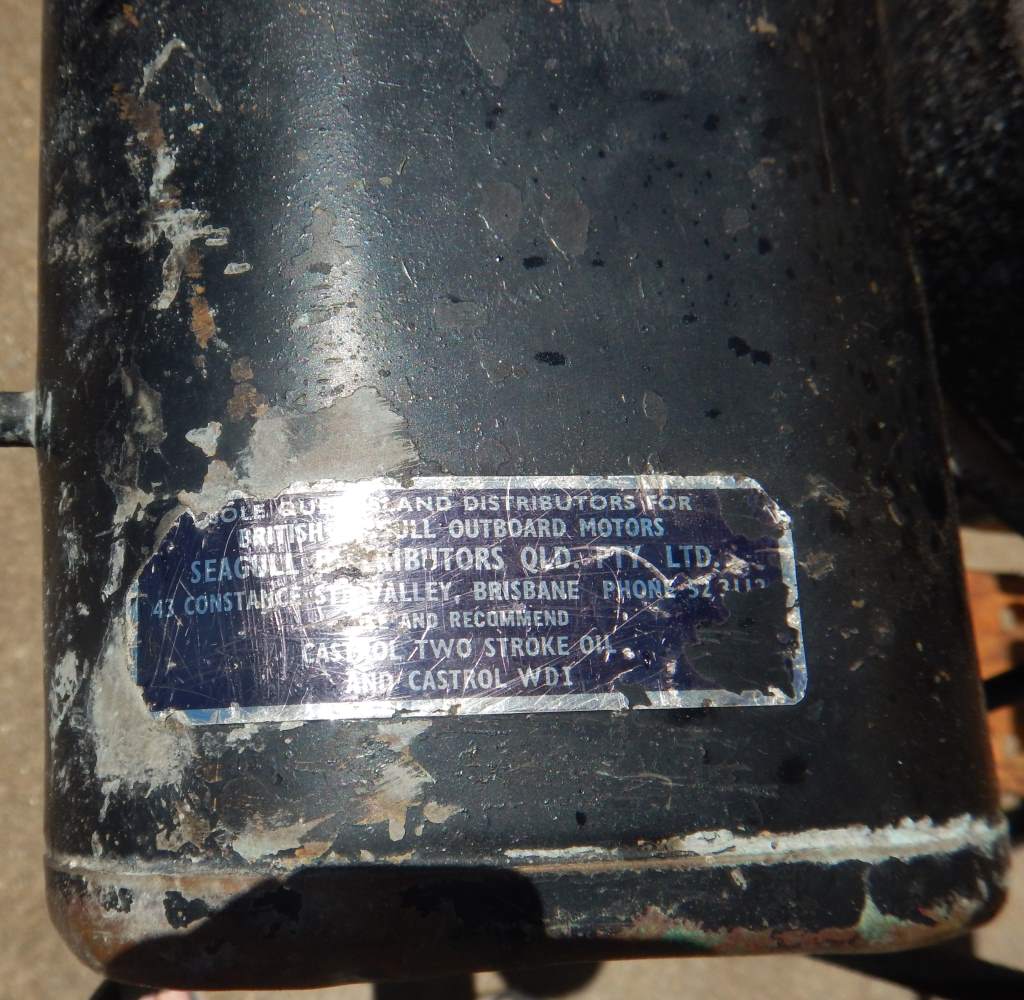
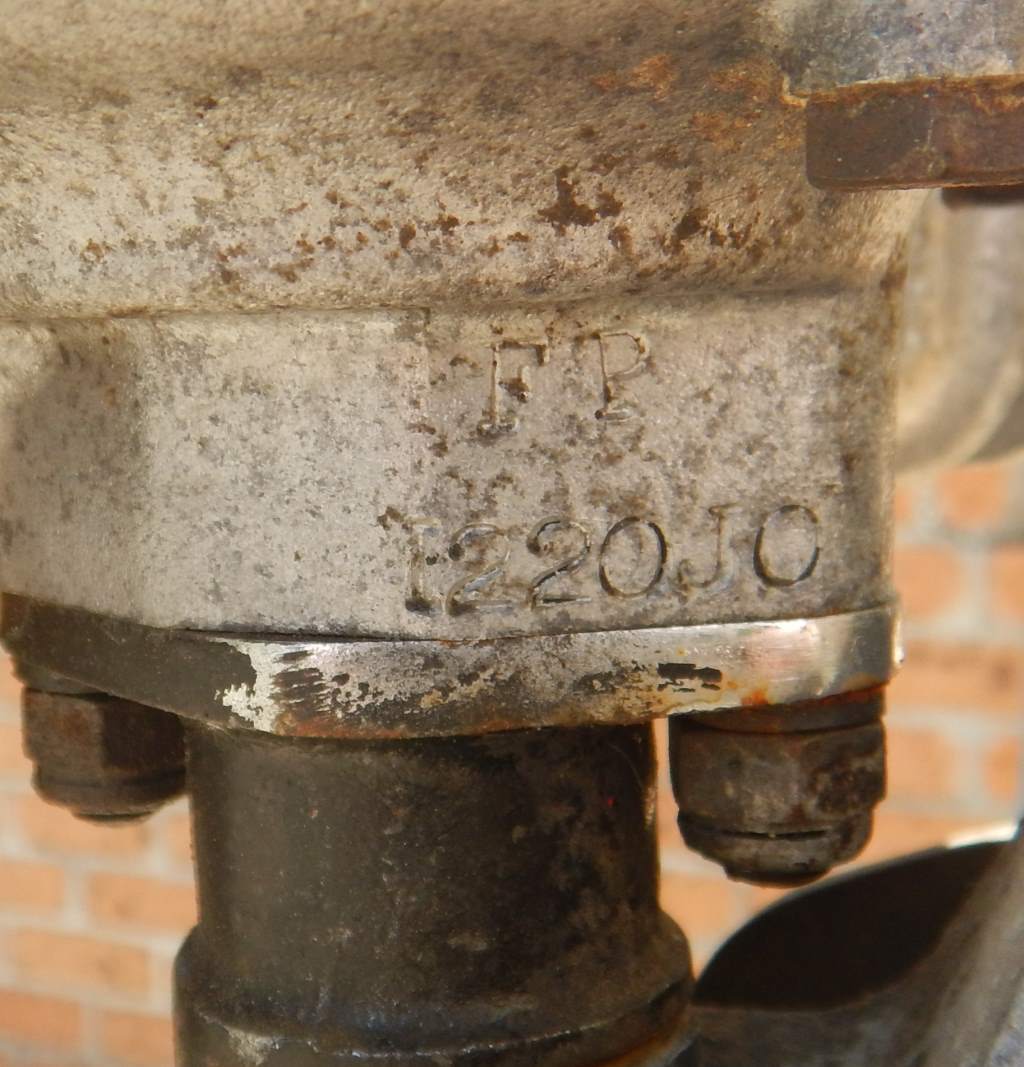
1970 British Seagull Serial No: FP I220J0
Before Photos:
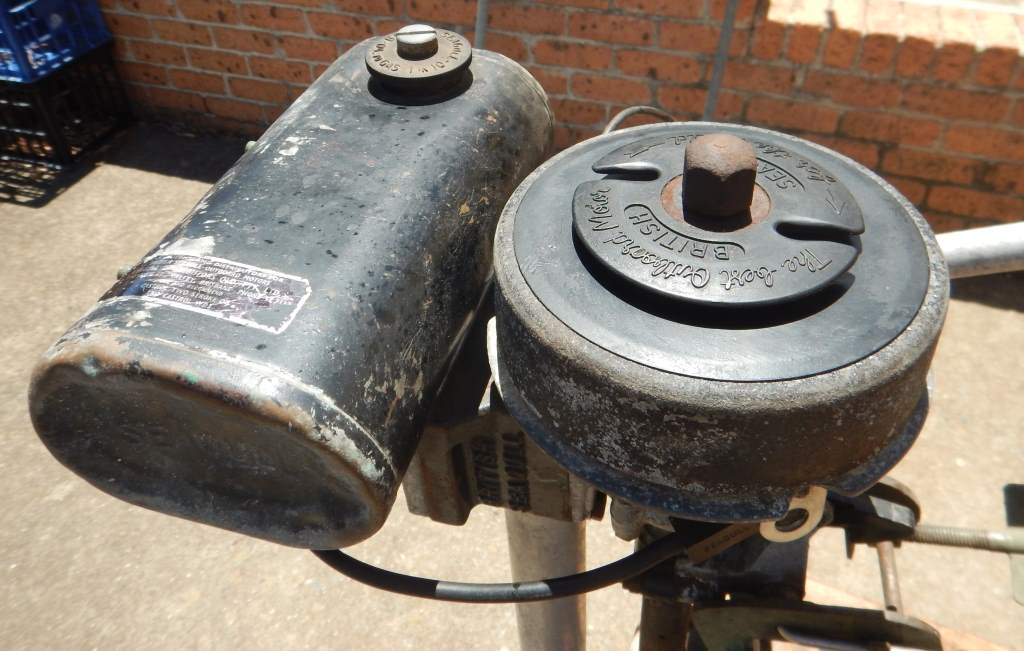
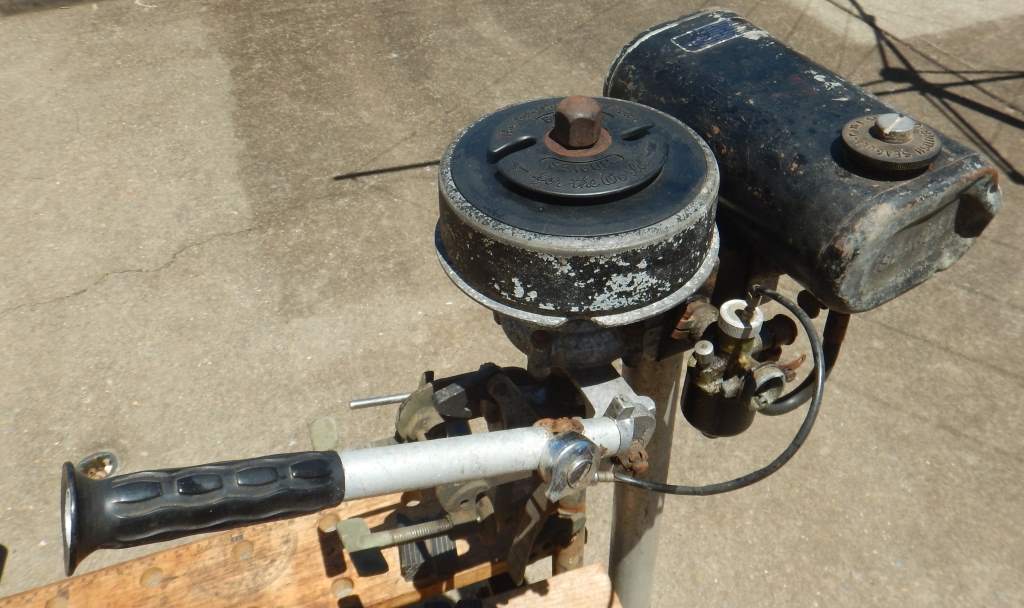
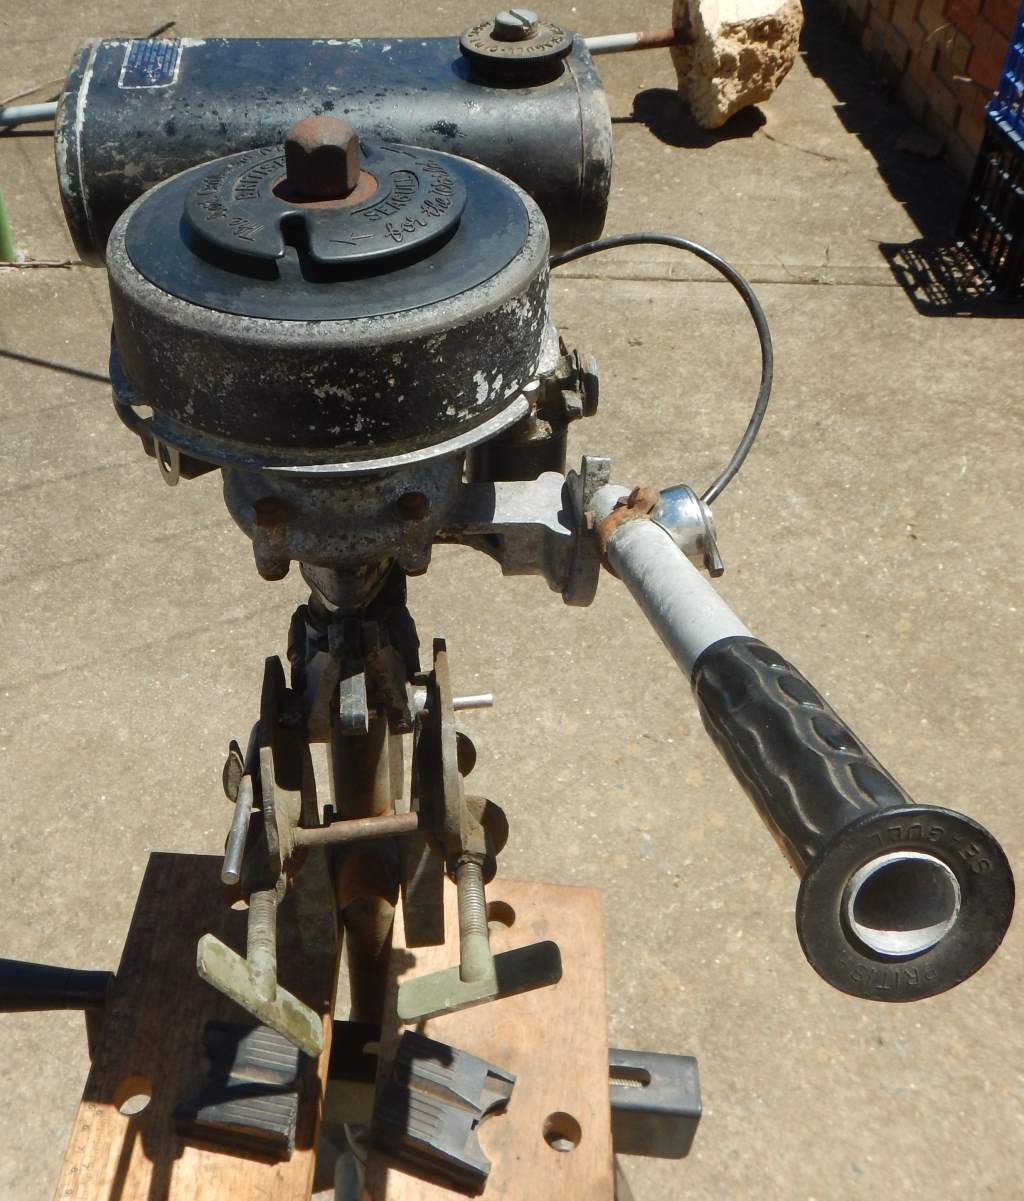
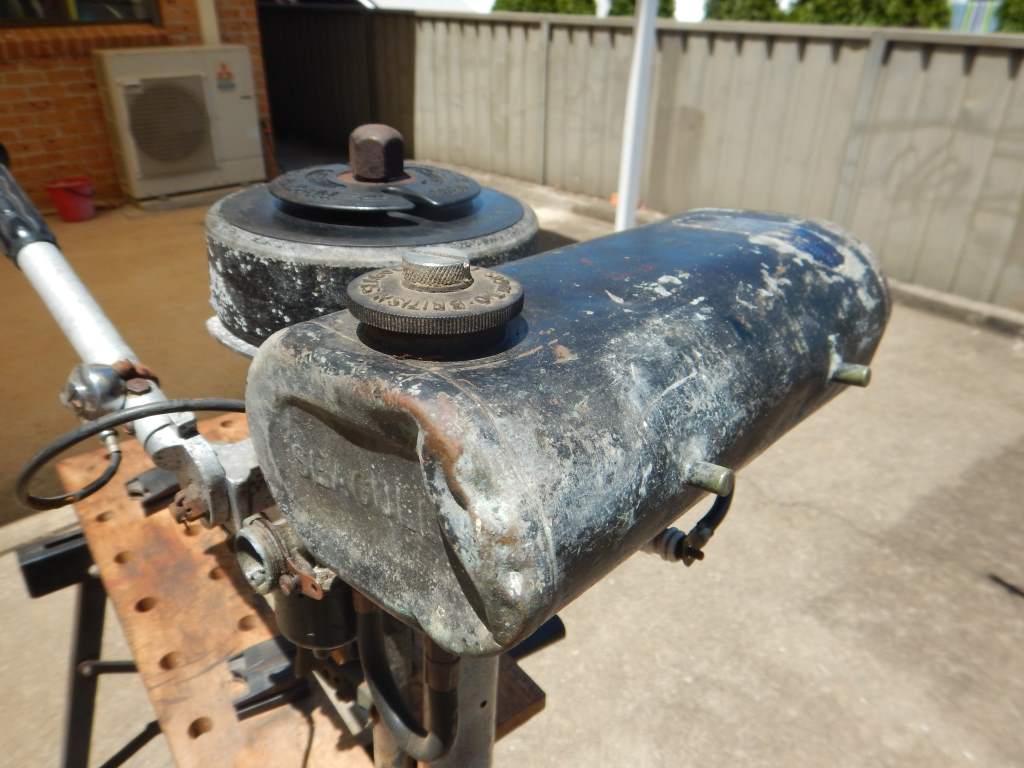
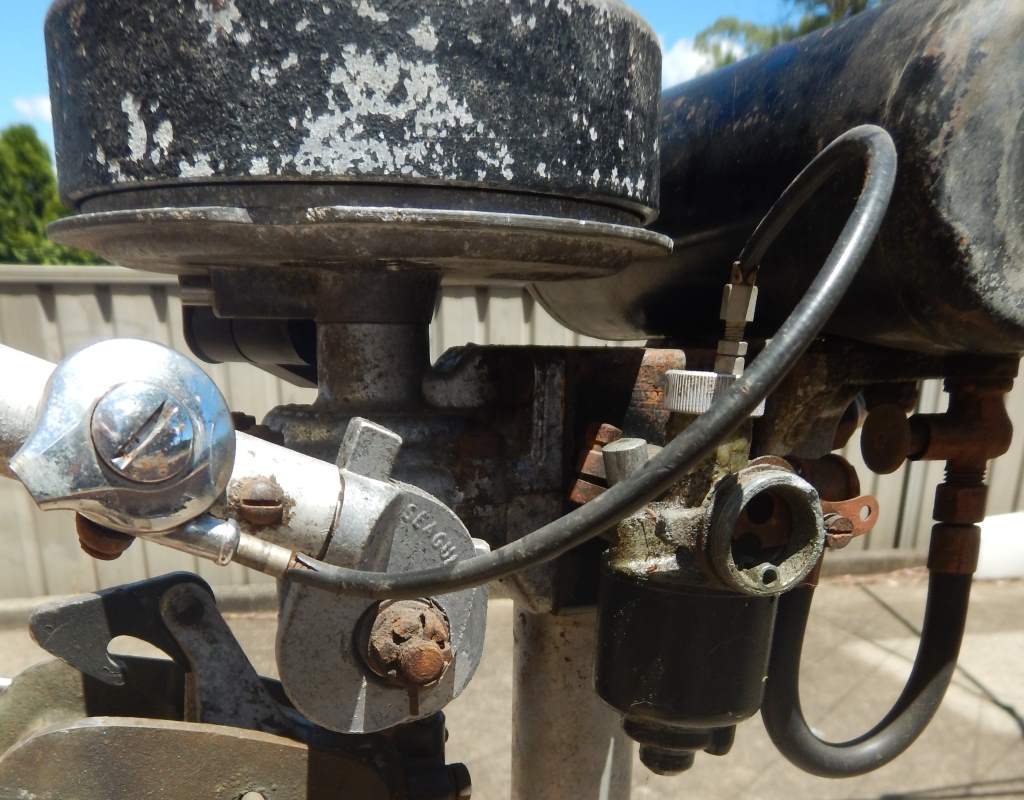
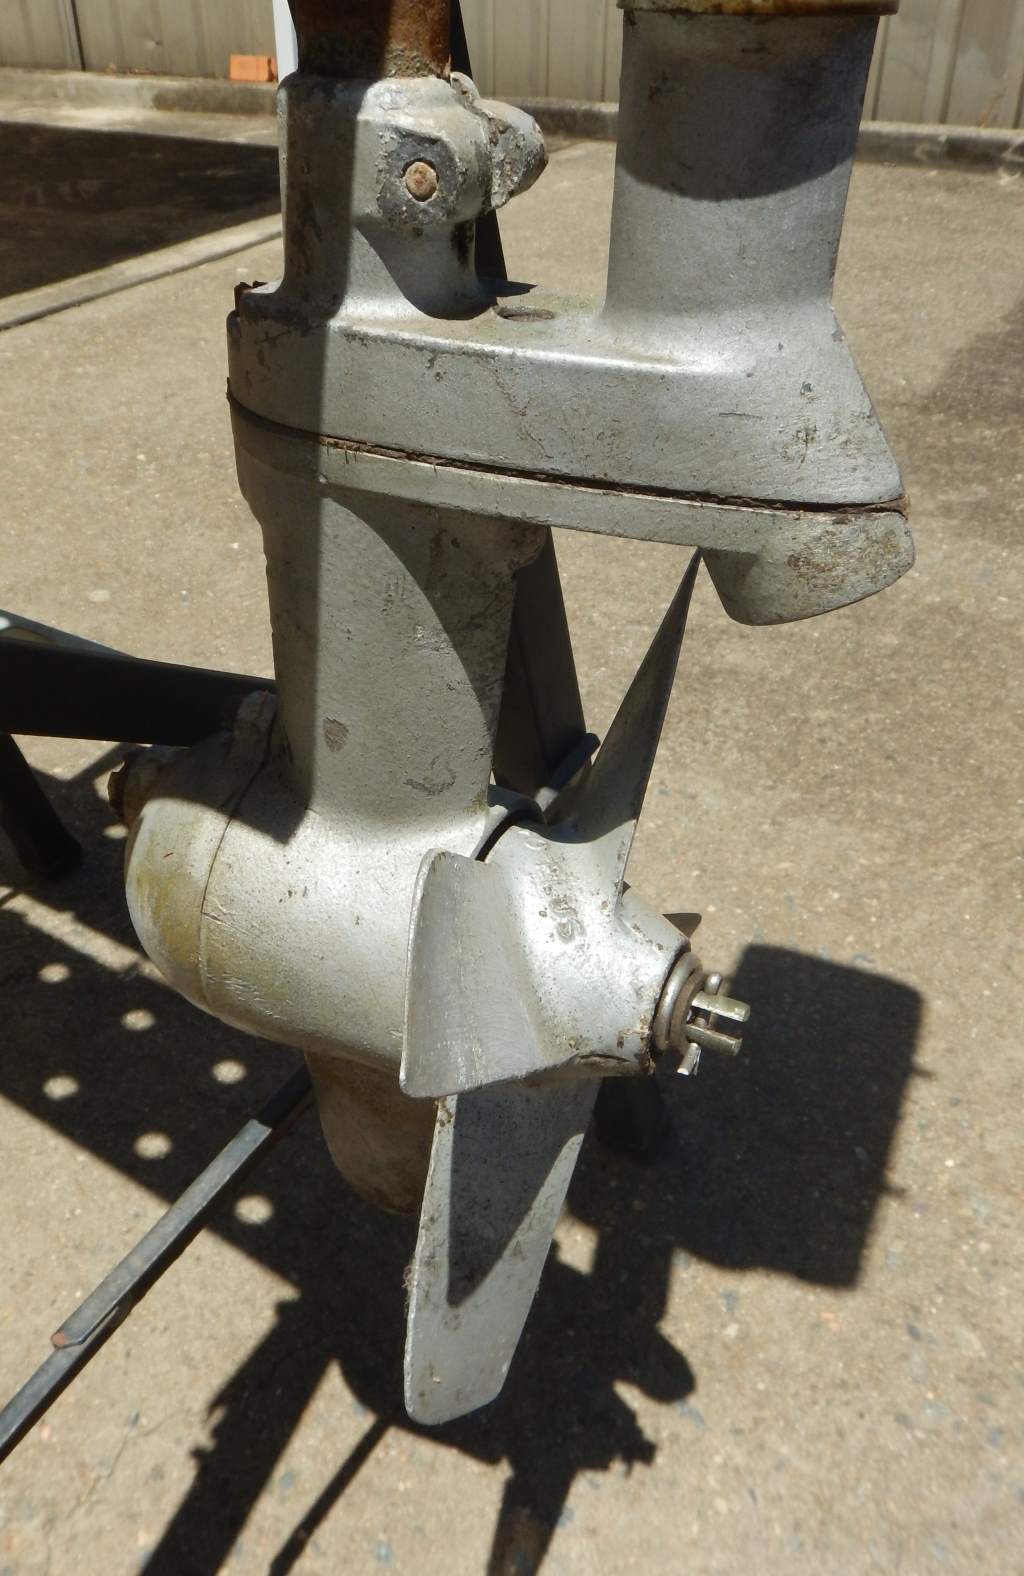
These photos show it as I received it.
I gather someone has been at it before - the Flywheel has been painted black, and as far as I know, there are no standard Seagulls with a black flywheel (please let me know if I'm wrong).
The Storm Cowl for the Carby is missing, The Spark Plug Cap is missing
8 December 2020:
I'm heading off for 2 weeks work next week, and I've decided I'm going to take this Seagull to give me something to do during my down time.
I won't have a full workshop at my disposal, just the few tools I'll take with me, so I am going to do a bit of preparation before I go, just to make sure things go as smoothly as they can. Things I may need special tools for - for example - I use a strap wrench to hold the flywheel still while I take off the Flywheel Nut, so I will loosen that before I go, and I will remove the flywheel as well. Both of these jobs were done today. I also started putting penetrating oil on all the corroded nuts and bolts, and I'll have a go at at least loosening them tomorrow.
9 December 2020:
Started loosening a few nuts and bolts today. I loosened:
- All the head bolts
- All the Crankcase bolts
- Carby bowl and slide retainer
- Carby clamp
- Tiller Crown Nut
- Fuel Tank Nuts
It was quite a pleasant surprise to find that I had no real difficulty undoing any of these fasteners - in fact they were easy enough to undo that I have a fairly strong suspicion that someone else has had this apart in the not too distant past - that is obvioously good in terms of no frozen nuts or botls, but scarey in terms of who knows what I will find when I get in there.
The previous owner said he was having trouble getting the cooling system to work, with no water coming from the Tell-Tale, so perhaps the ease of with whch the fasteners undid may reflect his work on that - I hope so!
22 December 2020:
Well I'm now away from home working and after getting settled in yesterday, today I started doing a few things with/for the Seagull.
A quick trip to Bunnings (a huge Australian Hardware chain store) to buy a few bits and pieces, mostly consumables that I didn't bring with me.
- Can of WD40
- Can of Degreaser
- Wet & Dry Sandpaper - 1 sheet each of 120, 200, 400, 600 and 800
- Kerosene
- Steel Wool
- Round Plastic Tub - Im in a hotel - the tube is to try and keep oil off everything in the hotel room.
- Small Plastic Storage container (to keep parts organised)
And I made a start on getting it apart today. AS you know - I loosened a lot of the nuts and bolts before leaving home, so I had a pretty easy time of it today.everything came apart nicely.
Took off the Crank Nut, the Flywheel, the Spark Plug Lead, loosened the nuts holding on the coil, but was unable to get the coil itself off.
I then turned to the points. Once again, I was able to removed the screw securing the points, but was unable to remove the points themselves, they were stuck fast.I also tried to get the Magneto Baseplate off, but it too was stuck fast.
I have, in the past, been known to break more than I fix, by the non-judicial application of various hammers, but I have (hopefully) past that stage (although I have my doubts as I sit here looking at the few tools I brought with me - "Just the absolutely necessary ones" I decided as I was packing for the trip - I brought three different hammers - so I guess I'm not better quite yet.....anyway.
I resisted the urge to hit the various stuck items with various hammers - well OK - I did try and persuade the baseplate off very gently with a soft faced hammer - but gave up quite quickly as it wasn't moving and I di'n't want toi hit too hard - because I know all too well what happens when you hit too hard!!!
I don't know exactly how things are secured on these models, so a bit of education was in order. I got onto YouTube and watched a few videos by the Irish Guy - Coastal Works - really good vieos - and a really good accent too :).
I wanted a good overview of the Ignition System and how the Base Plate is secured. Here's the videos I found.
So armed with that knowledge I was able to confidently get back to work. I wasn't quite sure i the bolts securing the coil actualy screwed in, and were tin tight, or they were just corroded in. In the video I was able to see that they did not in fact screw in so I was able to confidently lather them in WD40, let it soak for a while, put the nuts back on to protect the threads, and apply careful use of a soft hammer. They came out with no dramas.
Similar story for the points, although I had removed one of the 2 screws securing the points, the points themself refused to move. After watching the video, I again saw taht there was nothing really stompling them, other than years of crud, so more WD40, more time and just the gentle use of a screwdriver and they began to move. They pivoted around the points adjustment cam type screw, but eventually they loosened up and came off without drama.
The Points adjusting cam screw was also frozen tight - more WD40, more time - (patience is the greatest tool in the restorers tool box) and, nothing!! Still wouldn't move. I guess I wasn't patient enough. More WD40, more time and with a good strong grip on the screw-driver it ever so slightly began to give a hint of moving. It was at this time I wondered what the fix would be if I happened to destroy this little adjuster - I didn't know the anser, so more WD40, and more time. This time did the trick. It was still tight, but definitely moving without risk of snapping the shaft or stripping the flat bade head. Turns out this little screw doesn't actually come out co screwing it doesn't remove it - but it now turns quite freely
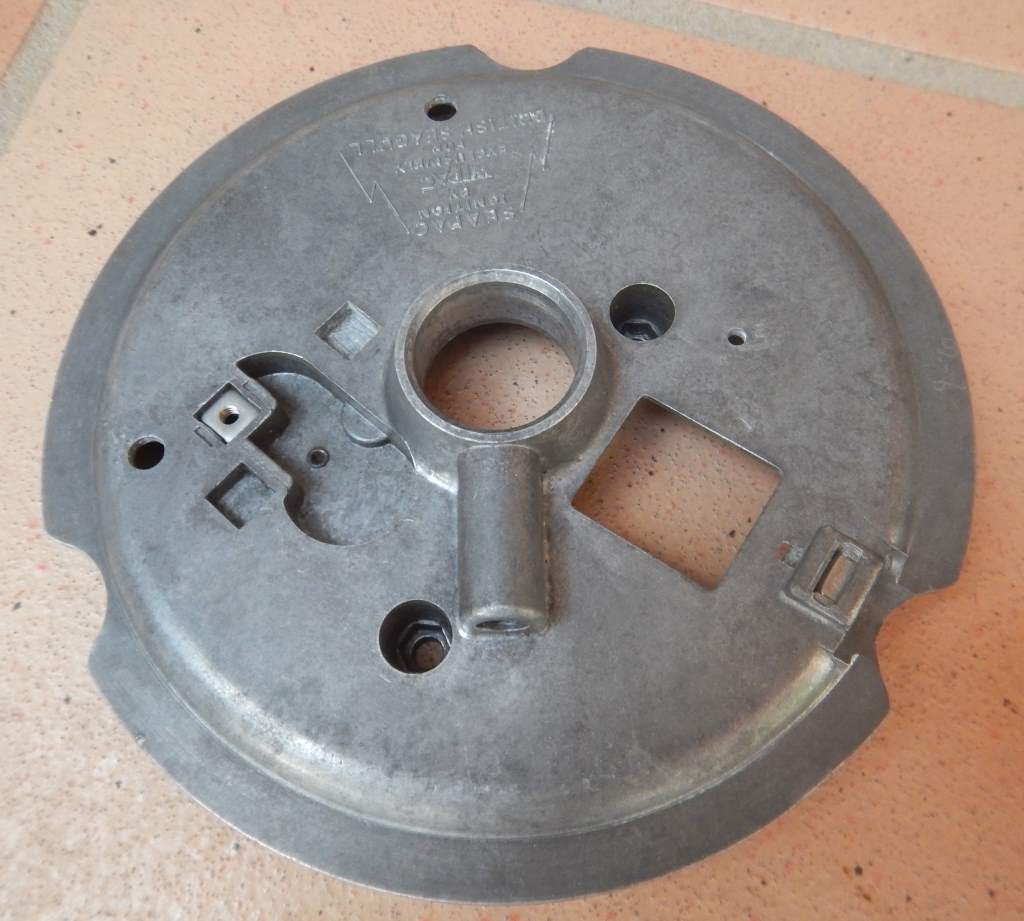
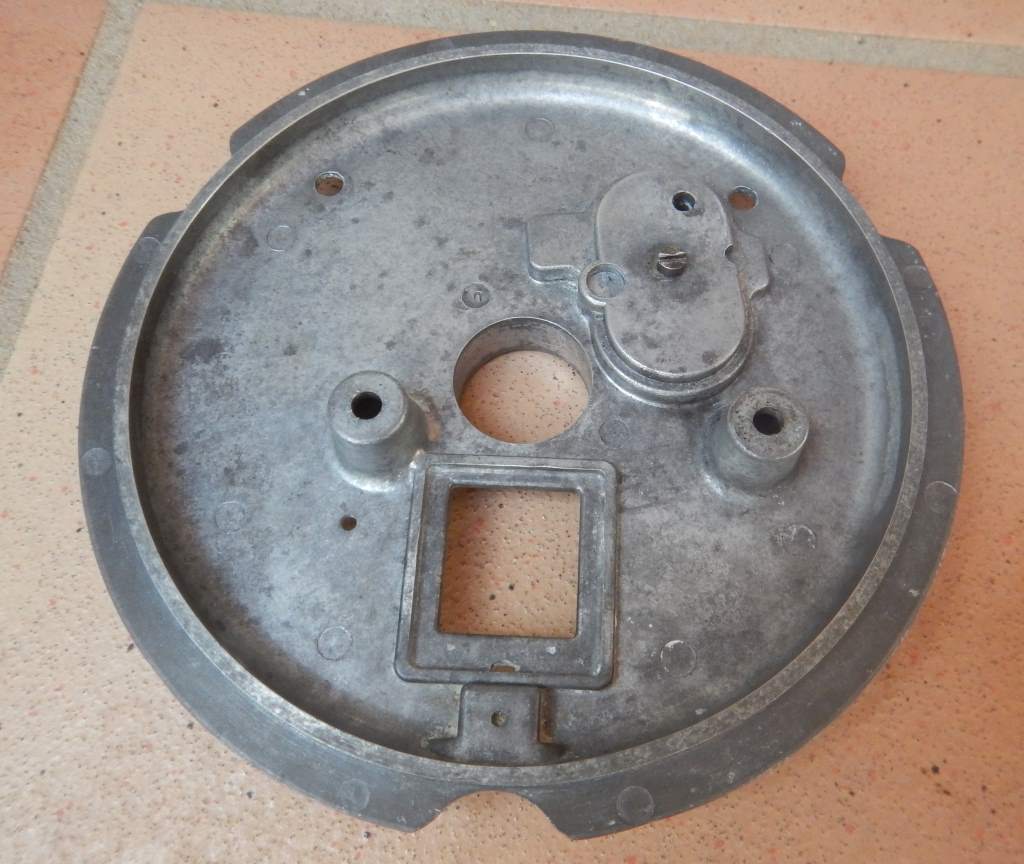
So last job for today - clean the Baseplate.
- Spray with degreaser and allow 5 minuties to soak and then Hose off with High Pressure Water Washer.
- Wash in clean Kerosene
- Wash in clean hot soapy water, scrubbing with soap imprgnated Steel Wool
- Scrub with wire brush
- Again in the hot soapy water and done....
It came up really well - it may seem like I did that in a strange order, an perhaps I did, but I didn't plan on doing the wire brush phase - it looked reasonably clean. just quite greasy, but ponce I washed off all the dirty, grime and grease, there was also quite a bit os superficial corrosion, but it all came off quite easily with the wire brush.
So a little bit of Penrite Marine Grease on the centre face, and wrap it up, piut it asid, ready for the reassembly.
Here's a photo of it after I finished it - itdoesn't look super polished or restored, it looks like a nice new original alloy baseplate. :)
23 December 2020:
Not a lot done today - but took off the Head, took off the Exhaust Tube and not a lot else.
24 December 2020:
More supplies - Paint Stripper, acouple of 99 cent buckets, a small Citric Acid and a small Bicarb Soda.
Today I started cleaning a few bits and pieces:
- Head and Water Channels
- Flywheel
- Exhaust Tube
Today I intend to give the cooling system a good going over because the previous owner said he just couldn't get the water to flow out of the Tell-Tale - I hope he hasn't been running it like that for too long. He assures me he has had the head off and all the water galleries are clear and mostly rust free. He also assures me the impeller is fine. But people selling things make lots of assureances don't they? But I am working on the principle that if he was honest enough to tell me it wasn't working in the first place, hes probably honest enough not to lie about the water galleries etc. We'll soon find out.
At first sight, things looked OK, and the previous owner told the truth, the water galleries were pretty good, not as good as I would like, but pretty good. They were all clear, but still quite rusty and silty, but not enough to stop water flow, but they can be improved.
I haven't got the lower leg apart so I will start as low as I can, and work my way up. So off with the water transfer tube. It looks quite mucky, and it came out of the foot quite easily, so I suspect the previous owner had it out as well, but not sure what he did once he had it out, because I couldn't see through it, it was gunked up. Turns out I could blow air through it (with my mouth), but it was obviously quite restricted because I had to use quite a bit of pressure to get air through it. OK- so this is the first job in fixing the ater cooling system. Can of degreaser with a long nozzle pipe inserted into the tube fromn the top and spray - worked quite well, you could see quite a lot of crud spray from the bottom of the tube. Same again from the other end, more crud ejected. I could now see light through the tube, but still not perfect. I wish I had access to my cpompressor.
Blocked one end and then filled the whole tube with degreaser and let it soak for 10 minutes followed by high pressure water - ahhh - that helped a lot. Then into a very hot soapy bath soaking for half and hour. After that more degreaser and.....perfect!!! I wonder if the fix is as simple as that? I knoda doubt it.....it never is...is it?
So on to the head (yes, I missed a bit didn't I? More on that later). So the head looked OK, but I wanted it better. So into the Water Galleries with an old screw driver to gouge away the remaining deposits of silt and rust. All the chambers appears to be joined together, so the silt wasn't bad enough to block the water flow totally. I tried to buy a tiny little wire brush to get into the galleries, but I'm currenly in a small counrty town and they didn't have anything suitable, so had to make due with the screw-drivers. But after half an hour or so with repeated episodes of gouging and flushing, things started to look pretty good. Still not perfect, but pretty good.
Just to make sure I wasn't missing anything, I watched the following video, again by Coastal Works, the Irishman who has a great YouTube Channel on repairing Seagulls.
The part that really caught my attention started at 4:04 - I note he says in thepast he has had blockages in a section I had not even looked at. So back to my head, and lo and behold, I could not blow any air through the upper link for the water tube - none at all. Hmmmmm.
So in there with a srewdriver - lots of gritty, sandy, silty muck. No wonder there was no water flow. Kept digging at it for probably 10 minutes or more before I could even get a hint of air through it. I couldn't get great access to the water gallery above, and I was guessing that the whole chamber was chick a block full of gunk. I ended up taking off the double ended threaded joint (5/16 Whitworth) and that gave me slightly better (but still not great) access to the chamber. Once I was able to get a little bit of air through it, I flushed it with degreaser, then Kerosene, and then high pressure water - and things improved noticeably. I could get a lot more air though, but it was obviously still restricted. I brought out the Big Guns - I used a high pressure Karcher and sprayed the water directly into the port and left it there for about 5 minutes.....bingo!!! I can now blow air through it and there is obviously no restriction to air flow, so hopefully, there's no restriction to water flow. The only unknow is whether or not the Water Gallery hidden behind the exhaust port is absolutely clean, because as far as I can tell, there is no way of seeing in there. Clean water put in seems to come out as clean water - so I am hoping for the best. Anyway- that's as good as I can get it, so that's the way it is going to stay.
The last thing I will do is give it a good de-rust - so its out there now sitting in a bath of Cirtic Acid - I will probably leave it overnight and check it in the morning - hopefully my Christmas Present will be a nice clean, degrusted and fully functional Seagull Cooling system - dunno what you think - but to me, that's a great Chrissy present! (Don't forget to flush it in BiCarb Soda after removing it from the Citric Acid - the BiCarb Soda neutralises the acid.
I also worked on the Flywheel - I note it had been painted black (and not very well either, obviously a home job), and I was under the impression these models had Gold Flywheels. Of course looking at the underside, there was the original Gold colour. So, paint stripper, and the black paint came off quite easily. But under that black there was a reasonable amount of corrosion. Gave it a good going over with Steel Wool in hot soapy water (bad move - I then spent 10 minutes trying to get all the bits of Steel Wool off the magnets....) . Another round of cleaning, this time with Wet and Dry Sandpaper - first 240, then 400 then 600....starting to look OK now. Gave it a really good scrubbing with a good, hard bristled wire brush and really starting to look good. I mean not good enough to put on like this, but good enough to start thinking about undercoating.
The only other thing I did today was clean up the Exhaust Tube. Steel Wool in a soapy bath and it came up pretty good, not perfect, probably 7/10. I think I will repaint this, because I am certain I can get it looking a lot better. Trouble is, once again, I can't get the High Temp Paint I need to paint it - this little countyr ton has no stockists. I have some at home, so I just might leave it until I get home.It shouldn't be that difficult to mak it up and paint it with the engine all together.
So really, at the moment nothing to do but rest and keep an eye on the Head in the Citric Acid. Once I am happy with the Water Galleries, I'm going to mask everything up and give the outside a couple of coats of VHT Grey Primer followed by a couple of coats of VHT Black Engine Enamel, and that will be done.
25 December 2020:
MERRY CHRISTMAS!!!!
Had to get the Barrel out of the Citric Acid this morning, clean it up and mask it up ready for painting.
The Citric Acid has worked its magic and after another good scrape and pressure wash, all the water galleries are pretty much rust free and ready to go for another 50 years.
So I gave it a good flush and a soak in BiCarb Soda to neutralise any acid that may be remaining in any nooks or crannies and lubed up the cylinder to prevent flash rusting and sit it in the Sun to dry.
Then masked it up and gave it a going over with Wax & Grease Remover ready for painting.
First step was a couple of coats of VHT Engine Enamel Primer in grey. three coats in total, a light coat - leave for 10 minutes - another light coat - leave for another 10 minutes, and then the final primer coat, a medium thickness wet coat and then leave to dry for 30 minutes.
Result:
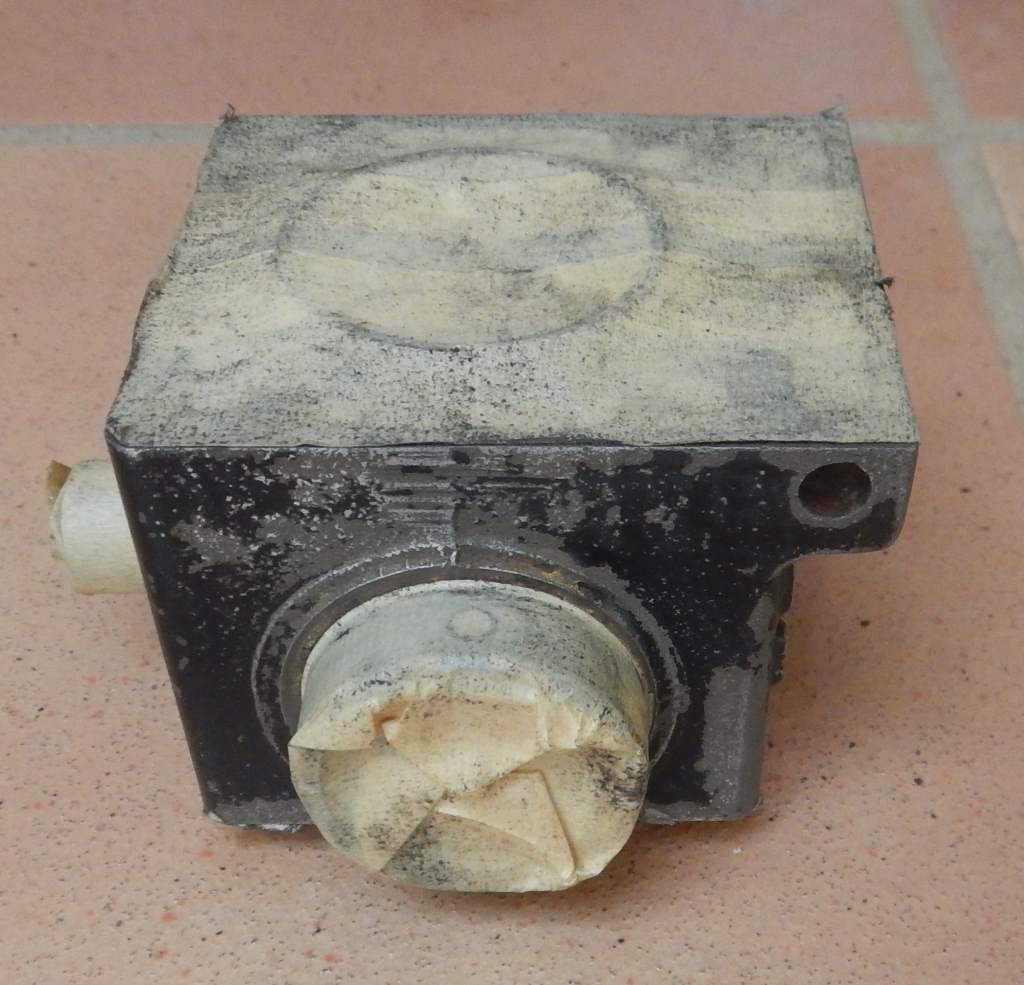
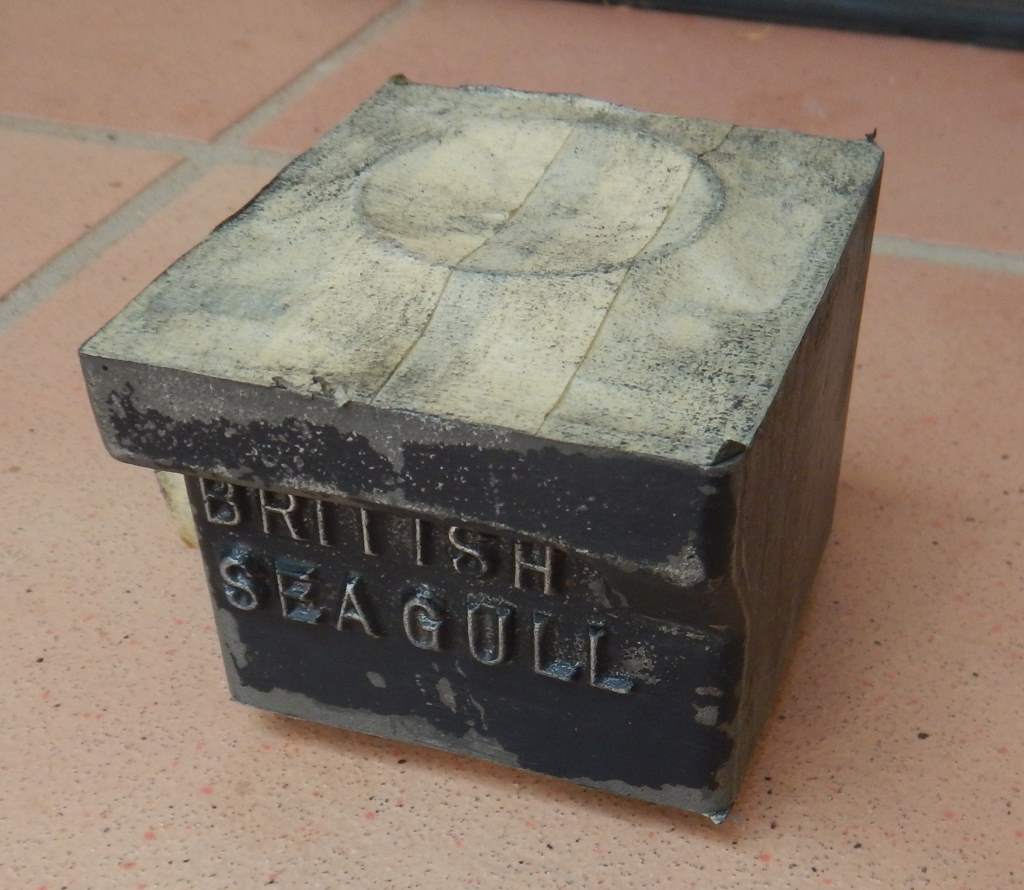
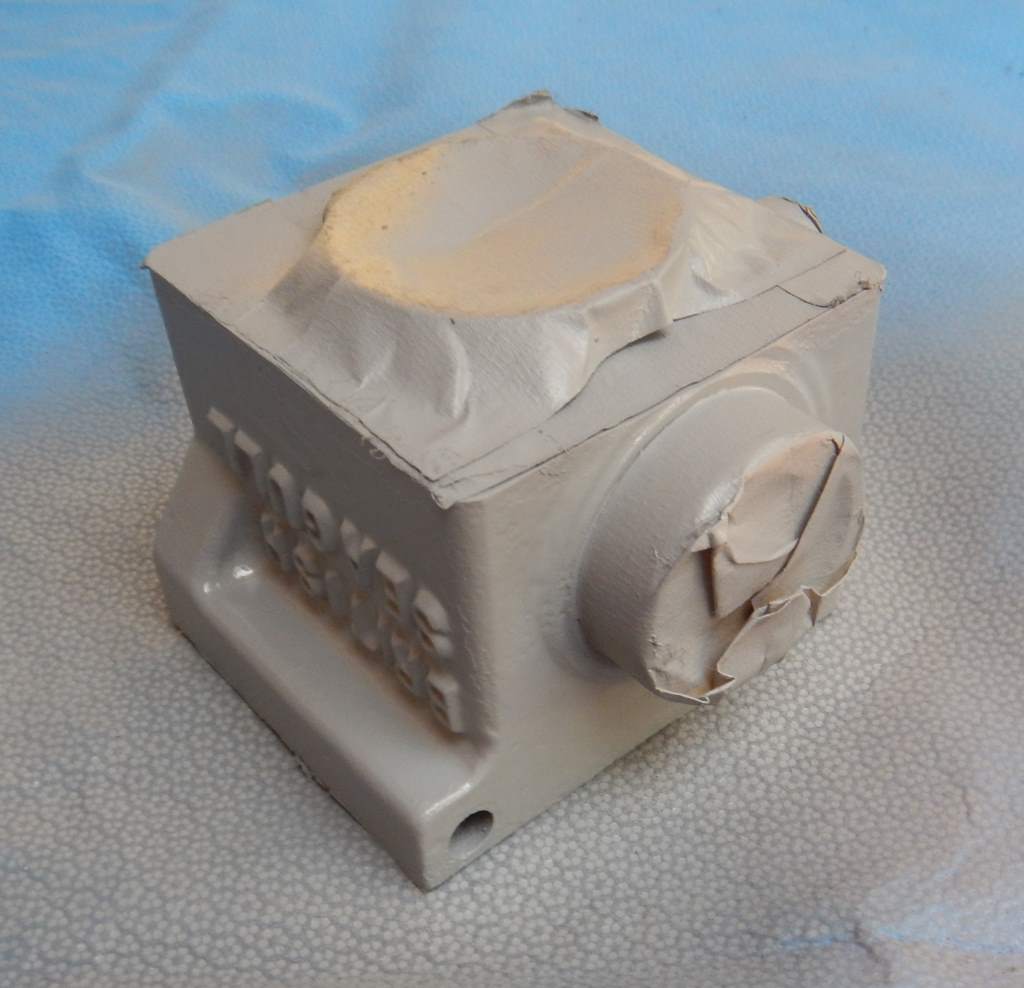
Looking good so far.....
Now for three coats of VHT Gloss Black Engine Enamel - same process as the primer - Thin Coat - 10 min - Thin Coat - 10 min - Medium Coat - Finished. But as usual, I got overexcited by seeing the colour and went too heavy during the Medium coat and got a run.....Bugger!!!! Won't I ever learn??!?!?
Not a major drama, but annoying. Left it 45 minutes, then a wet sand with 400 grit Wet & Dry to remove the run. Another couple of (careful) coats and finished....
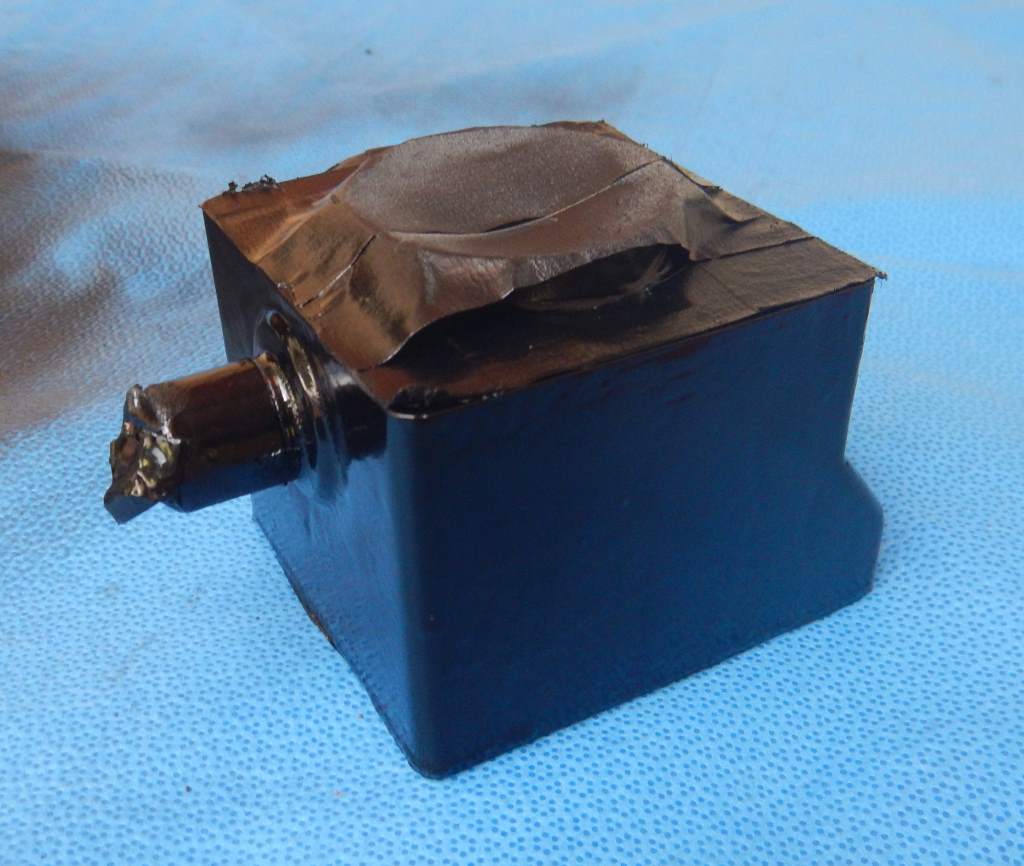
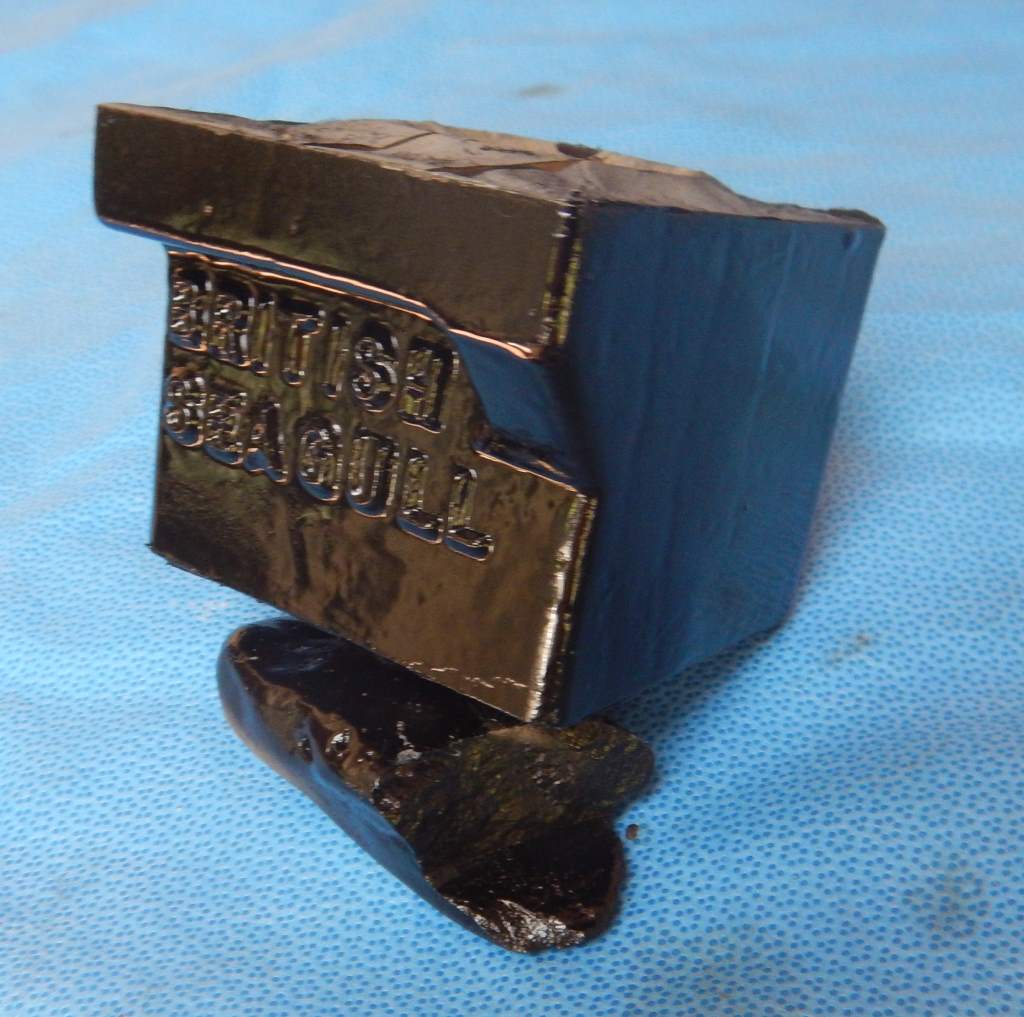
27 December 2020:
So now I know the barrel is nice and clean, water galleries are really clean and it's got a nice new coat of heat resistant paint, I had better check the rest of the cooling system. I need to get the gearbox off to check the impeller and make sure the water channels are clear down there too, to make sure the cooling system is functioning perfectly.
But try as I might, I couldn't get the gearbox off by hand. And I couldn't get my Impact Driver in to use that. All I needed was my extra long Impact Driver bits, but of course I am away from home working and the extra long bits are at home....."BUGGER!!" Oh well, just have to wait until I get home to do it.
So I moved my attention to the Electrics. You may recall when I first checked this little fella, there was no spark - which is not that unusual for an engine that has been sitting around unused for many years, but it is kinda unusual for a Seagull. "No worries", I thought, just give the points a bit of a clean and it'll be right.
So I got some 400grit Wet and dry and gave the points a bit of a clean and tested spark - None!! Hmmmm - the plot thickens. Then I pulled off the spark plug lead and tested it for continuity - nothing. OK, so that's why there is no spark, the Spark Plug lead is no good.
I pulled it apart totally with guidance from this video - yes its the Seagull Whisperer Irishman again - his videos are really good.
So I stripped it totally and found that the actual cable itself was OK - no breaks in it, because I got continuity from start to finish. Where the problem lay was in the crimping between the actual spark plug spade connector. If I tested continuity with the Multimeter probe on the spade connector - then there was no circuit. If I stuck the multimeter probe between the spade connector and the spark plug lead itself, ie: actually touching the conductor, then there was continuit. Hence, the Spade connector and the HT Lead are not connected. I will fix this later, but for the moment I will just replace the Spark Plug lead with a known working one. When I get home, I'll have access to the tools I need to do the repair. And I might just buy a good quality Ratcheting Crimper, and once there is a good mechanical connection between the two, then do a good solder joint, but that will have to wait until I get home.
OK, so time to clean up the rest of the electrics. Gave the pints a good bath in contact cleaner. I removed the points wire from the coil, and cleaned up the terminals for that. Once again, the Irish Seagull guy came to my rescue. Here is his video.
As you can see, I also included a couple of other videos, one on testing the coil with a multimeter, and the other showing the infamous Drill Trick for bringing back, or improving spark from your little Seagull. It's kind of a last resort, but because coils are so expensive to replace, it's worth trying, becaus if it does work, it mjay say you a lot of money - probably enough money to buy yourself another Seagull for your next project :)
Essentially I cleaned the points, the terminal between the points wire and the coil, I also sanded off the coil contacts, they were quite clean anyway, but I cleaned them to a nice shiney surface. Then I sanded off the magnets in the flywheel.
30 December 2020:
Now that I've got all the electrics cleaned up, its about time to get them back onto my nice clean base plate. Simple job.15 minutes really. The only issue is a missing part. I believe the Wipac ignitions had a clear plastic cover over the points, and that is missing from this engine, but I *think* I have one on an old parts engine at home. If yes, I'll grab it, clean it up and put it on this one. No real harm if its missing, but I suppose it may help to keep the points clean.
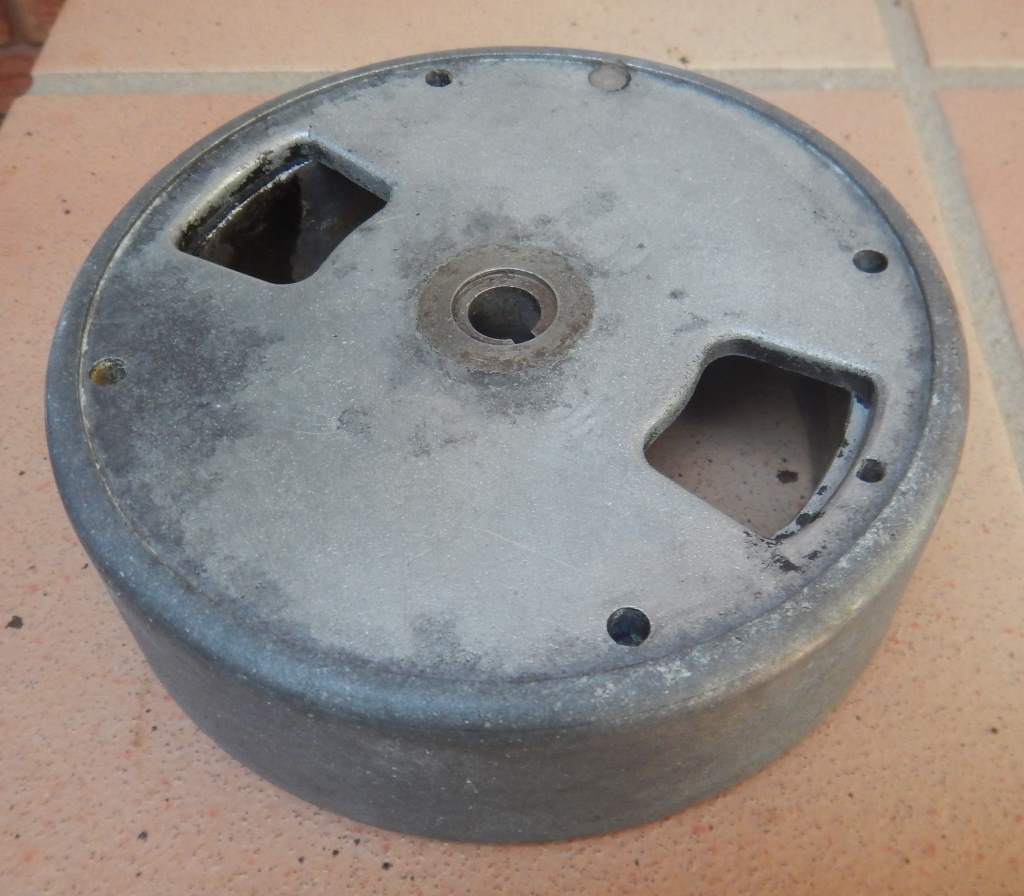
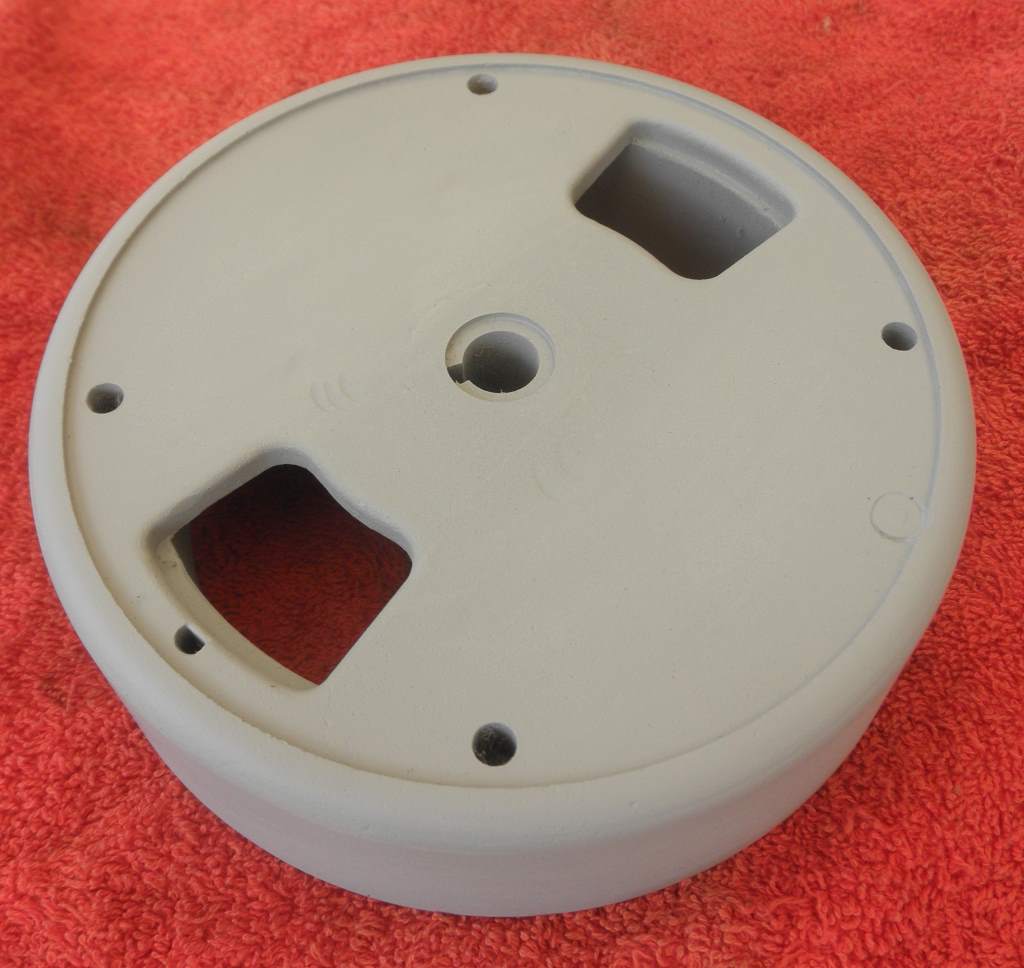
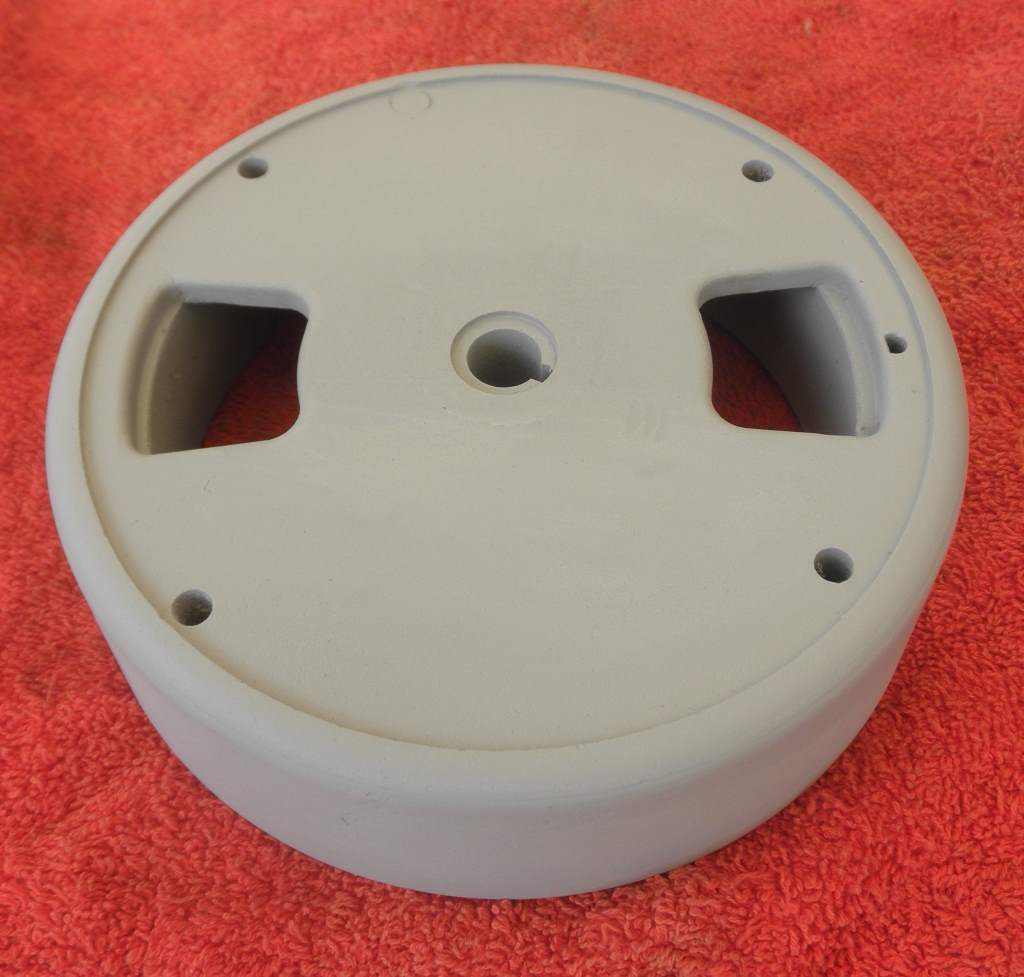
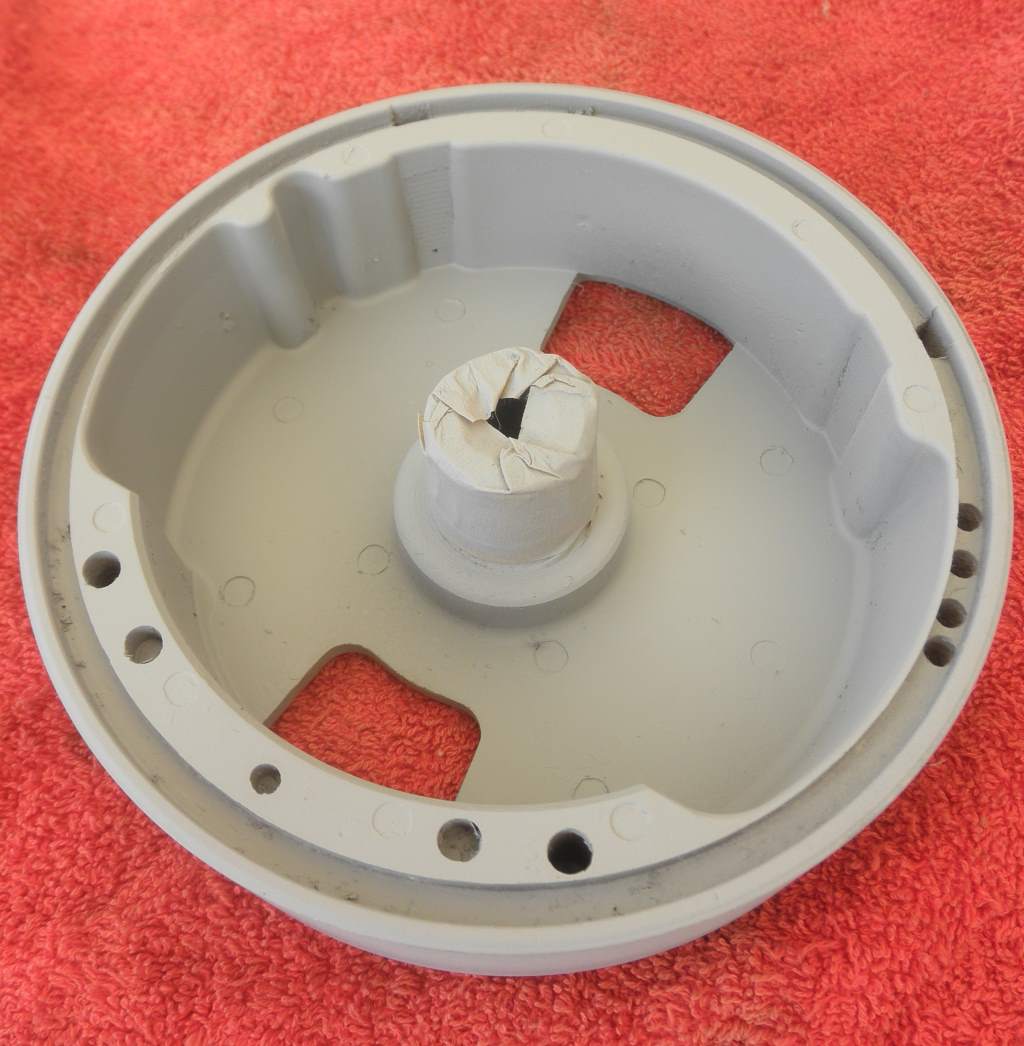
But before that - I'm going to paint strip the Flywheel. It's currently a pretty beat up black colour, but I believe the original colour should be the well known Hammertone Gold. So out with the paint stripper and apply a nice thick coat. Most of the black came off quite well, but there a few stubborn spots. A second coat and a good scrub removed the rest.
14 January 2021:
Had a bit of a break due to work, but now I am back home in Sydney and working on the Seagull again.
I had been wondering how I was going to get the bolt out of the Exhaust Flange and Water Pump Housing - it looked badly corroded - and I had had a few half hearted goes at it while I was away and I never got it budge even a little bit. I had put a bit of penetrating fluid on it with no luck, but I had no way of heating it. Anyway, now I was home I could have a decent go at it.
But first, the other two screw - I got my impact driver out and easily got the rear one out, and once I found my long Impact Driver bits, I got got good access to the centre one, and it came out quite easily with the Impact Driver - what a great tool!!
Then the corroded bolt. I had done very slight damage to it while trying to move it while I was away. I had used a Whitworth socket on it, and the socket fit quite well, but with enough force, I could feel it starting to strip the bolt head. I gave up before I did too much damage. Soaked it in penetrating fluid and wait till I get home was the plan. Now at home, I will use my Impact (Rattle) Gun. Its had penetrating fluid on it for over a week now. So today the plan was heat, heat and more heat. My Rattle Gun is half inch drive while my Whitworth sockets are 3/8 inch, so I can't use my Whitworth Sockets. I got out my Hardened Sockets and tried for the best fit across both Metric and SAE, and found one wiat was just ever, ever so slightly too small (it was probably a good fit but it wasn't going on too well because of the small distortions to the bolt head from my previous attempts. Anyway, I hammerd it on top the bolt head (didn't really take much persuasion) and then got the MAP Gas Torch out. Heated all around it for about 2-3 minutes and then attached the Impact Gun set for 300Nm of torque. Here goes nothing.....pull the trigger.....noise.....lots of white dust (corrosion) came out of the bolt/hole, but I did see some turning. Stopped.... Looks OK - More penetration oil to hopefully get to the newly exposed threads. Lots of steam and evaporating Penetrating Fluid - hopefully just the solvent - and had another go. Great resulain stopped for more penetrating oil. This time it didn't evaporate quite as quickly. ON with the Rattle Gun again and this time - I took it all the way out. Very happy with that result. I was worried I was going to snap that bolt off.
Granted - I was quite careful with that - but I have broken a lot of bolts etc in the past from not having enough patience. Now I am older (and feeling it) and wiser (Yeah.....Right!!) I am trying to be more patient, careful and methodical - and you know what - I haven't broken anything in ages. If I had to put it down't to one thing - its the Patience part. It may be the best tool in our restorers tool kit.
It was a bit of a challenge to get the Exhaust Flange and Water Pump Housing off without going mental with a hammer (remember - Patience!!) Mind you, I did use a hammer, but it was a soft faced hammer, and I used it very judiciously - and gave up quite early on in the piece when it was obvious it was not going to move easily. I could see there was a lot of corrosion around the joint so I attacked that with a wire brush to see if I could break it up enough to make removal easier. No luck. I could see it was a lot cleaner, so I smothered it with penetrating fluid and gave it a chance to work. I managed to get a small pry bar (no! not a screw driver, between the clamp ends and used that to break the seal. I could now see a small break in the corrosion between the tube and the clamp when I was applying force to the pry bar, so I opened up the gap and spray penetrating fluid into it. Then more time for the penetrating oil to work its magic.
When I returned to it - I had a go at it with a MAP Gas Torce and the soft faced hammer and lo and behold, it started to move. Slowly at first, but definitely moved. And once the seal was broken, the battle was over, a few minutes later, it was off, undamaged.
So that was enough for one day- Ended up feeling pretty good about the project now - I think that's the worse part of it over.
15 January 2021:
Back to it - cleaned up the Exhause Flange and Water Pump Housing - Degreasing inside and out, Paint stripper, sanding. Turns out the water channels are reasonably clean, but given that I've got it off, I gave them a really good clean. A good degreasing, followed by a really good wash in soap and hot water. Once dried I attacked it on the inside with an old screw driver, steel wool and Wet and Dry sandpaper - then a small wire brush on my Rotarty tool to get rid of all that white chalky/powery corrosion we all know so well and polish it back to a nice clean surface to aid water flow. Job done.
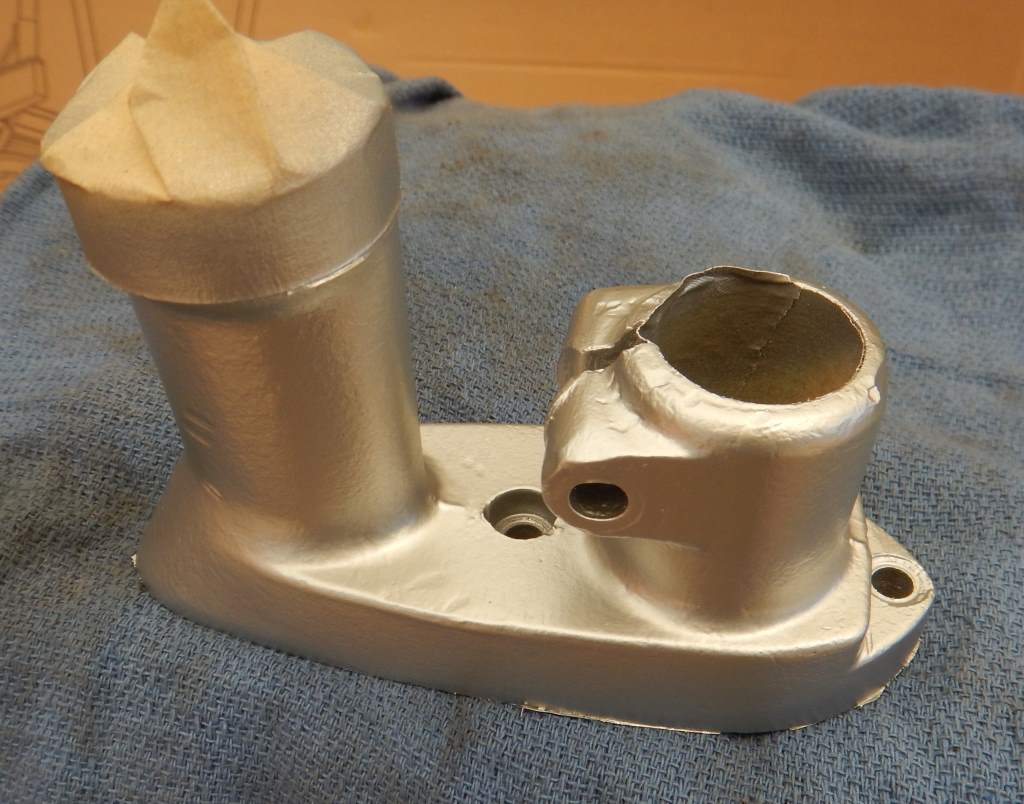
A final wash and once dry, cleaned with Wax and Grease Remover and primed. Here's the result.
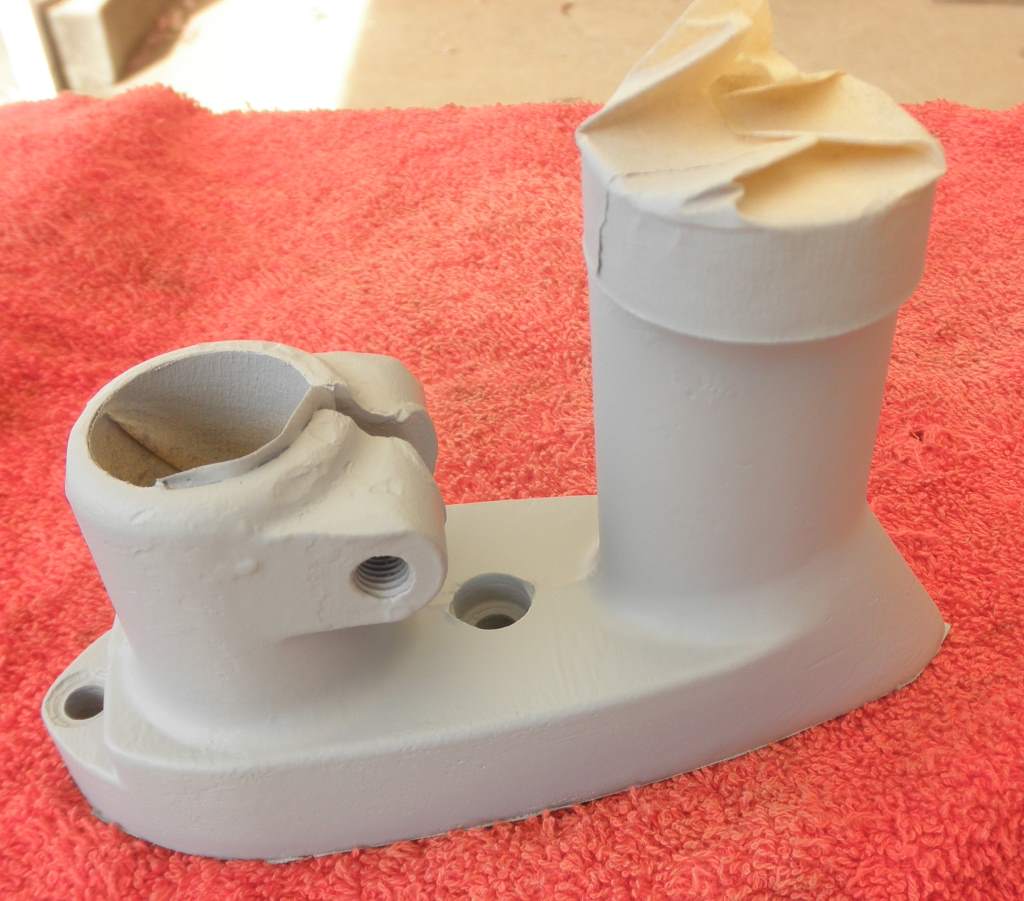
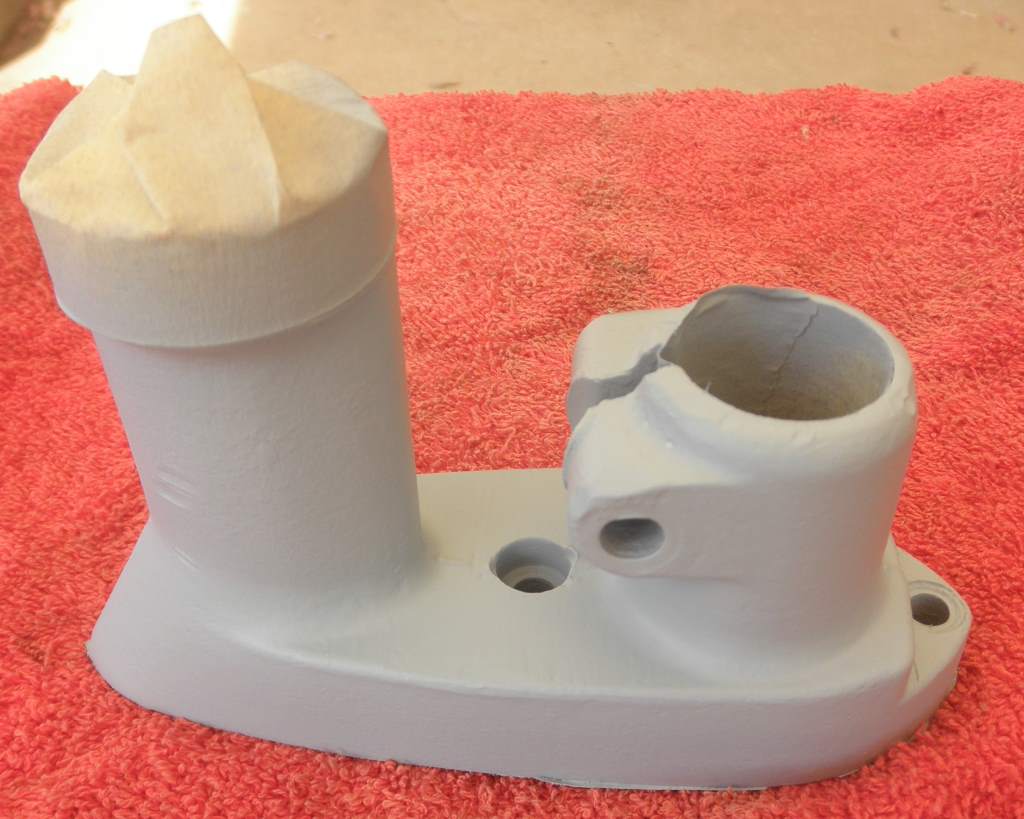
There are a couple of little spots of damage on the outside, obviously signs of years of use, hitting rocks on the bottom and so forth. I tried to do what I could to reduce them with sanding, but I stopped short of filing them out. I may regret that decision later - we'll just have to wait and see. But the sanding and the high-build primer have helped quite a lot, but I think at least some of them may be visible once the final top coat goes on.
16 January 2021:
A bit of cleaning and a bit of painting today.
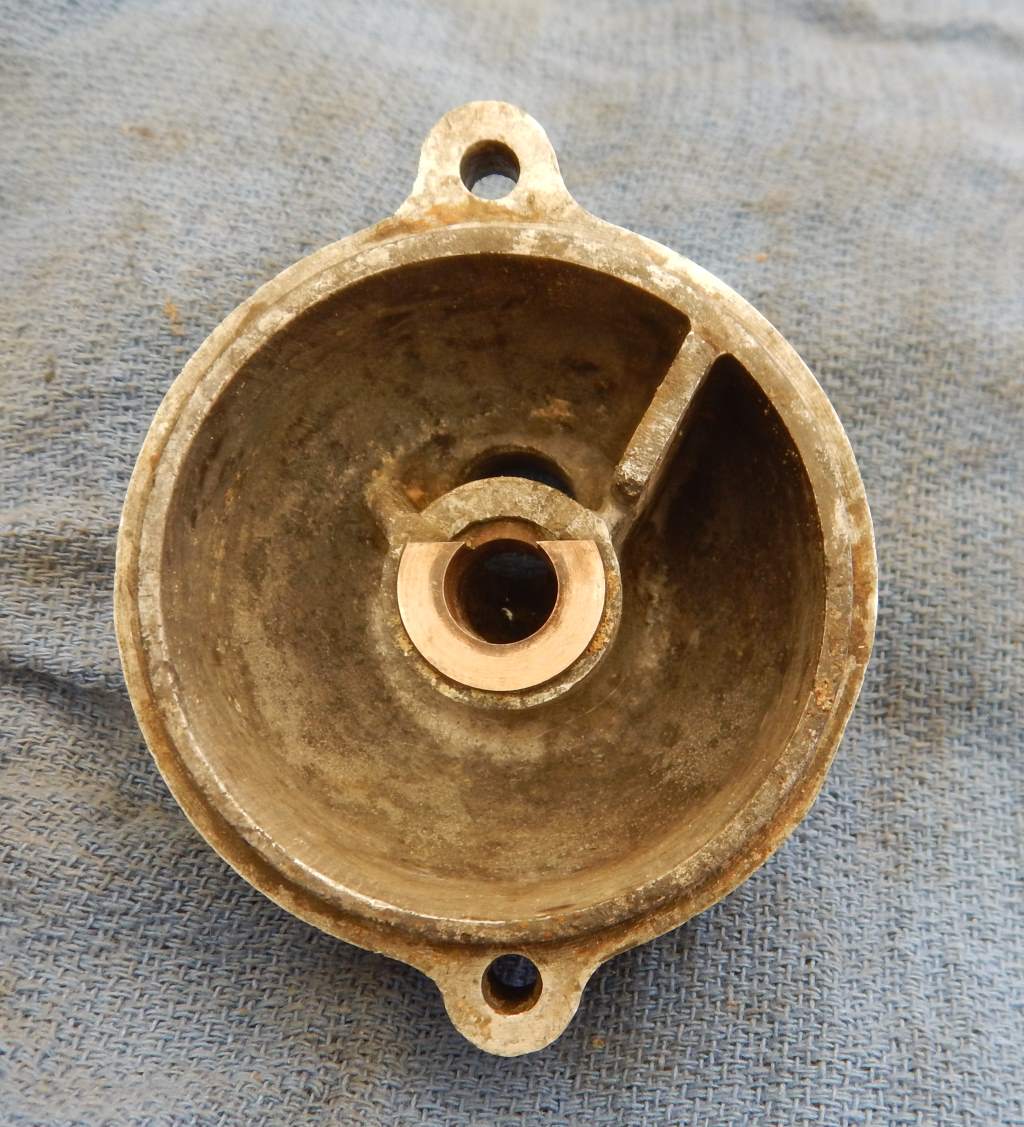
Cleaned out the gearbox Front End Cap. I'm glad I did, there was virtually no oil in it, what was in there looked OK - that familiar Seagull milky type colour, but there was virtually none in there. Add to that, when I pulled out the Prop Shaft and Crown Gear, the Crown Gear waas covered in Sediment and unknown gunk, but the more worrying thing was it was starting to show signs of rust!!! So the Front End Cap and the Prop Shaft/Crown Gear go a really good clean.
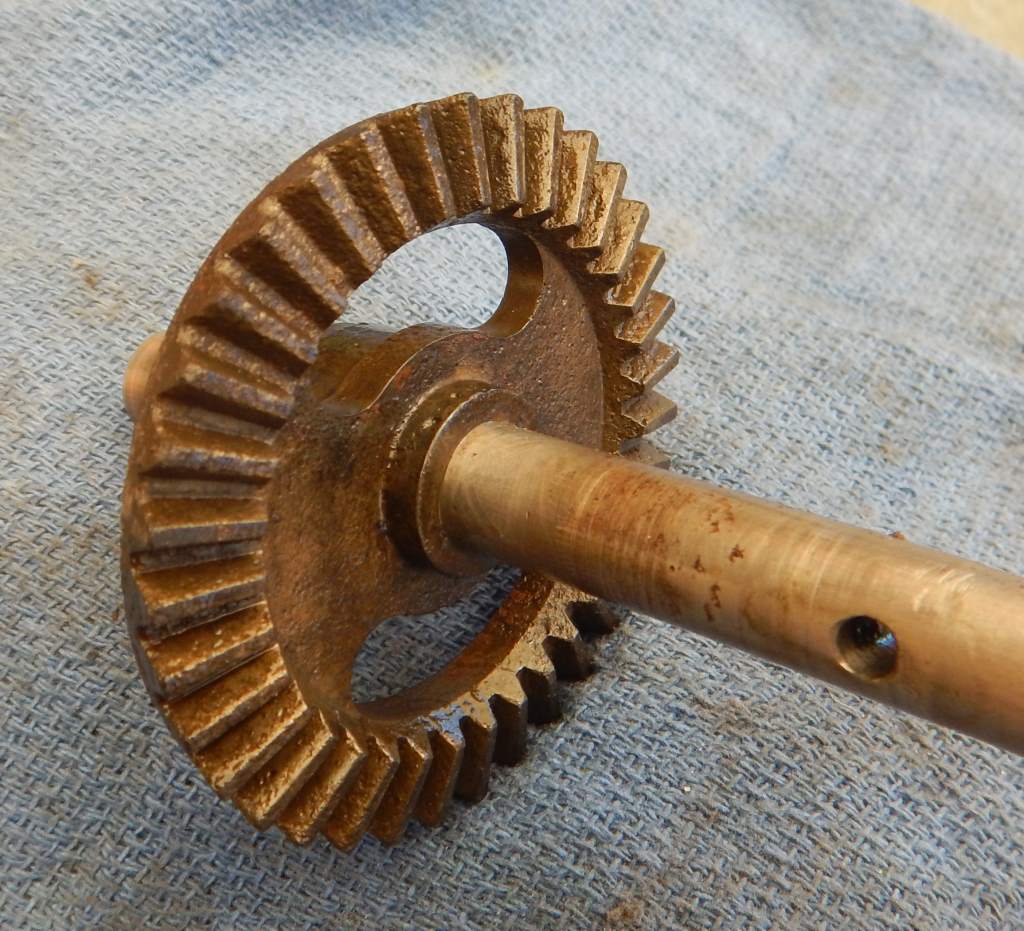
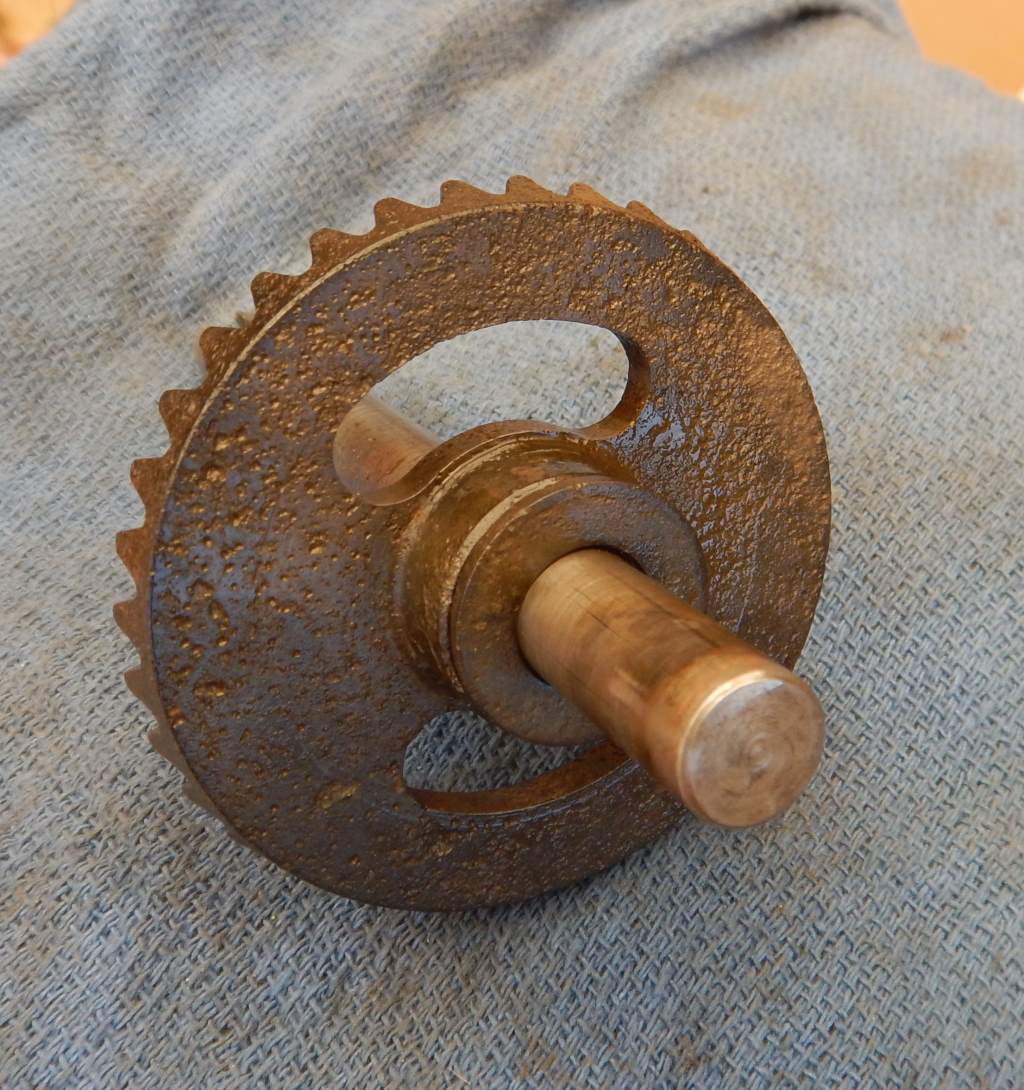
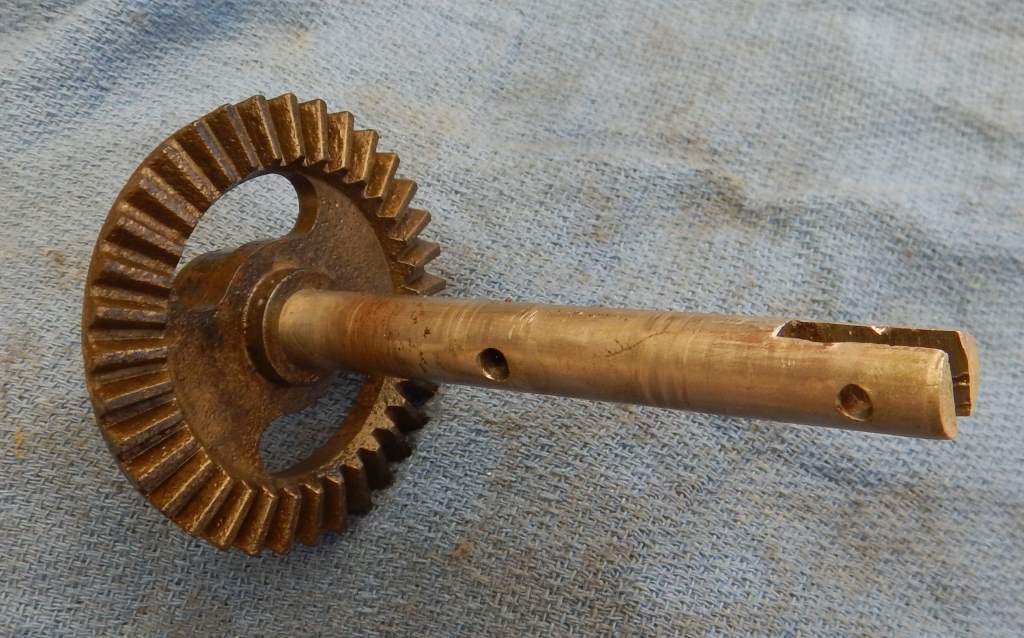
And I got some top coats onto the Flywheel and the Exhaust Flange/Water Pump Housing.
The Flywheel has come up OK - the colour is pretty good, but it doesn't cover up small defects as well the product information lead me to believe (image that!!). I might give it a while to dry, sand it back and apply a much heavier coat and see if that gives a stronger Hammer Tone effect.
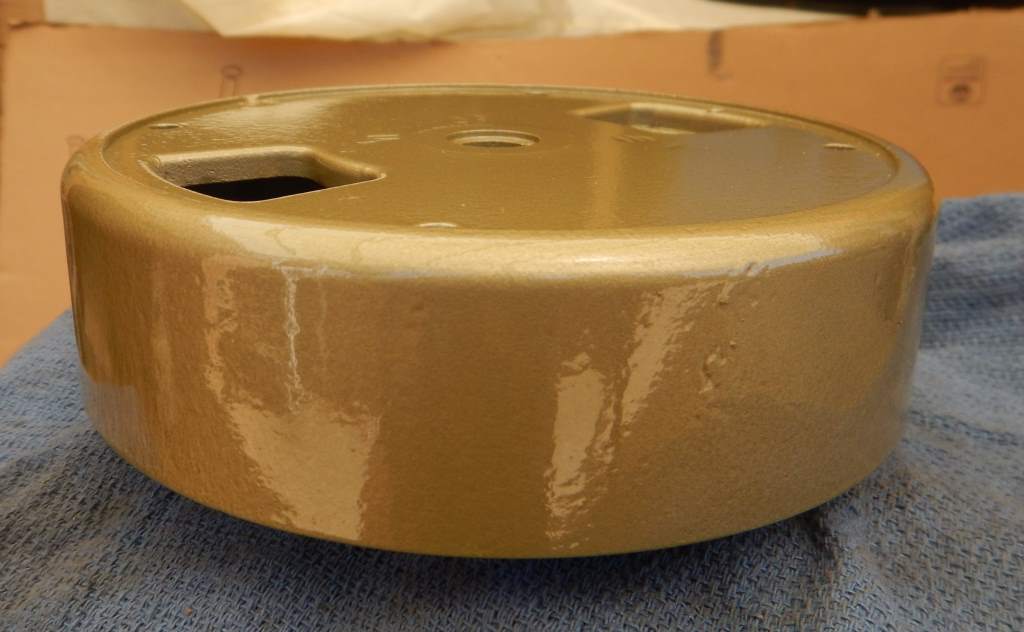
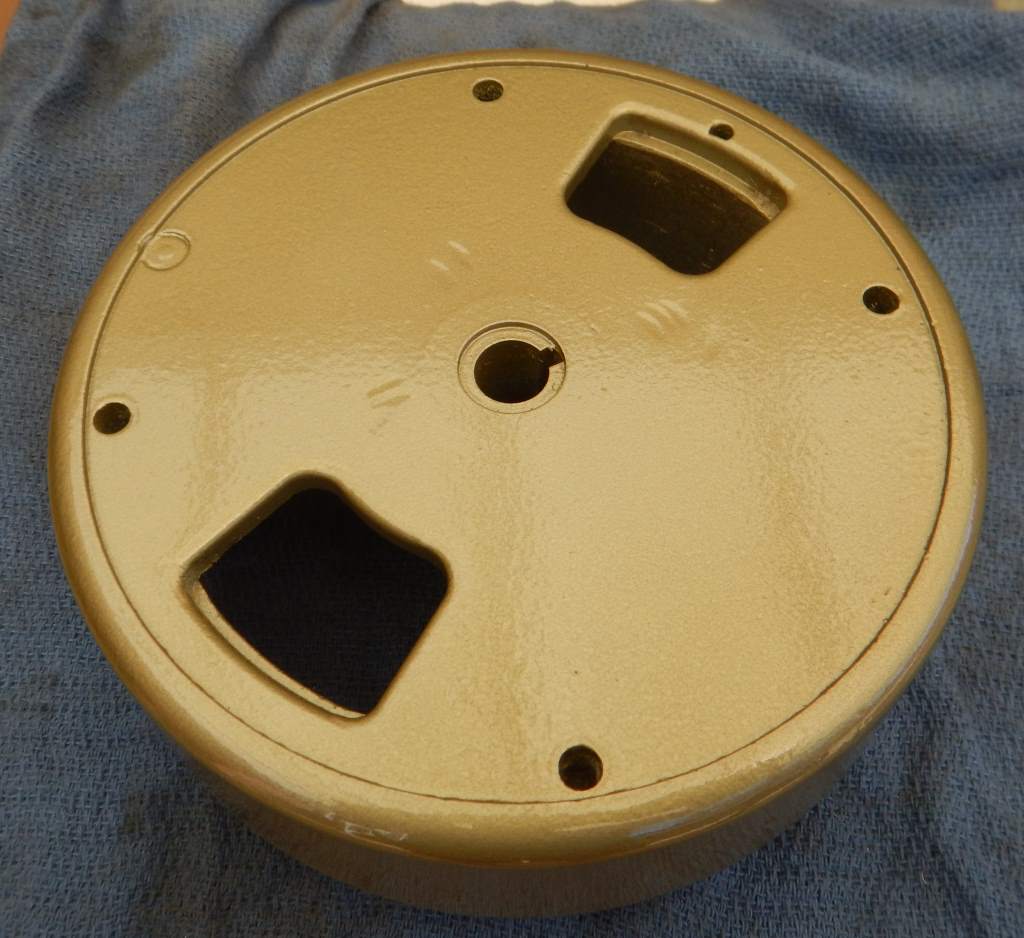
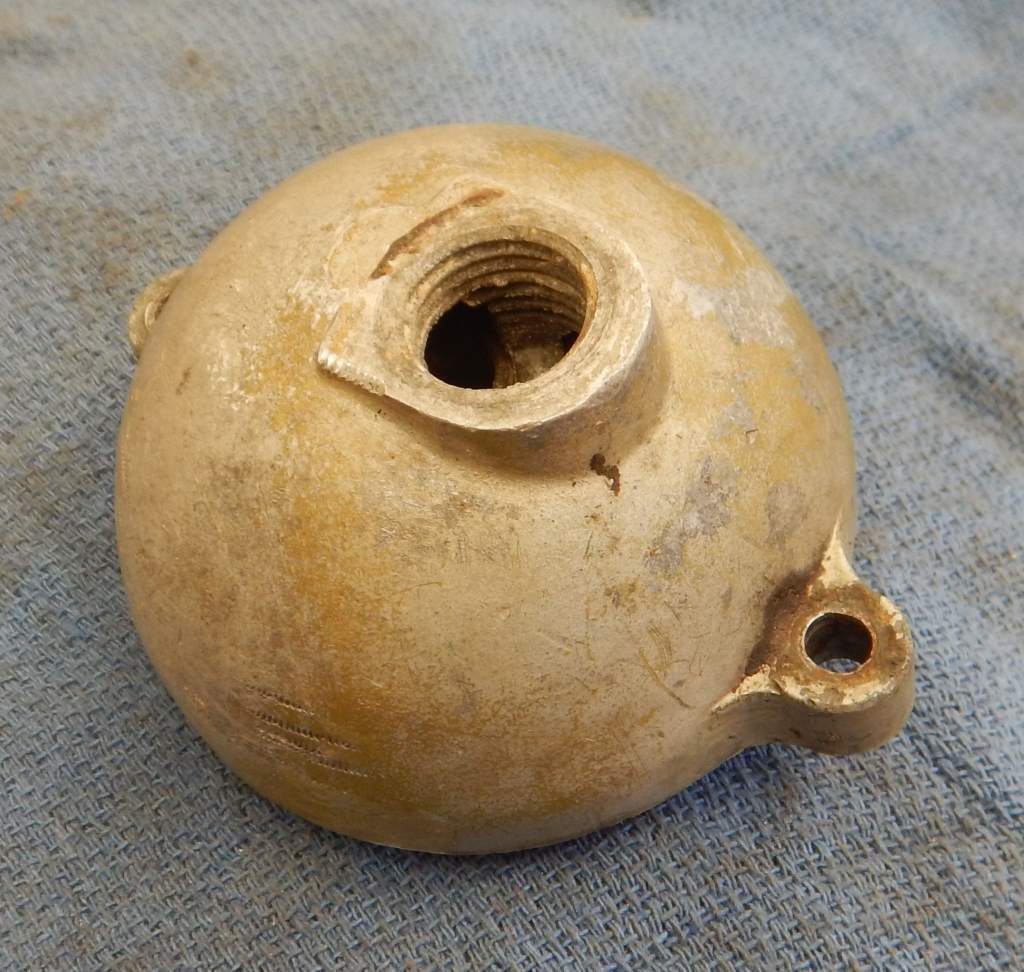
And the Exhaust Flange....
