The Triplets - Victa 18 Lawn Mowers
As you may already know - work has forced me to live in a small one bedroom flat with no workshop or garage for at least a year.
When I left Sydney I was working on a project I called "The Triplets" - which is 3 separate Victa 18 Lawn Mowers - all dating from about 1955. Not bad really - can you imagine anything you bought this year still running in 60 years time - I doubt it.
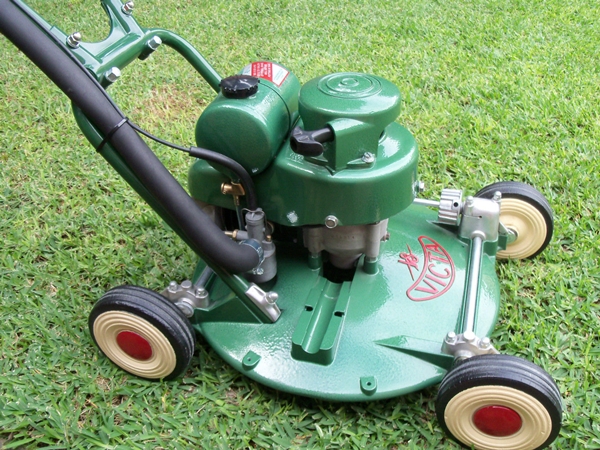
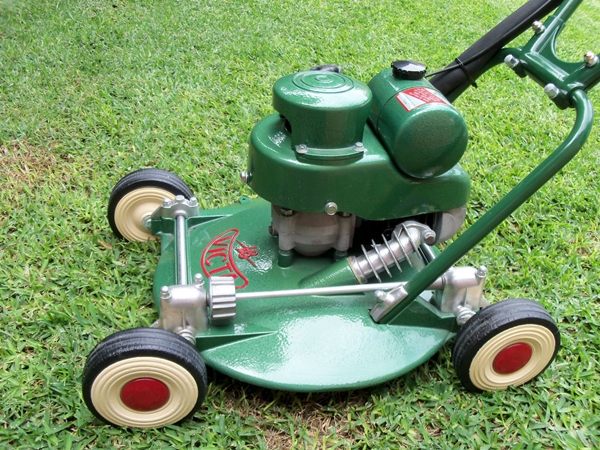
Anywway - for those of you who are not familiar with the Victa 18 - here is a picture of what they looked like when new.
And here is a picture of "The Triplets" when I got them.
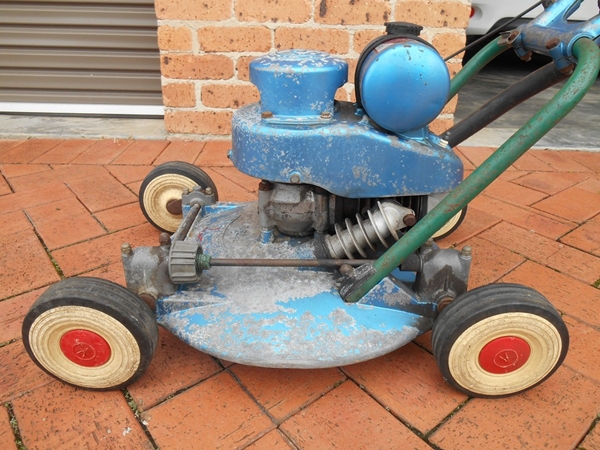
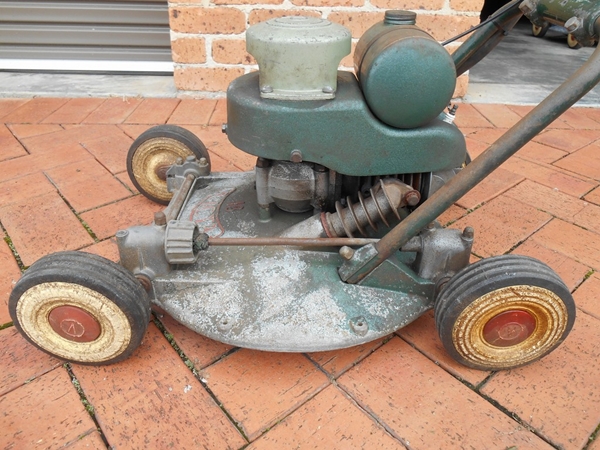
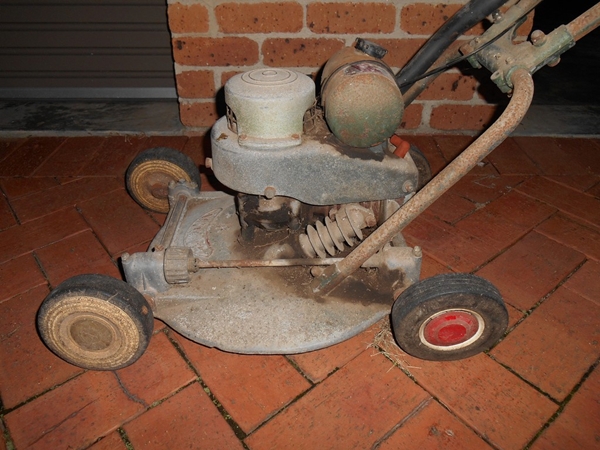
So to cut a long story short - I had started restoring them when I found out I had to move up to Far North Queensland for a year for work - so everything went into storage waiting for my return - that was January 2015.
Well it's now August 2015 and I've back down in Sydney for 4 weeks leave, so time to get reacquainted with the triplets.....
The story so far.....
Removed the handle bars, Starter Mechanisms, Carby, Air Cleaners etc
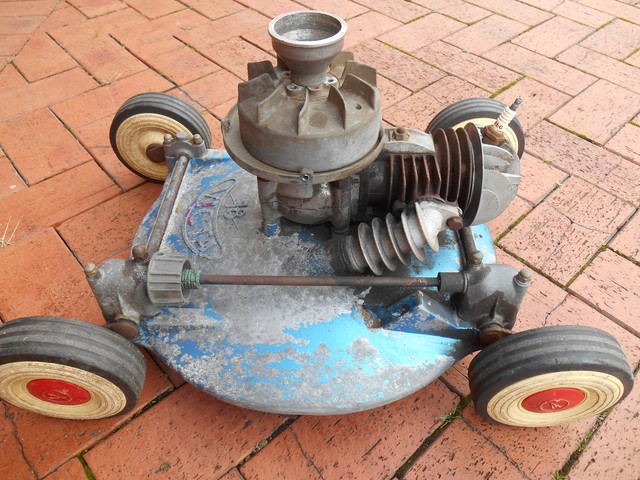
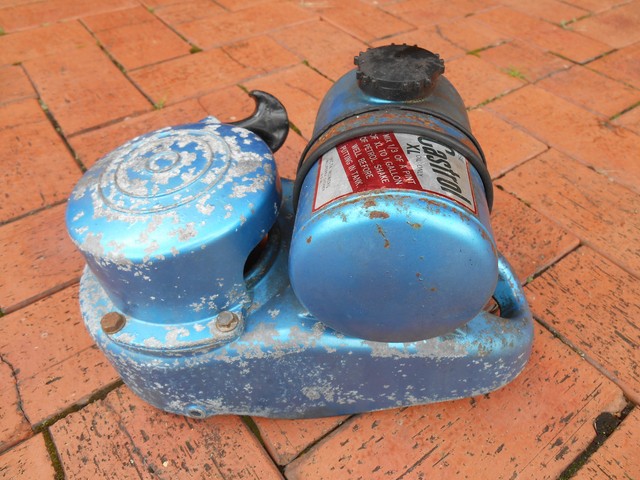
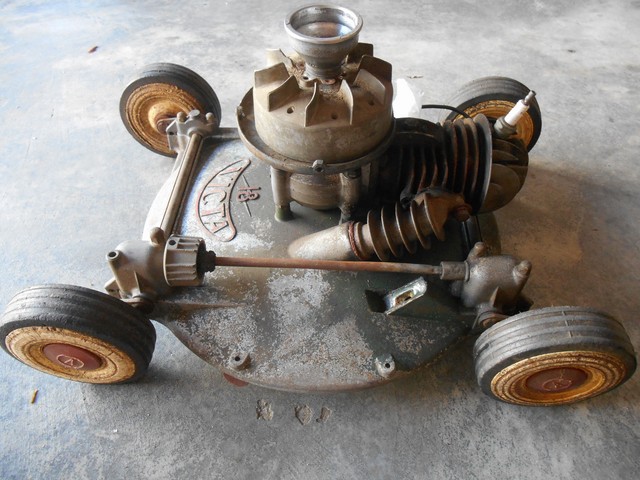
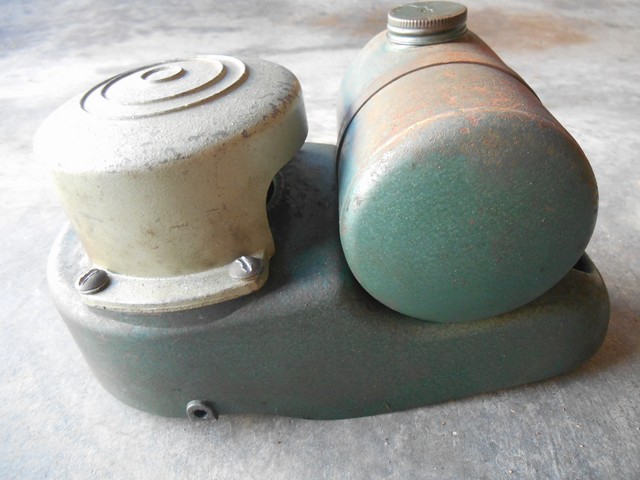
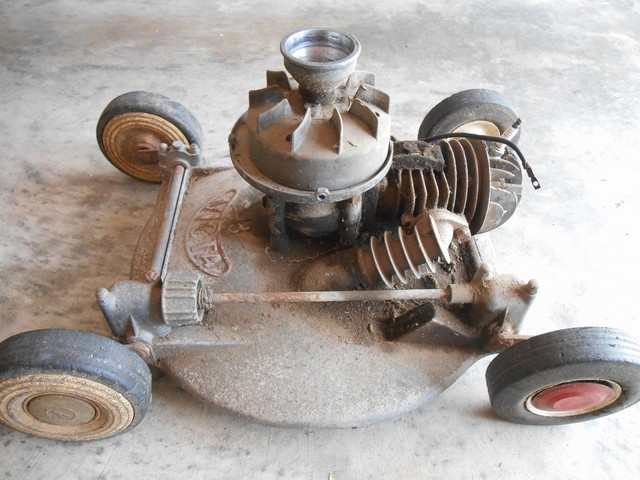
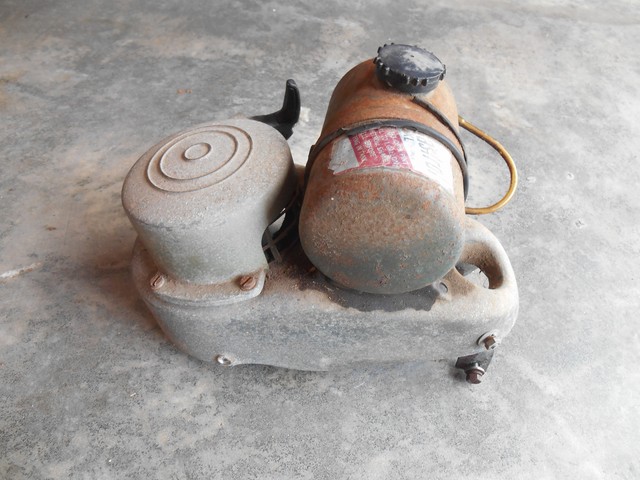
Then removed the engines....
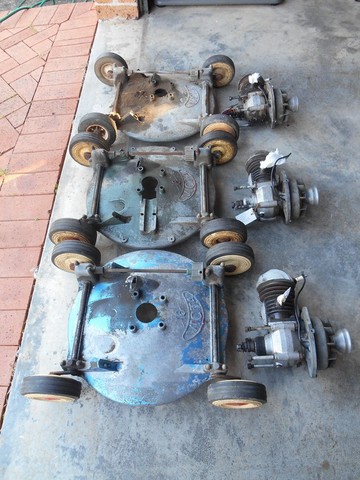
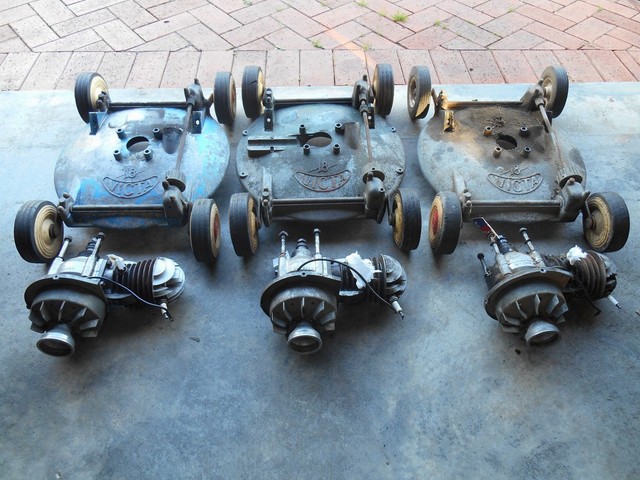
Let the Cleaning Commence:
Gave everything a good degrease, scrub, hose and then off to the Sandblaster. They came up pretty good!!
Took the petrol tanks down to Redi-Strip - Holy Snappin' Duck Sh!t Batman!! They wanted $30 each to dip them!!!! Bugger that!! I took them home and done it myself with an angle grinder and a plastic stripping disk. I will strip and prep the inside of the tanks with POR-15 Petrol Tank restorer - Its expensive - but I've used it before and its damn good!!
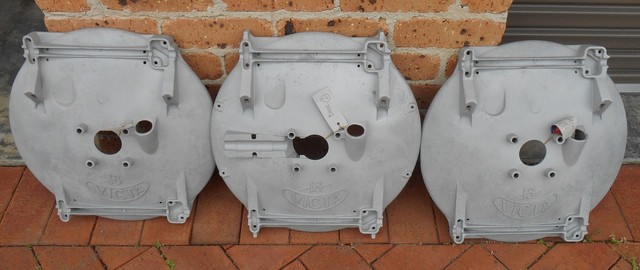
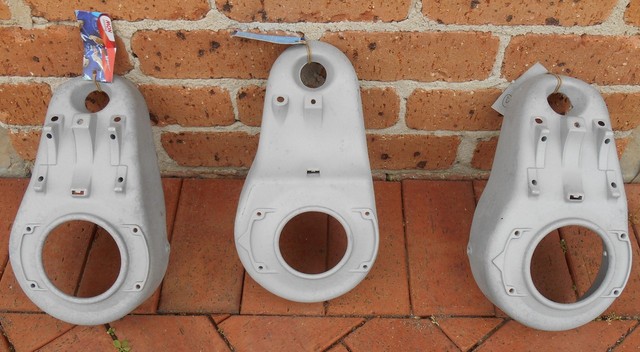
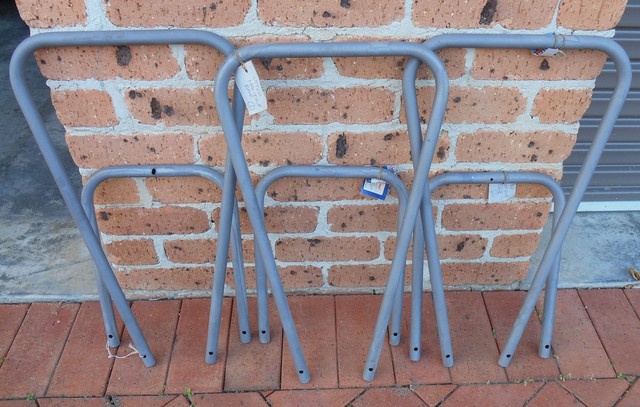
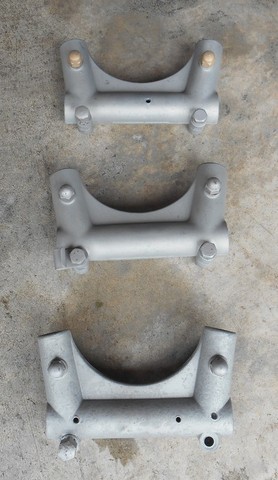
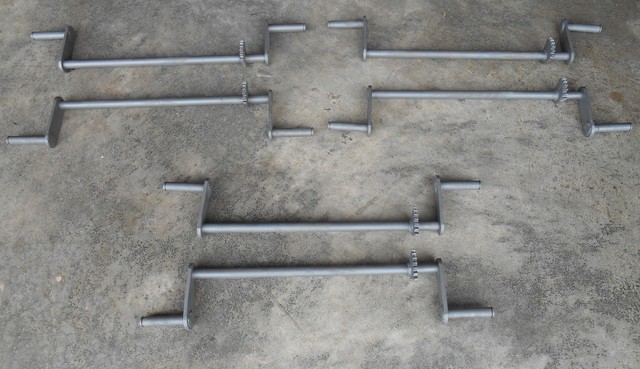
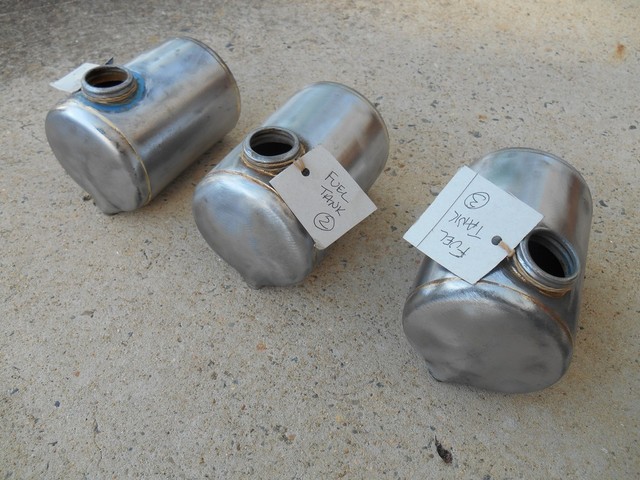
And that is pretty much where I got up to before I had to leave for Port Douglas - (yes - I was forced to go and live/work in a tropical paradise for a year - damn!!!)
22 August, 2015
I am back in Sydney for 4 weeks holidays - so now I plan on getting them prepped and painted - I guess most people know (but often choose to ignore) the fact that a paint job is only as good as the preparation put into it. I'm hoping to get The Triplets looking really good, so I'm putting a lot of prep work into them.
28 August, 2015
All the Handlebars, Handle Bar Clamps and Fuel Tanks got a quick sanding - they had started to develop patches of rust because they'd been sitting there so long - so I got rid of those with a bit of sanding and steel wool.
If you have a look at the "before" Photos/Mowers/TheTriplets - you'll notice that the bar clamps had the usual holes drilled through them, so I filled them with some auto filler - plain old bog - hope it handles the vibration OK - should be OK - these old girls won't be having a tough life from here on in. So bogged, and sanding, sanding and more sanding. I always get carried away with the bog and end up sanding for hours - which is a real bummer - but at least they came up quite well.
So a bit more sanding for good measure - and then a few coats of Primer/Filler to try and smooth things out. Followed by a good sanding to try and get things as nice as I could - as we all know - but often choose to ignore - a paint job is only as good as the preparation work that goes into it.
I was really quite happy with the way the came out - so then - and I don't know why I do this - I gave everything a good couple of coats of White Knight Rust Guard Red Oxide Spray Paint. I guess it might help to reduce corrosion in the future - but the truth is I have used it a lot in the past and got pretty good results - so now I use it for everything I do.
So everything has received three coats of Red Oxide and I'll give it a good sand (to roughen it a little bit) before I put on the Hammerite Dark Green Hammer Tone Paint.
And here's how they are looking now.....
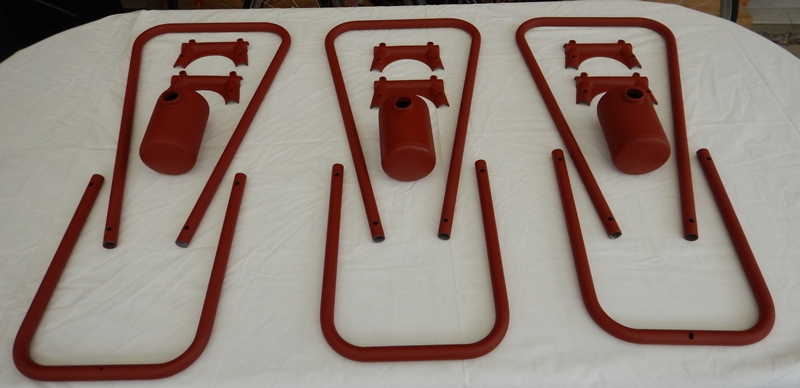
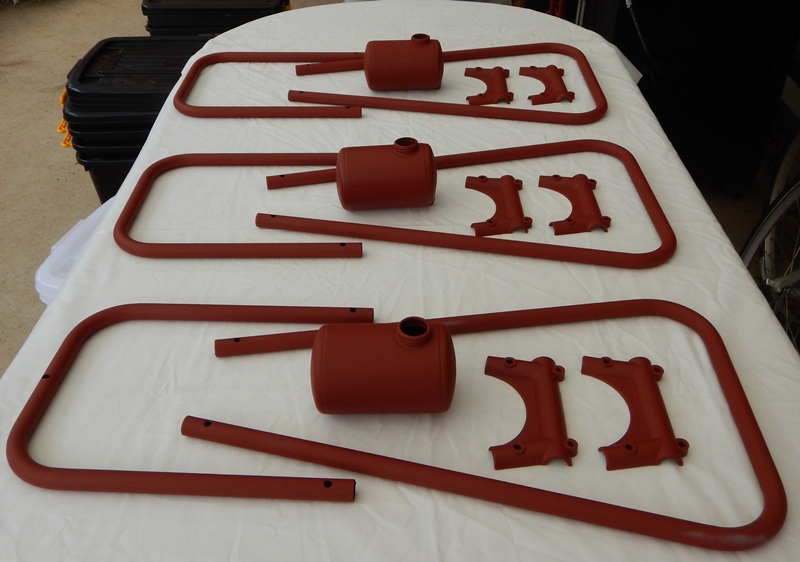
25 June, 2022
Yes - it is now 8 years later, and I have resurrected The Triplets.
I have been working on all the trim, ie: Fuel Tank, Cowls and bases, ready for painting. The bases have had varying amounts of priming, spray putty, sanding etc to bring them up to a reasonable standard. Note I say reasonable. I know that a good paint job is only as good as its preparation, but my intention is to paint thsese as close to the original hammer tone green as I can get. Given the Galmet Avocado is not longer availablee, i have opted for Hammerite Deep Green Hammertone. I suspect this is a few shades darker than the original Victa colour, but I think it is as close as I will get, so that's what I am going to use.
The good news is, the Hammertone paints are very forgiving, and cover up a lot of blemishes. In fact thy are recommended to be painted directly over rust, so a few blemishes on my tanks/cowls/bases shouldn't be too much of an issue.
I am painting these out in Western NSW - and like an idiot, I have left the Recoil Starter Mechanisms at home, so I won't be ab le to do them all in one go. Such is life.
Given that it has been 8 years since I have looked at these things I decided to just give them a bit of a tidy up. Nothing too drastic. Dust off the cob-webs, generally clean them up. Run over them with a bit of Wax and Grease Remover and good to go.
At this point, they are all different colours. You can see above that they all got a couple of coats of red oxide primer, but then they got some spray putty, some primer, and now they have all ended up different colours.
I hve been doing a bit of painting with Hammertone Paint and noted that sometimes, through the Hammertone effect, there was a chance some of the underlying primer colour can show through. Obviously that's not good when they all have different primer colours, so I decided to spray everything with a mid Brusnswich Green base coat. Nothing flash, just a green base coat rather than the Green/Blue/Pink/Red as they current;ly are.
So everything got a coat of the green. Some came up much better than the others, I was wondering if that was because I was painting an Enamel Brunswich Green over an incompatible paint. Because its 8 years since I last touched these things, it's hard to remember just what sort of primers and spray puttys I was using. Anyway All of them except one came up OK, but the last piece, one of the cowls, reacted quite badly, and I decided to strip it right back to bare metal again. I got stuck in with a wire brush on my angle grinder and it was done in about half an hour. Sanded it, primed it, waited a couple of hours and then a Brunswich Green base coat. It came up fine.
Now just give it a few days to dry, and the Hammertone will go on.


28 June, 2022
I didn't wait 8 years for these to dry.
The bases/cowls and fuel tanks have had their Brunswich Green base/under coats drying for three days now. They should be OK, but its been very cold (very cold for Australia), out here for the past few days, down to about 10 degrees C. And we had a frost last night!! Anyway, today is gorgeous and sunny, perfect for painting, so today is the day they get their Hammertone finish.
I'm quite new to this Hammertone painting, so not sure how it will go. Plus, I've got a new Spray Gun, and never used it before.
Lots of things to think about with tnhe Hammertone.
- How to thin the paint, ie: what to use
- How thin to make it
- What size nozzle to use to on my new gun
- How thick to apply the paint
I had been preapring for this for a while now, so I had been asking around about these questions.
As for thinning, I had received all sorts of answers, but General Purpose Thinners and Turps were the most popular suggestions. I kind of went with the General Purpose Thinners suggestion.....kind of. I ended up buying a tin of Hammerite Thinners and Brush Cleaner. I figured I couldn't go wrong with that, and it was not really any more expensive than the other options.
I did actually ring up the Hammerite people, and they said thinners woud be fine, and of course recommended theirs, but said any General Purpose Thinners would be OK.
One important piece of information they did give me was: Only thin it to by a maximum of 5% - if you got much over that, you will lose the Hammertone effect. This made a lot of sense to me because a few months ago, I went down to my local Auto Paint Supplier, gave them some of m y Hammerite Hammertone paint, and asked them to put it into a spray can for me. They weren't sure it would work, but they gave it a go (at my risk!!). Turns out, it didn't work. They tol me they had lots of pre-prepared, pressure packs, already containing thinners, they just add to required paint, sosay 200 mls of paint to go with the 30 mls (or whatever it was) of thinners already in the can. Now in hindsite, I am guessing that there was way too much thinners in the cans for the Hammerite, so it got thinned way over the 5% limit. When I tried the spray can at home, the paint came out really nice, but the Hammer effect never developed. It still looked quite nice, it was a really nice green metallic look, but no Hammertone. So that was the end of that experiment.
I opted for the middle size nozzle for my spray gun. I had 3 different nozzles - 1.4, 1.8 and 2.2. I went with the 1.8, and thinned it about 5%.
Results?
Initially, I was a bit disappointed with the results. I was trying to paint it like normal paint, not that I am very experienced spraying normal paint either.
I had the gun adjusted OK and was getting what I thought was plenty of paint on the base (I started with the bases as I thought they may be easier). The results were a bit hit and miss, a bit of Hammertone effect here and there, but some just flat paint. But the Hammertone effectg was really good in some spots, and that spurred me on to try and replicate that all over. I knew the tinning was OK, becase it was coming out of the gun well, and in some spots the Hammertone was really good, so it must have been something I was doing technique wise.
Anyway, to save you from the boredom.....The more I painted, the better I got.
This is the technique I settled on.
I had to put a lot more paint on than I was expecting. At first, I was moving the gun across the deck quite quickly, resulting in not enough paint going onto the deck. As time went on, I learned to move the gun a lot slower, and watch the paint almost pool on the deck, when it was put on nioce and thick, and very wet, you could see the Hammer effect starting withing about 10 seconds of putting it on.
I was continually worrying that I had put way too much paint on, and it would run, but it never did.
So once I was happy with my technique, I went back over everything for a second (proper) coat. It came up brilliantly!!! At least I think it did, you may or may not agree, but I am really happy with them. Check out the photos below.
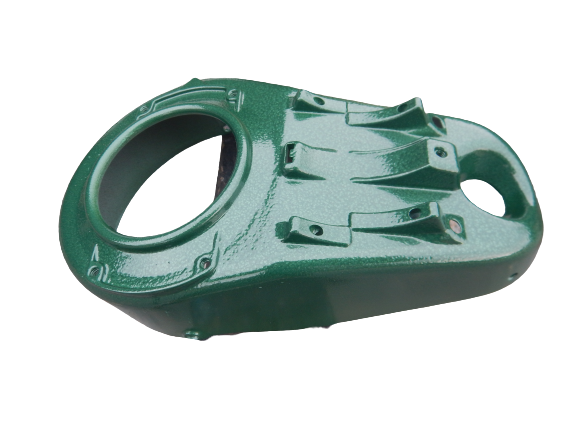
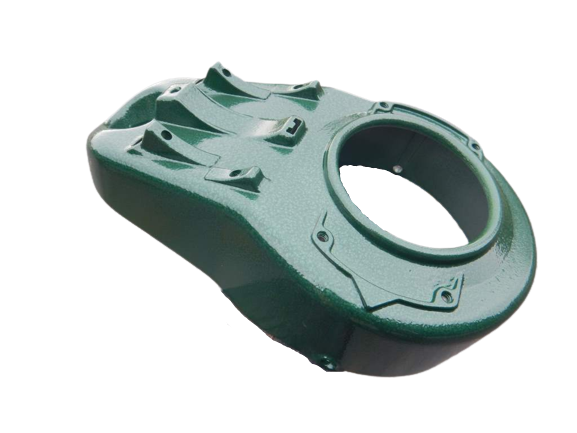
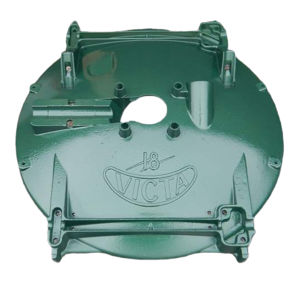
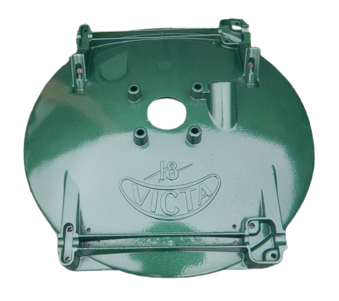
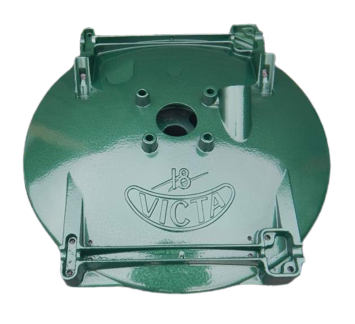
Now to do the Red highlighting on the Victa 18 raised lettering on the bases. And I have also got the Starter Recoil Mechanisms and the tank straps to paint green as well.
5 July, 2022
Disaster!!!!
I left all the parts drying in my mates workshop, and he accidently knocked over the stand with the three cowls on it. I found them all lying on the floor, paint side down. I picked them up and checked them out. It was a disaster, significant damage to all three cowls. Paint damage I mean. The good news is the cowls themselves are not pysically damaged, but the paint is wrecked.. I am taking them all back to Sydney with me and I'll try to smooth thee damage off with some Wet and Dry and try to fix it with the same hammer tone paint, but applied with a brush. I'm hoping, if I'm careful I might get away with it - but confidence is quite low at the moment. But the Hammer Tone paint is quite forgiving, and self leveling, so I'm hoping any brush strokes will disappear and the reapirs will blend in perfectly....time will tell.
9 July, 2022
Disaster averted!!!
I got the damaged parts back to Sydney and had a go at them.
Just a very gentle delicate bit of sanding around the damaged areas, just enough to smooth off the edges so there will be no borders visible. Hammertone seems to be quite forgiving, so I'm not sure this was necessary, but I did it anyway.
Once I was happy with that, just a small pot of HammerTone Paint and a small paint brush. It was like magic!!! As I applied the paint, it levelld itself and the marks became pretty much invisible. I say "pretty much" because I could still see them, but then again I knew exactly where they were. I let it dry for maybe 10 minutes and put on another coat, quite thick and again, like magic, I watchedh the HammerTone finish develop right before my eyes, and as it did - the damage marks completely disappeared.
Very happy!
10 July, 2022
The parts have now been drying overnight.
I went down just to check up on them - fantastic!! I can't even see a hint of the damaged areas.
Now on to do the Red Highlights on the Victa 18 Emblem on the front of the deck.
8 June 2024
Big news!!! I have retired now - so no more excuses.......
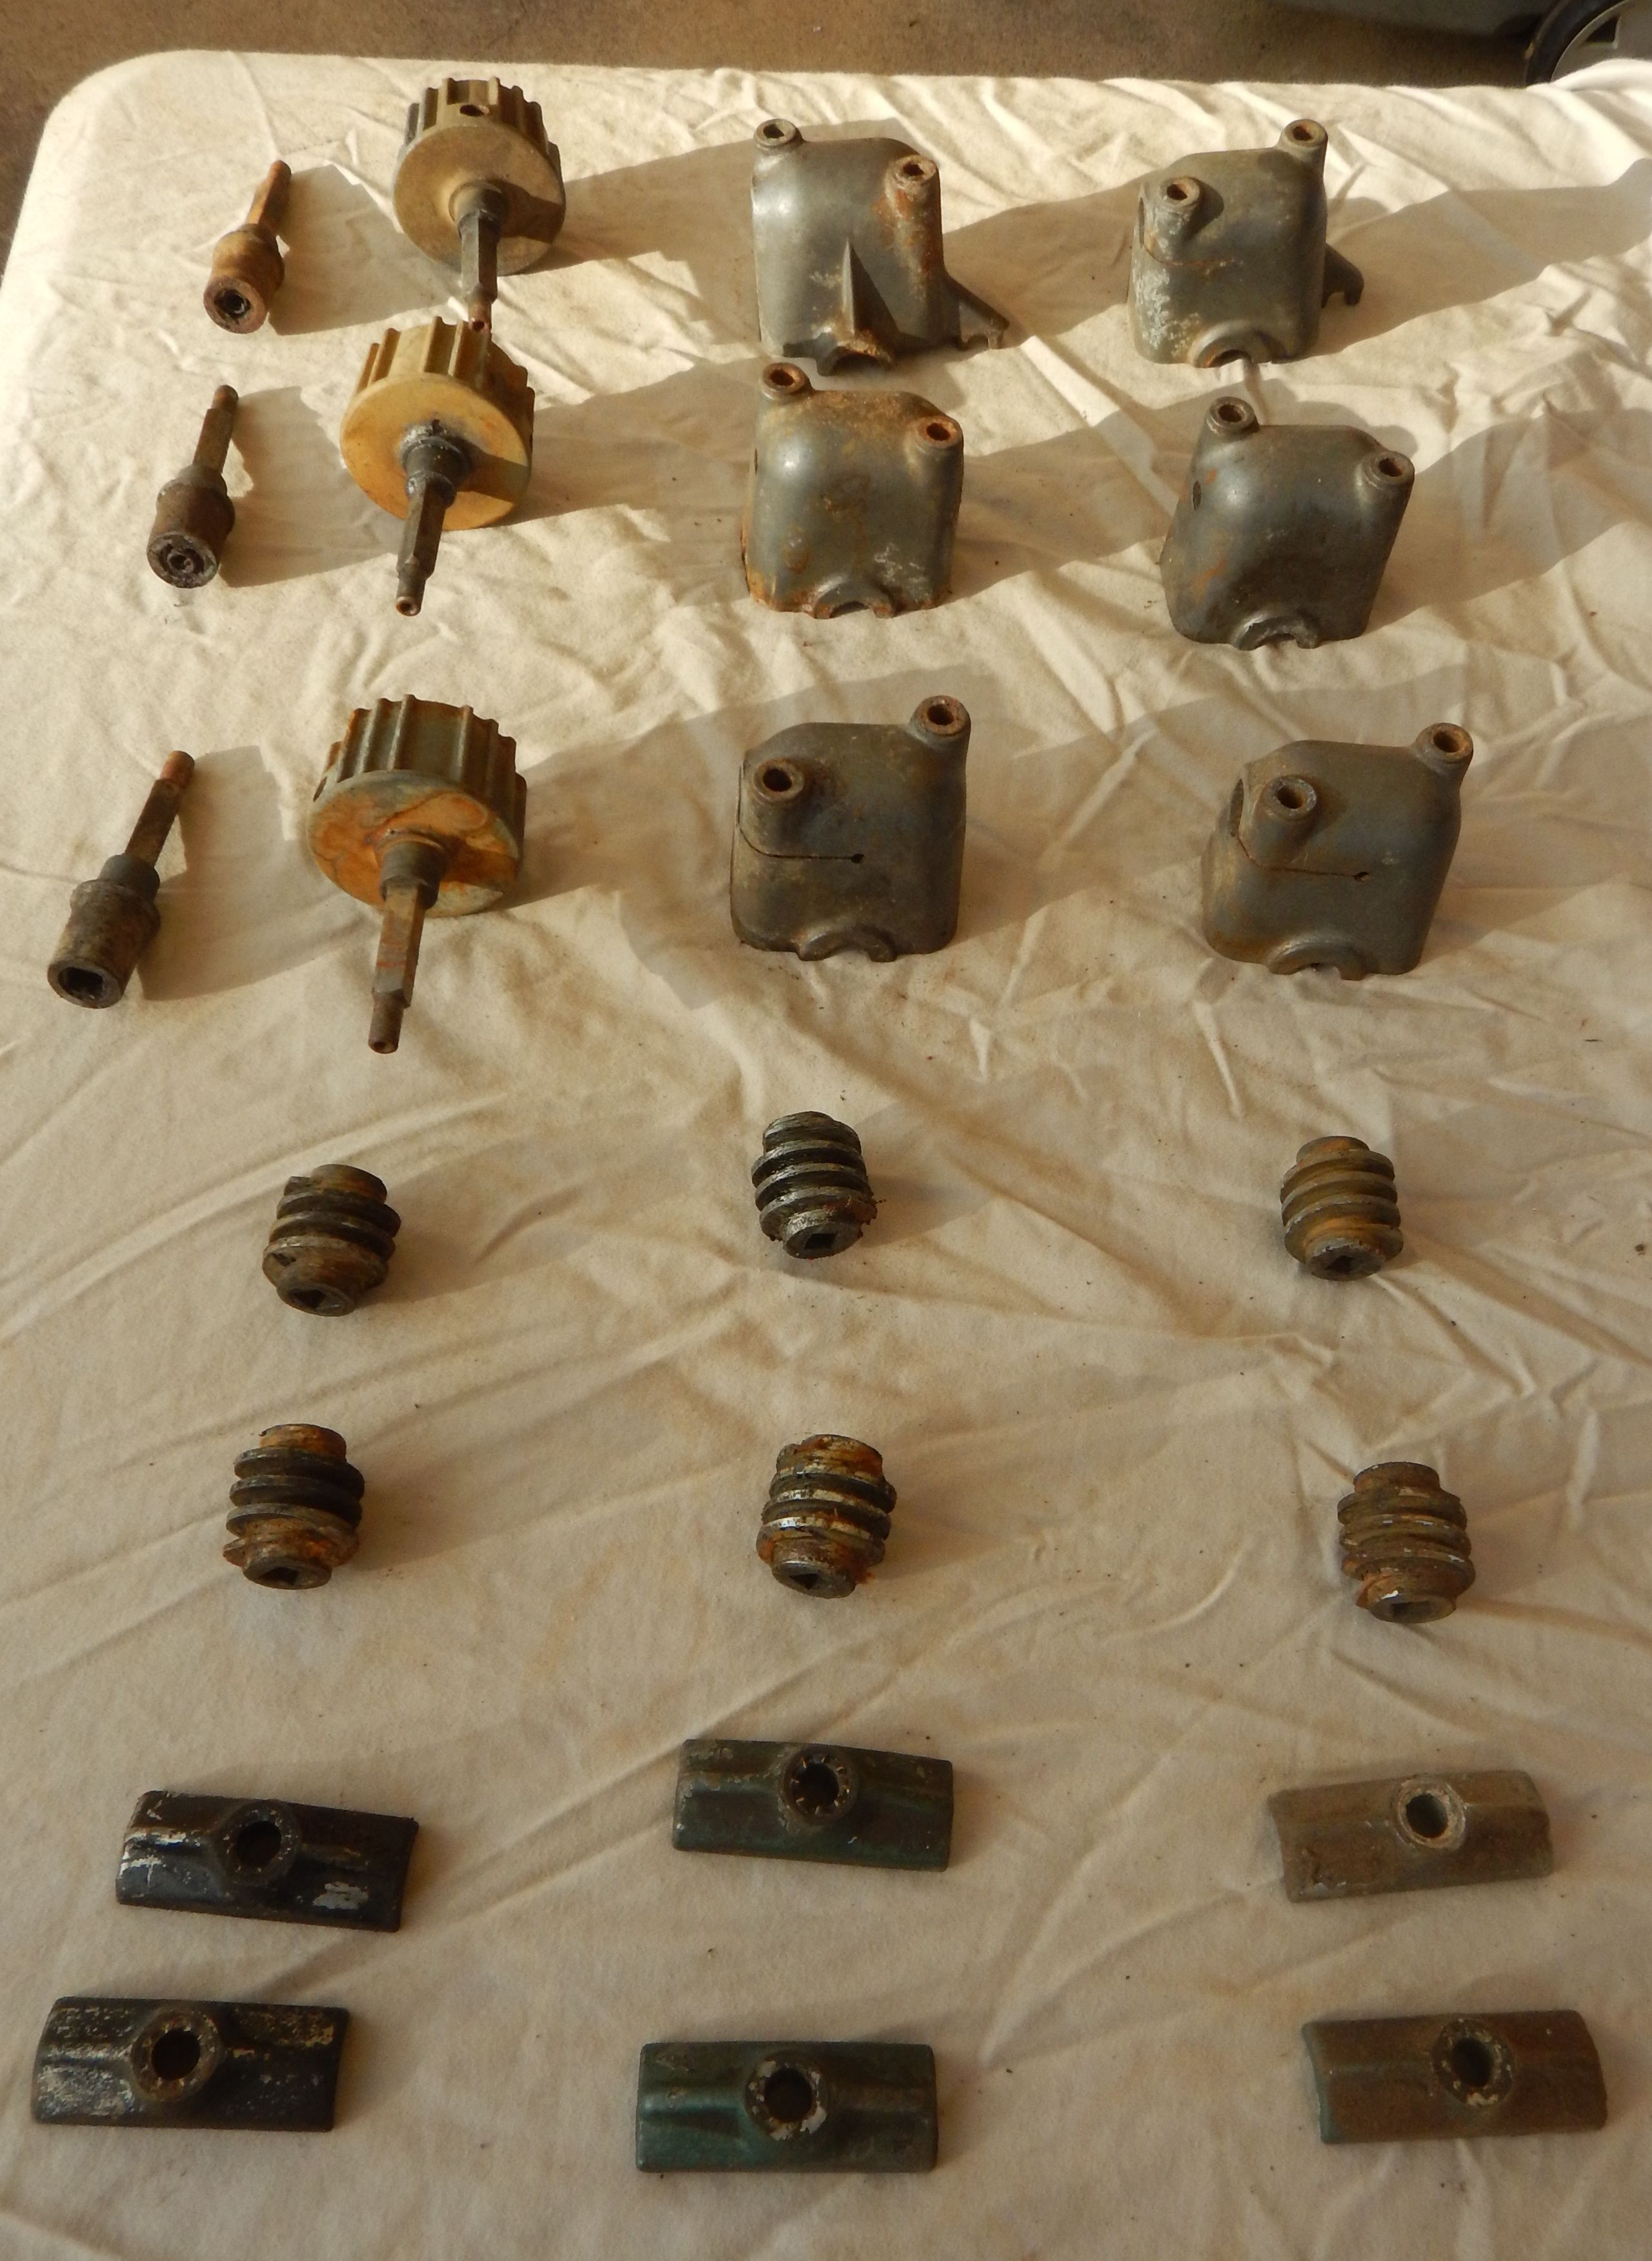
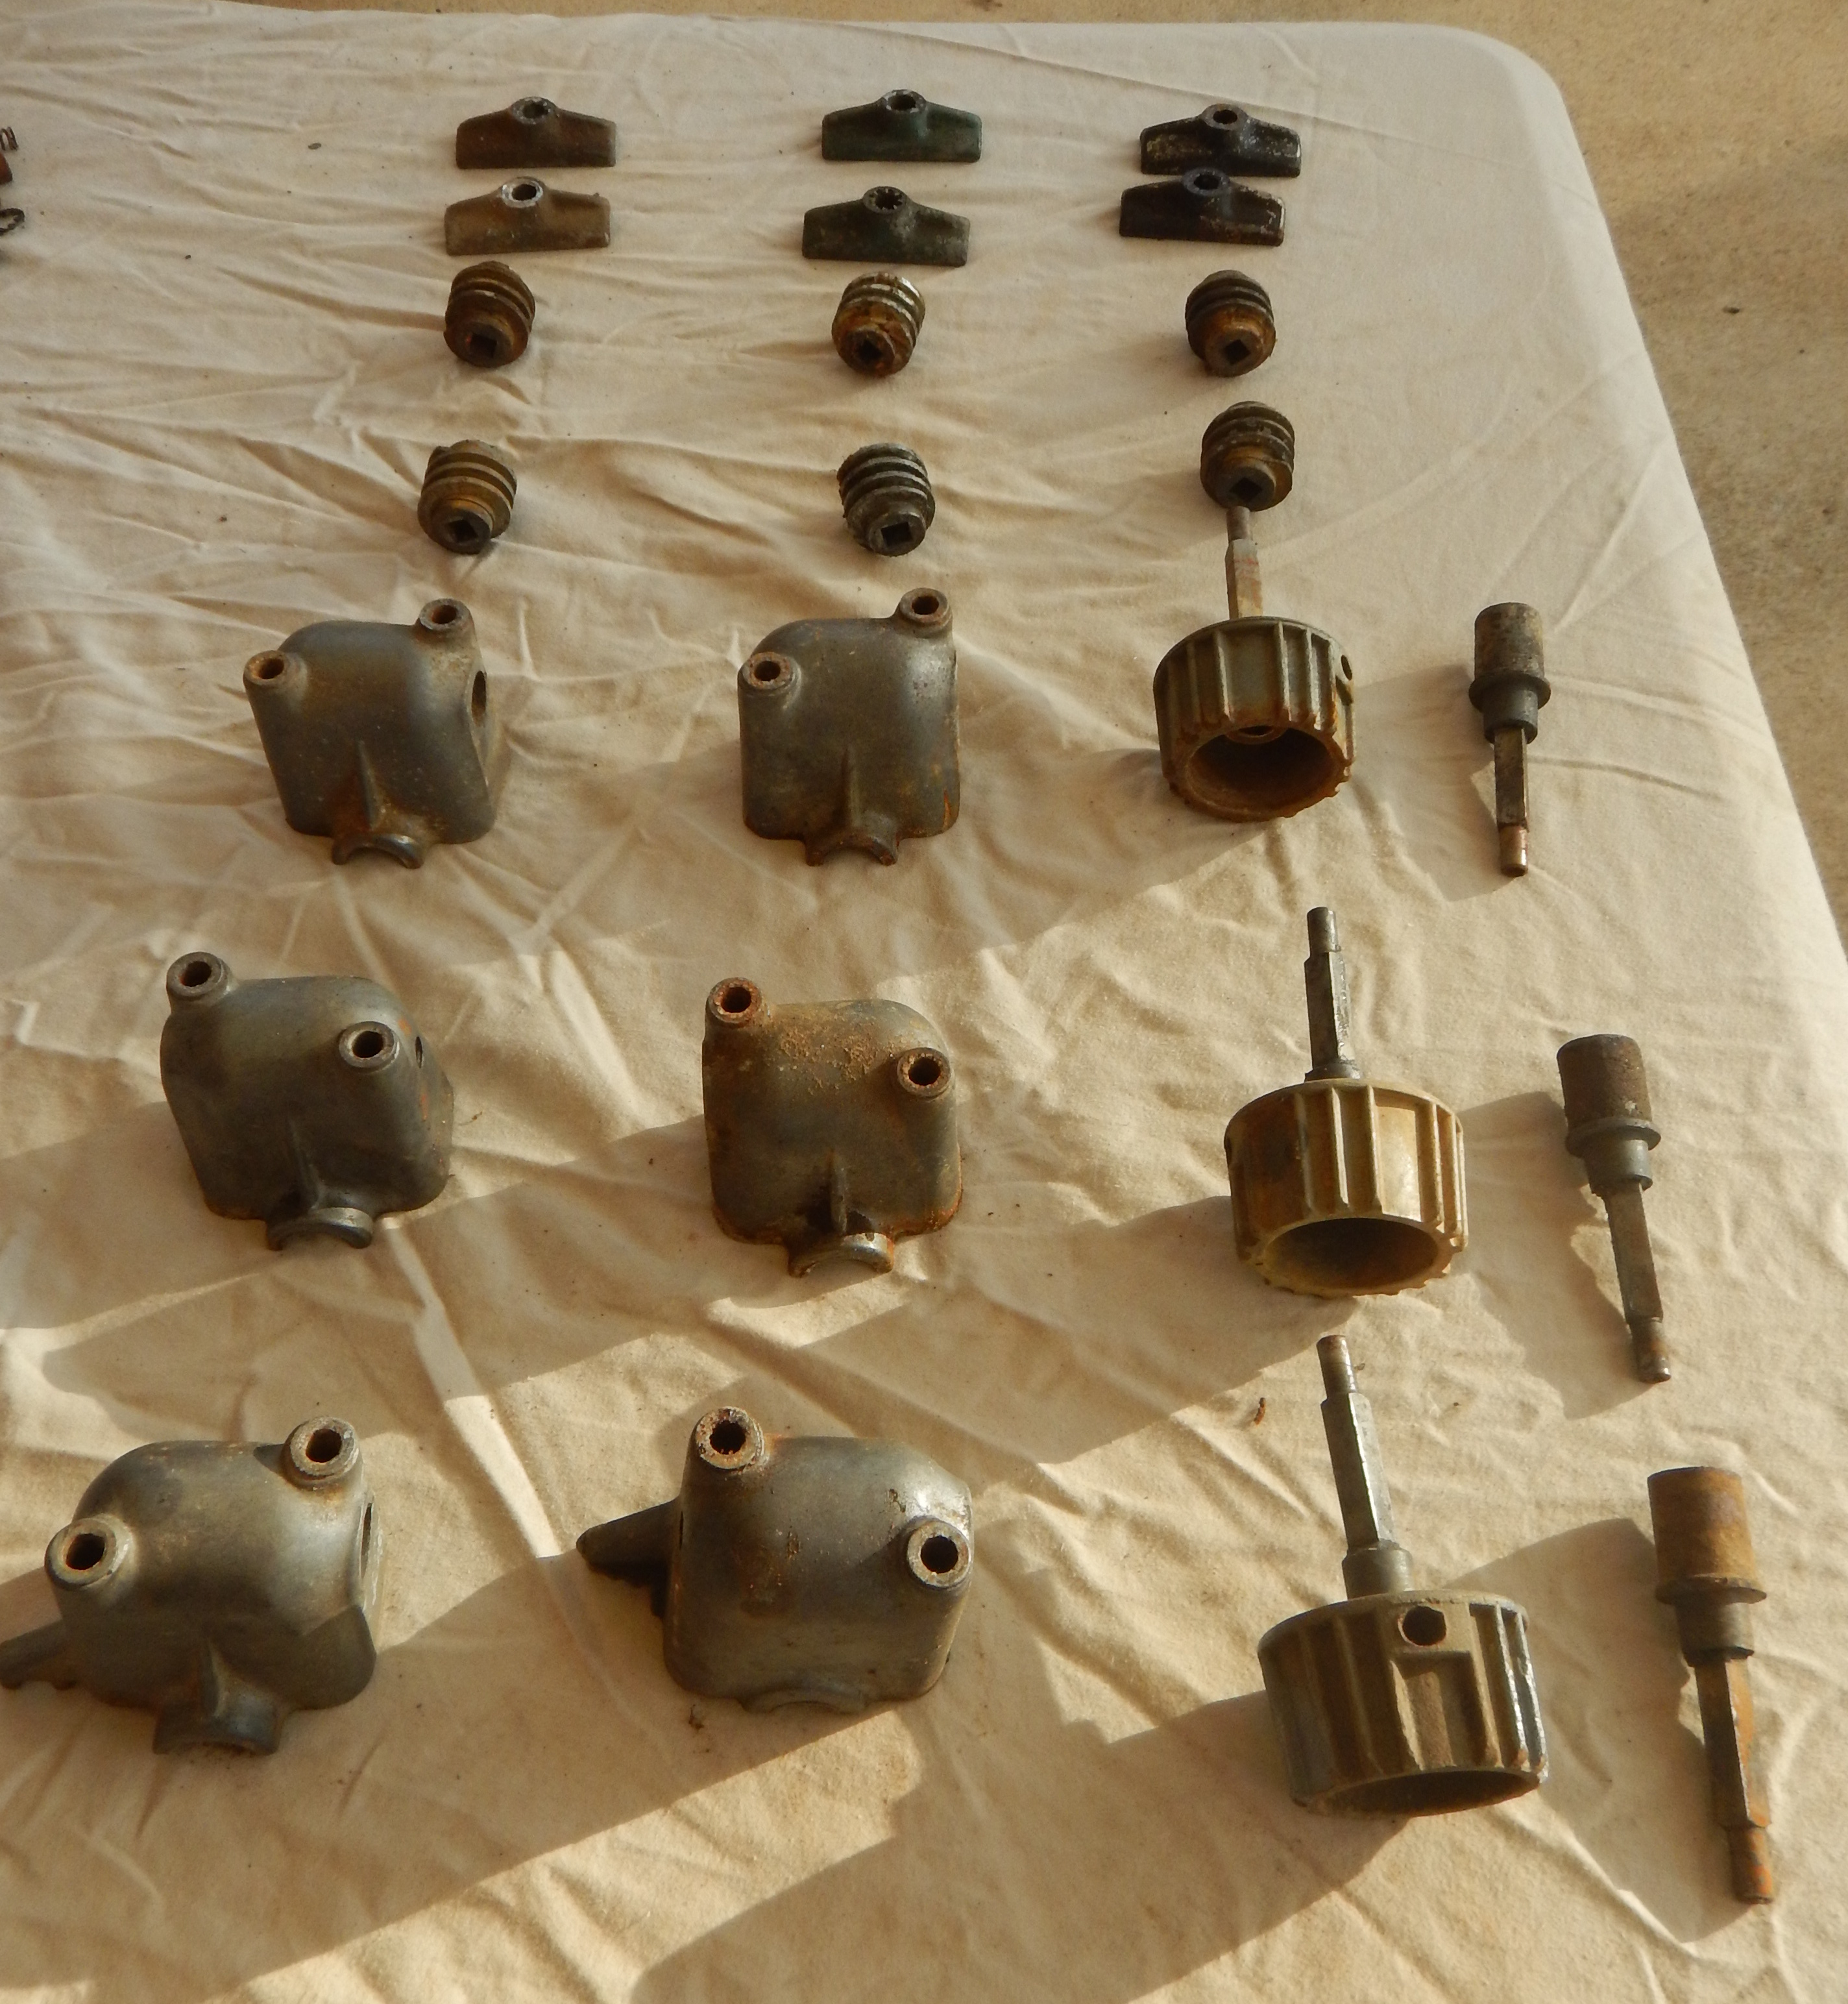
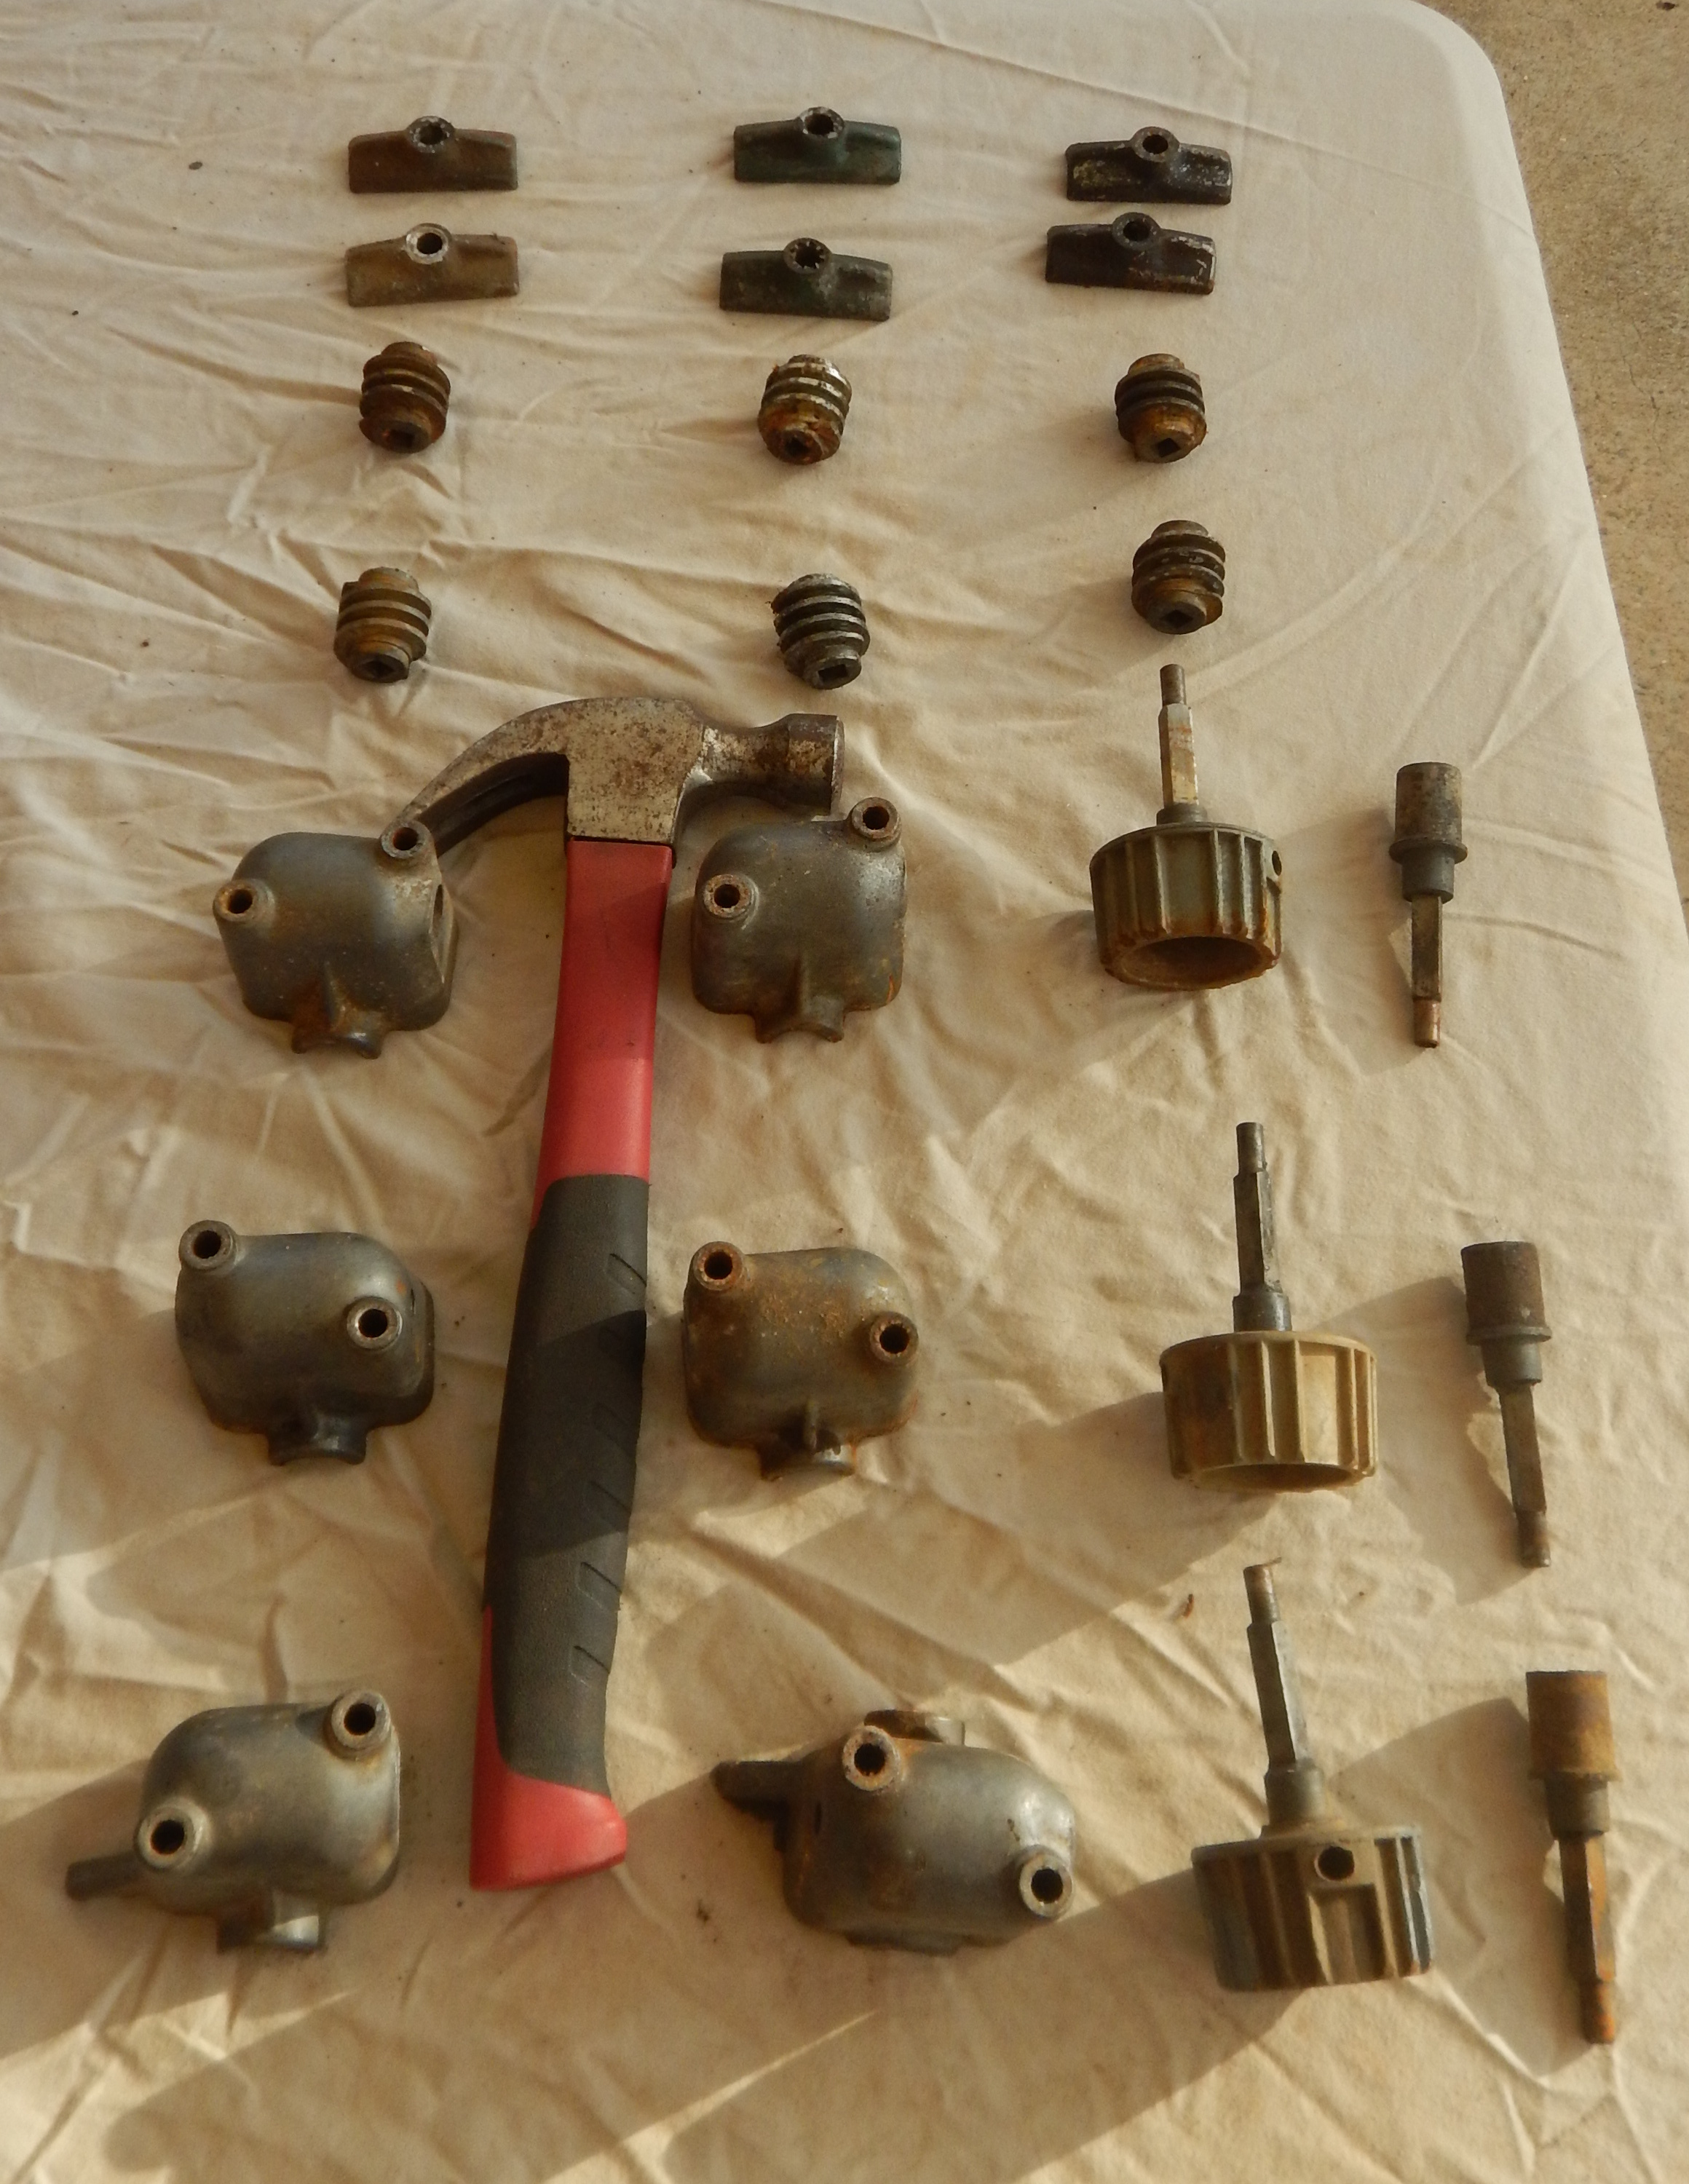
I'm now starting to disassemble and clean up the Height Adjuster Mechanism for all three mowers. They are now totally stripped, had a bit of a degrease and they are looking quite a bit better. Still not great though. They will need to be cleaned a lot better, and then its off to the Vapour Blaster..
A few other things I've been doing:
- Purchased Fuel Tank Decals for two of the mowers - Bluey and the Model 5 Series 1
- Purchased Cowl decalse for the Series 4
- Ordered Engine rebuild kits for all three - including Gaskets, Seals, Bearings
- Ordered Carby Rebuild Kits for all three
- Started Painting the Red Victa 18 Lightning Bolt Emplem on the Bases in Bright Red - I'm finding this a bit tricky, I need a steadier hand, but I'm getting there.
Here are the Height Adjusting mechanismsns as they now stand. I'll show them again when I get them back from Vapour Blasting.
