My Web Server

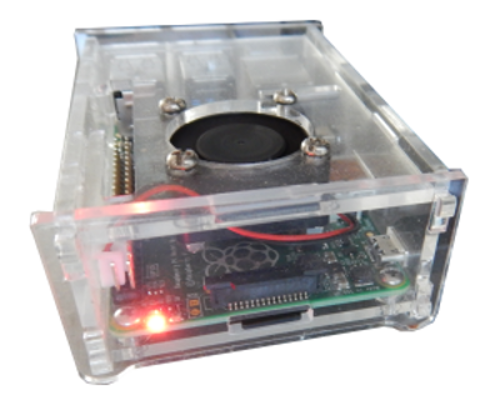
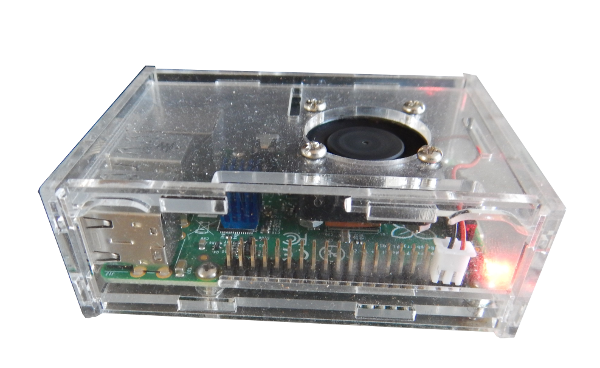
This whole website runs off a computer not much bigger than a Credit Card.
It's called a Raspberry Pi.
Find out more about the Raspberry Pi HERE
It's running the Raspbian version of Linux, with Apache 2 Web Server, PHP and MySQL.
Anyone wanting to set up a web page has a few choices:
- Buy some space on a commercial server
- Use a Free Web Hosting Service
- Make a Wordpress or WIX type site
- Do it all themselves
The reality is, in terms of convenience, ease, and perhaps just plain common sense - the "Do It Yourself" option is probably the worst of all of the ones listed - but of course I'm gonna take a punt and say anyone reading this website will say "bollocks to all that" and want to do it themselves - just like I did :)
So how do we go about running our Web Page off our own home made Web Server??
We need to complete the following steps:
- Get a machine to run as the Web Server
- Install the Web Server software on that machine
- Write the Web Page
- Install it/Set it up on your newly built Web Server
- Hook your new Server up to the Internet
Is it hard?? Well......not really - I reckon anyone "hands on" enough to be interested in and reading this Web Page can probably do it without too many problems.
1: Get a Machine to run as the Web Server:
Any machine will do - some old computer you've got lying around - that old one you thought was good for nothing and was planning to throw away. The only thing it really needs is some way of connecting to the internet - ie: a Network Card, or a Wireless adapter.
Or if you have nothing old lying around - you'll need to buy one. A great solution, and a really cheap option, is to get yourself a Raspberry Pi. Which is exactly what I did. The Pies have a a number of advantages for what we want:
- They are cheap to buy - maybe about AUD$50
- They are cheap to run - No monitors, no power hungry power supplies, no hard disks (saving more power)
- They are small and can fit pretty much anywhere
- The don't run Windows!!!
So what is a Raspberry Pi then???
The Raspberry Pi is a low cost, credit-card sized computer that plugs into a computer monitor or TV, and uses a standard keyboard and mouse. It is a capable little device that enables anyone to explore computing, and to learn how to program in languages like Scratch and Python - or pretty much anything else you want to use.
It's capable of doing everything you'd expect a full size desktop computer to do, from browsing the internet and playing high-definition video, to making spreadsheets, word-processing, and playing games. What's more, the Raspberry Pi has the ability to interact with the outside world, and has been used in a wide array of digital maker projects, from music machines and parent detectors to weather stations and tweeting birdhouses with infra-red cameras.
One warning though - once you wrap your head around what the little Pi is capable of - you'll probably end up dreaming up heaps of weird and wonderful project that use the Pi (or its kind of cousin - the Arduino).
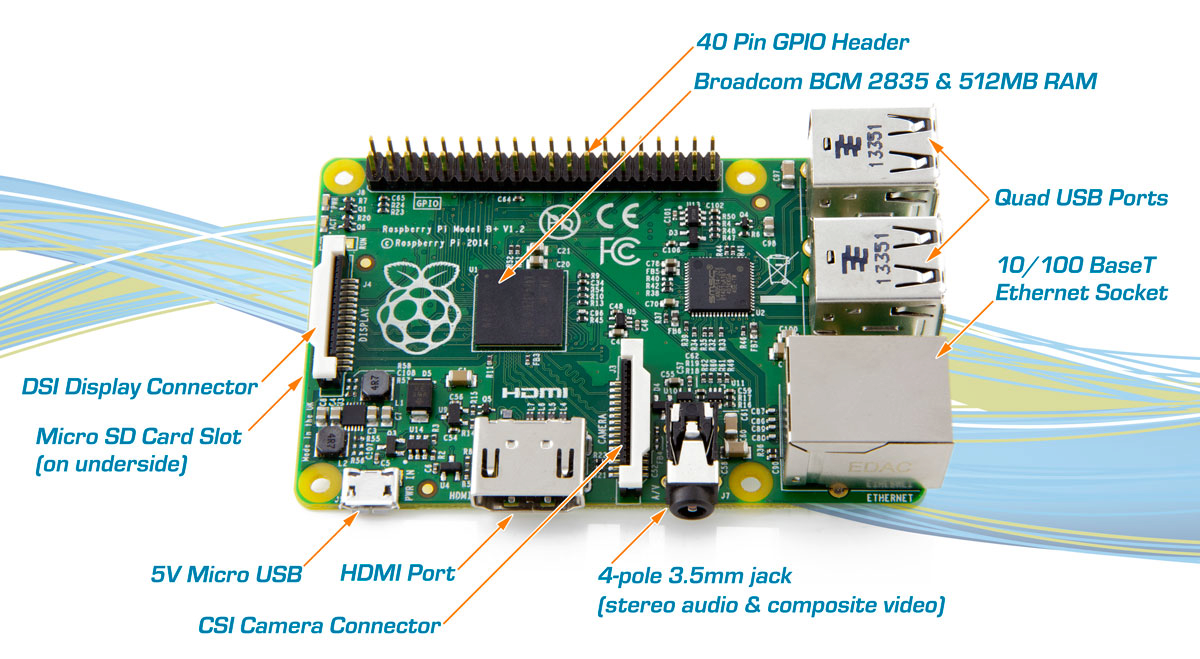
Its an amazing bit of kit for something so small.
So you've bought your Raspberry Pi (or your old PC - or whatever) and now you need to set it up - easy.
2: Installing the Software:
Regardless of what machine you have chosen - I recommend using Linux as your operating system - its FREE - very reliable - more secure - and will run a lot faster on old/small/slower machines.
I will assume you are running a Raspberry Pi and guide you through the setup for that
First thing you need to do is install the operating system onto the Pi - to do that you will need an SD Card (which is essentially the "hard drive" on a Pi).
The you need to install the operating system (and I recommend the Rasbian version of Linux) onto the SD Card - you'll need access to a PC with a Card Reader to do this. You will find a link to the Wiki on how to do the entire set up below.
Once you've got the Operating System (Raspbian) up and running, you can plug your Pi into the internet and you're off and running. Although the Pi has a number of USB ports, and thus you can use a Wireless Internet adapter - for your Web Server I recommend you plug it straight into your router via the Pi's Ethernet Port.
So plug it in to the ethernet and turn it on - the Pi will do everything else for you and you are ready to install the Web Server Software.
Rather than me rabbiting on about things other people have done way better than me - You will find full instructions for this entire process - from INstalling the operating system to installing all the Web Server Software (SSH, Apache 2, PHP, etc)process HERE.
You don't really have to do Steps 6 and 7 - for simple/static pages, you don't need MySQL or FTP. So once you've done all that - You have a fully functional Web Server, just waiting for you to upload your Web Page
3: Write Your Web Page:
This is not the place to be teaching you how to write Web Pages - suffice to say that there are loads of "How To" sites for designing and writing your own Web Page.
The CodeAcademy is as good a place as any to start.....
4: Install it/Set it up on your newly built Web Server
If you have installed Raspbian - then you need to go to the /var/www directory - which is the default web directory. Simply dump all you Web Site pages and images etc into this directory and - job done!!
5: Hook your new Server up to the Internet
Once you're plugged into your router, you're on the internet - but you will probably need enable Port Forwarding on your Router.
If you have an internet connection with a telco of some kind, its really your router that has the IP address, not your computer - so when someone from (say) Iceland enters your Web site address in their computer, they end up at your router and you have to configure your router to forward all Web Site requests to your Raspberry Pi.
You do this buy configuring your router - log on to your router (often you do this by typing 192.168.0.1 into your internets browsers address bar) - you will get a loging screen - enter the Username/Password and you're in.
You will have to search around to find an option called "Port Forwarding" - once you find that - set up an entry to forward the http (internet) port - which is almost always Port 80 - to your Raspberry Pi (you will need to know the IP address of your Pi to do this) - and once that is done - try to access your web site from the outside world and see what happens.
If it doesn't get through - you might need to have a look see at your firewall/virus protection software to see if that is blocking it.
Once you get through that lot......you've got yourself a working web site on your very own web server.
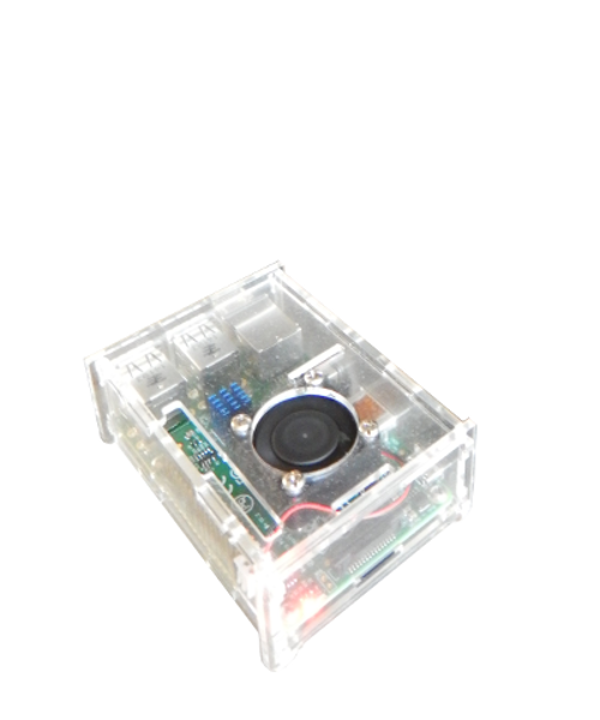
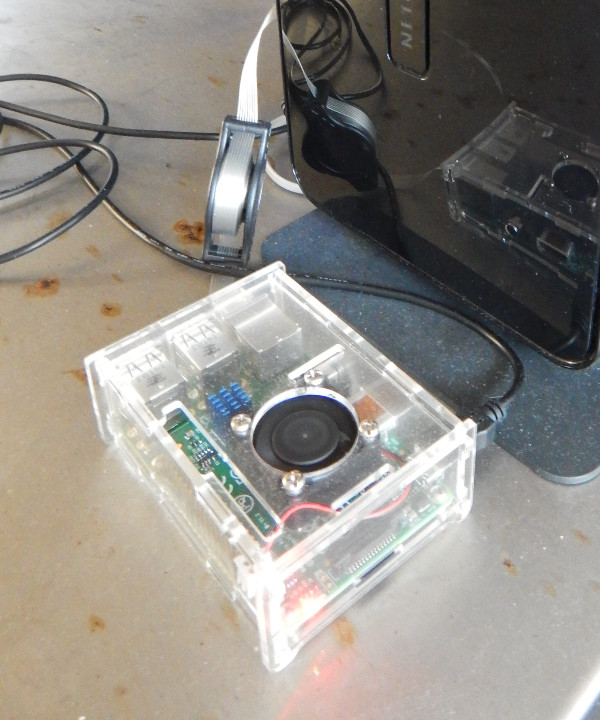
Here are a few pictures on my Server working away....
